Deploy VPN Profile on Laptops
Next step is to deploy corresponding VPN profile to a laptop. We will use the Microsoft Windows 11 as an example here, but steps might be the same for other operating systems too.
Install Wireguard
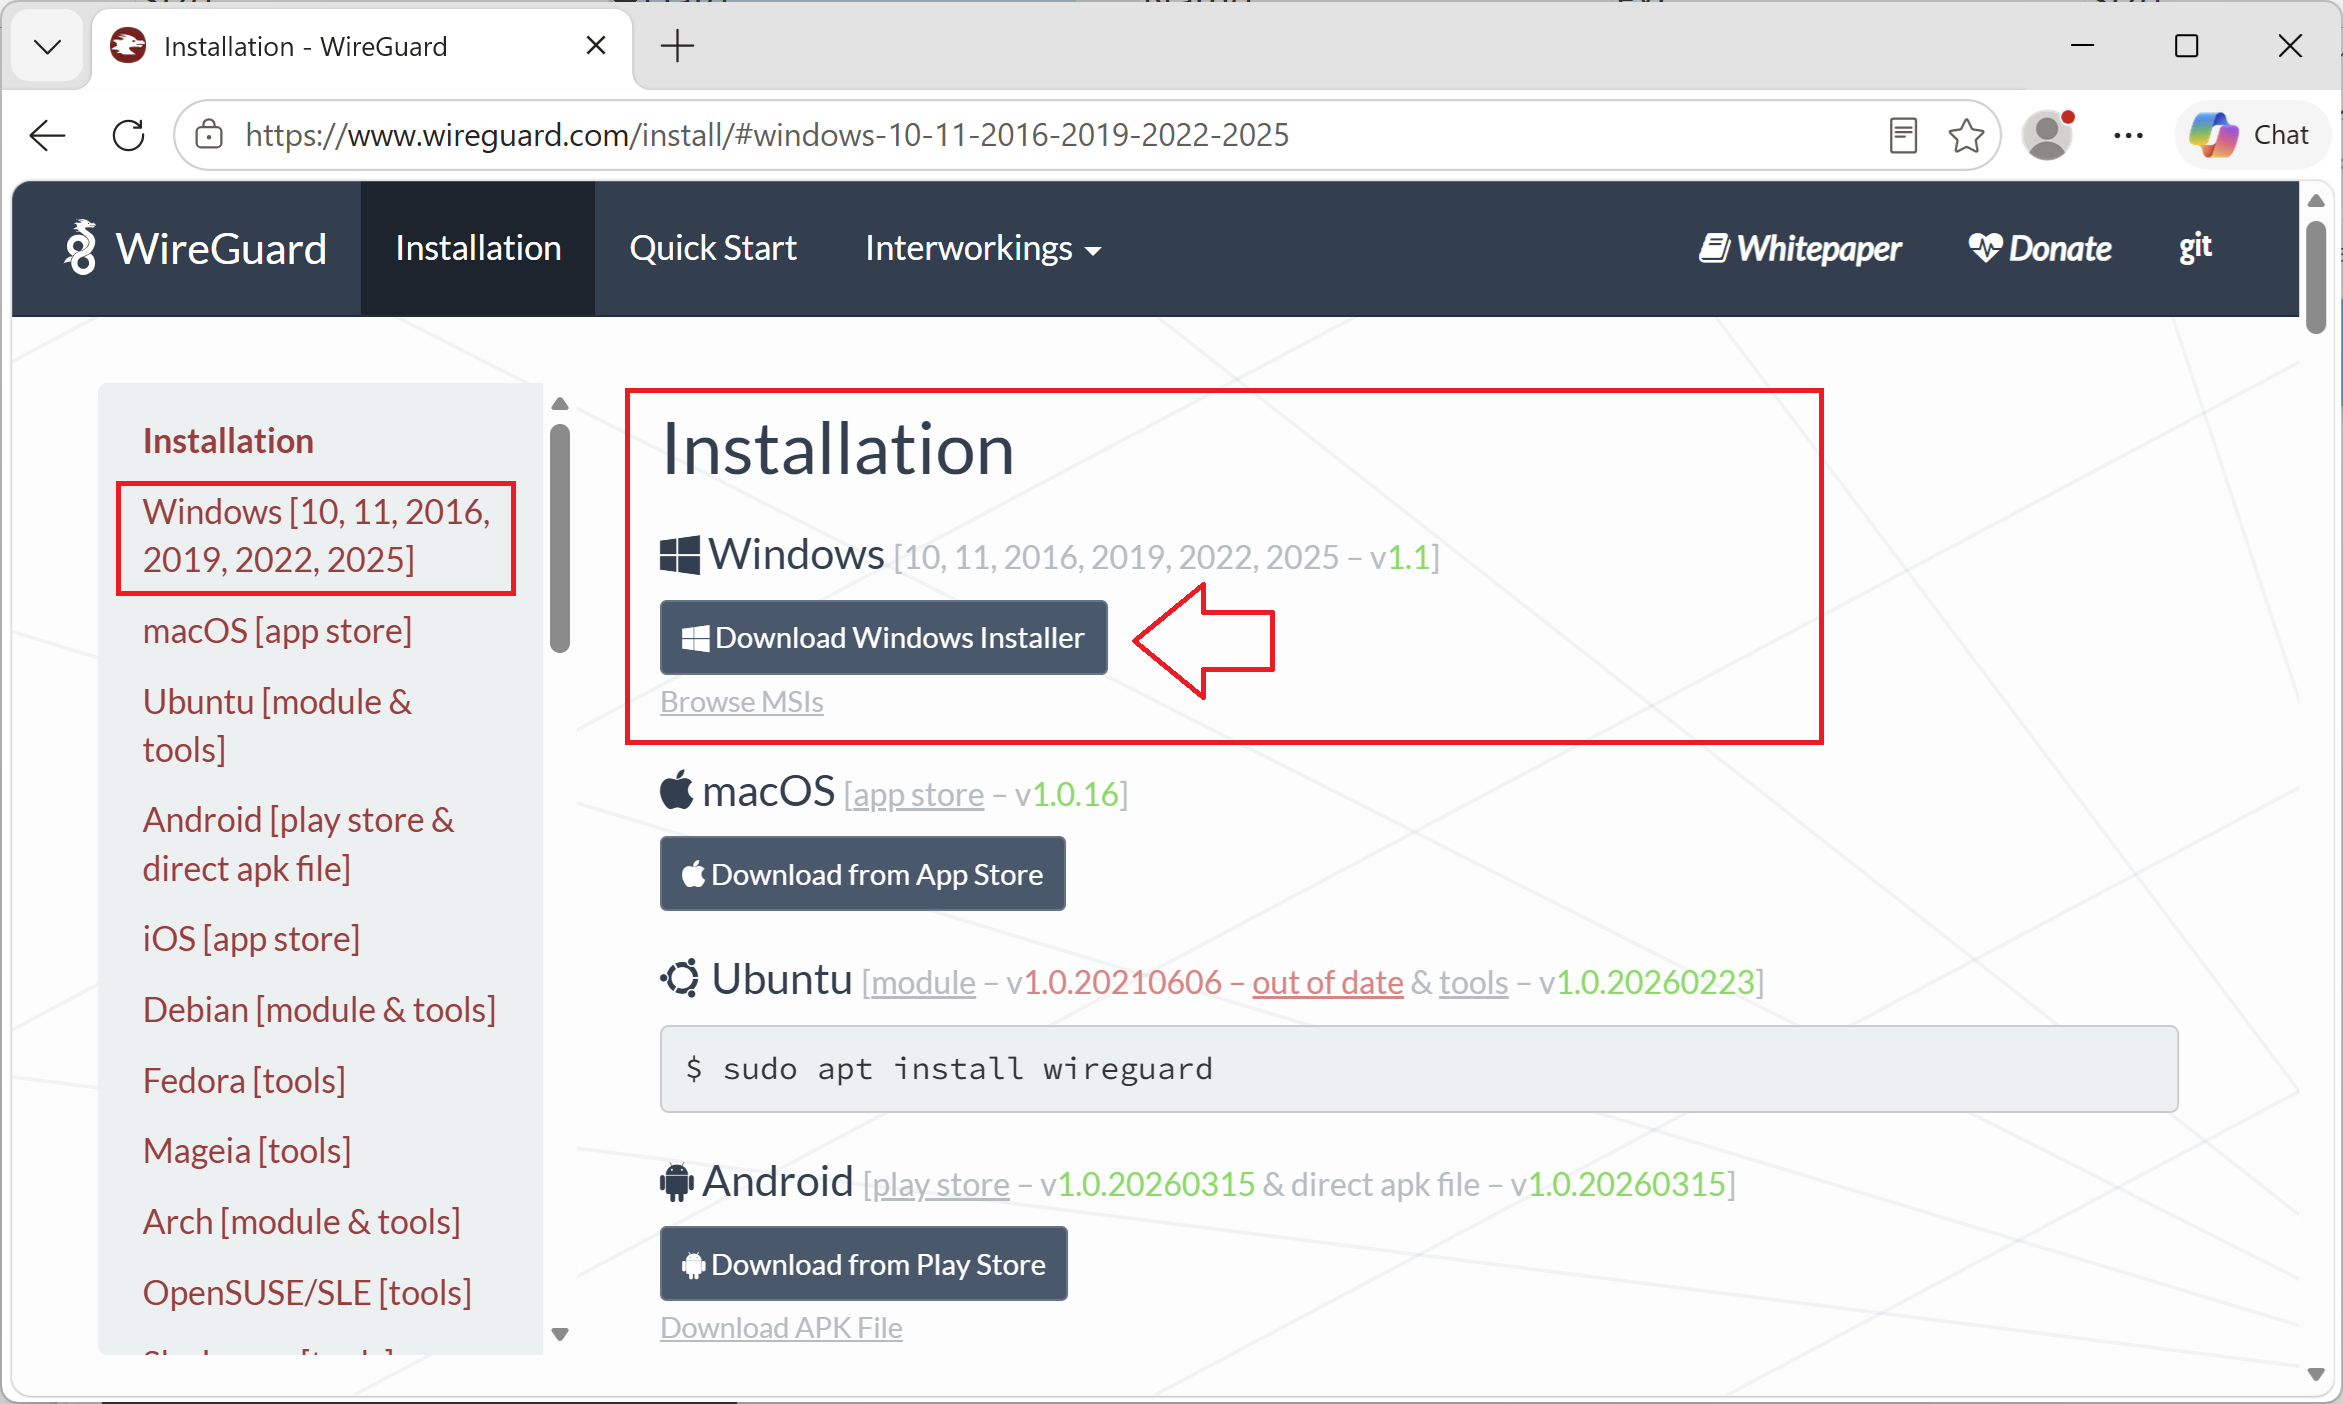
To setup VPN connection with DNS Safety we will be using WireGuard application for Microsoft Windows. Download MSI as shown on the following screenshots and actually install it by double clicking on the MSI and following the installation wizard (not shown here).
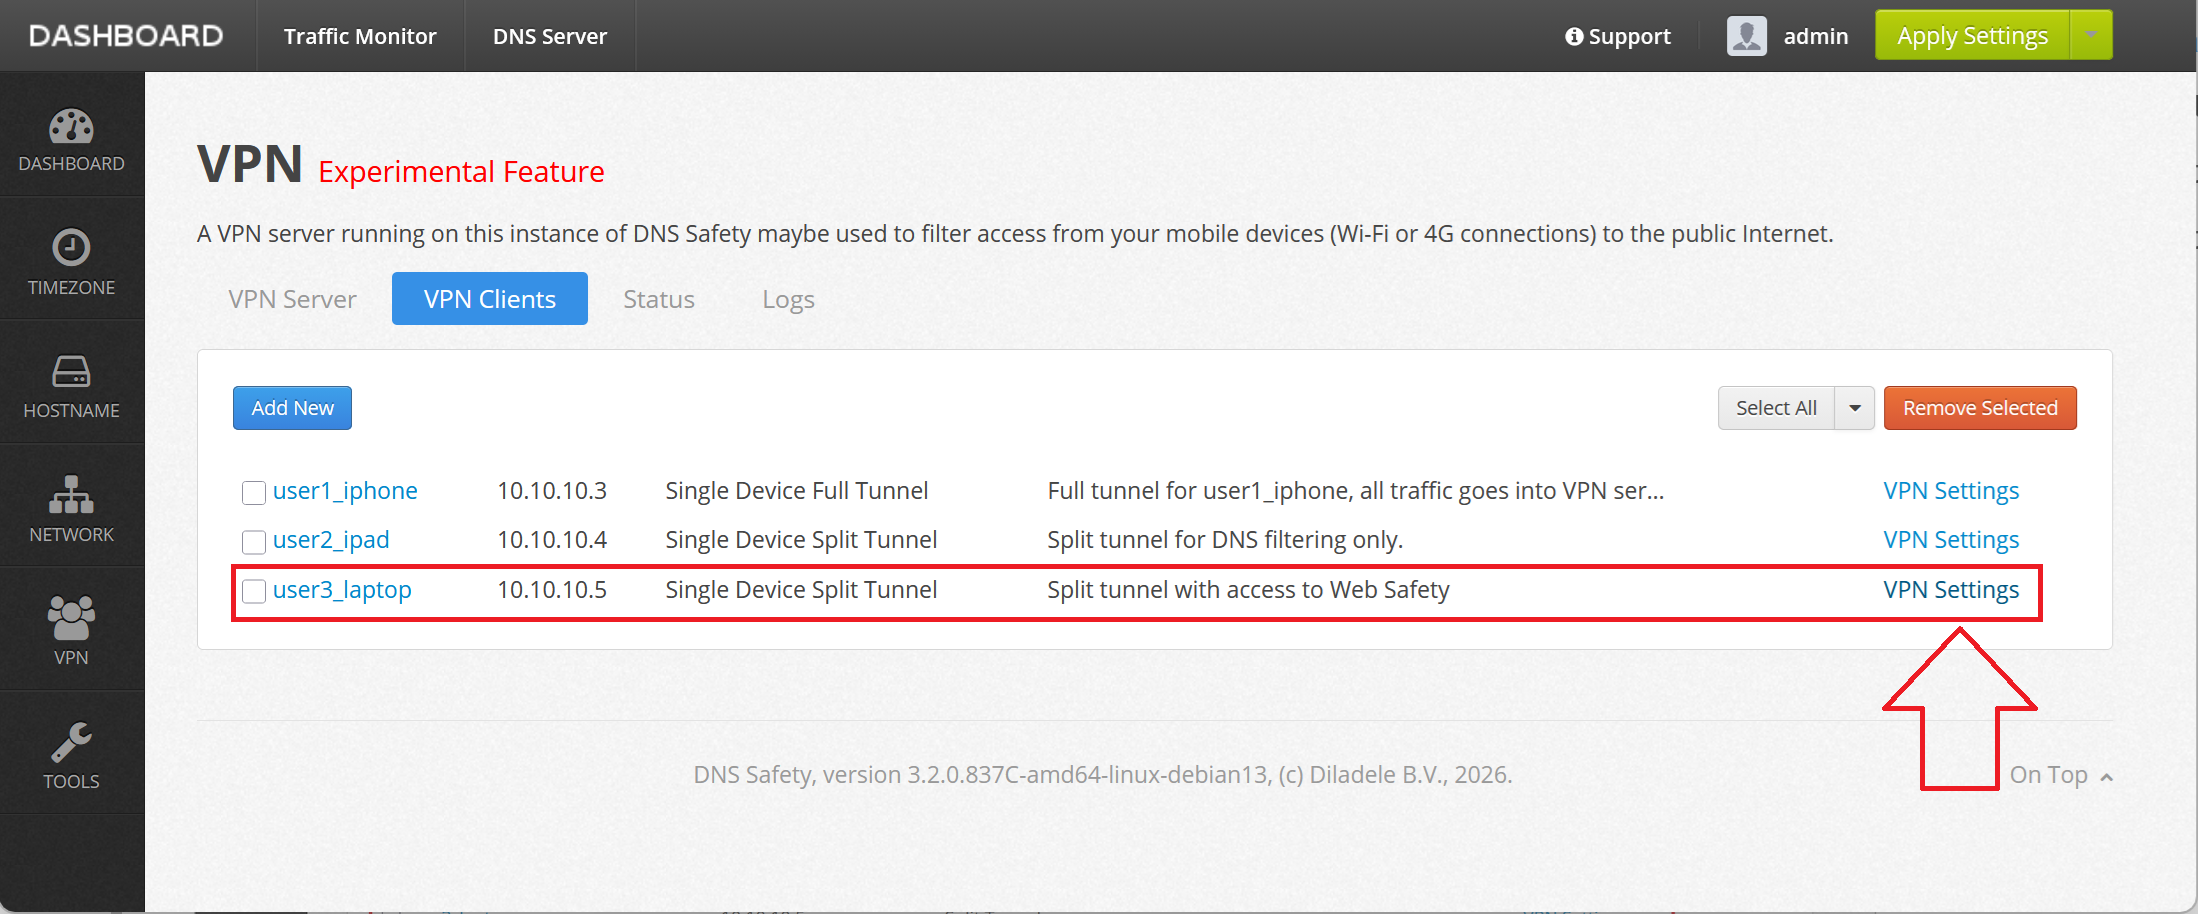
From your laptop browser, navigate to Admin UI / VPN / Clients and click the VPN Settings link for the user3_laptop VPN profile.
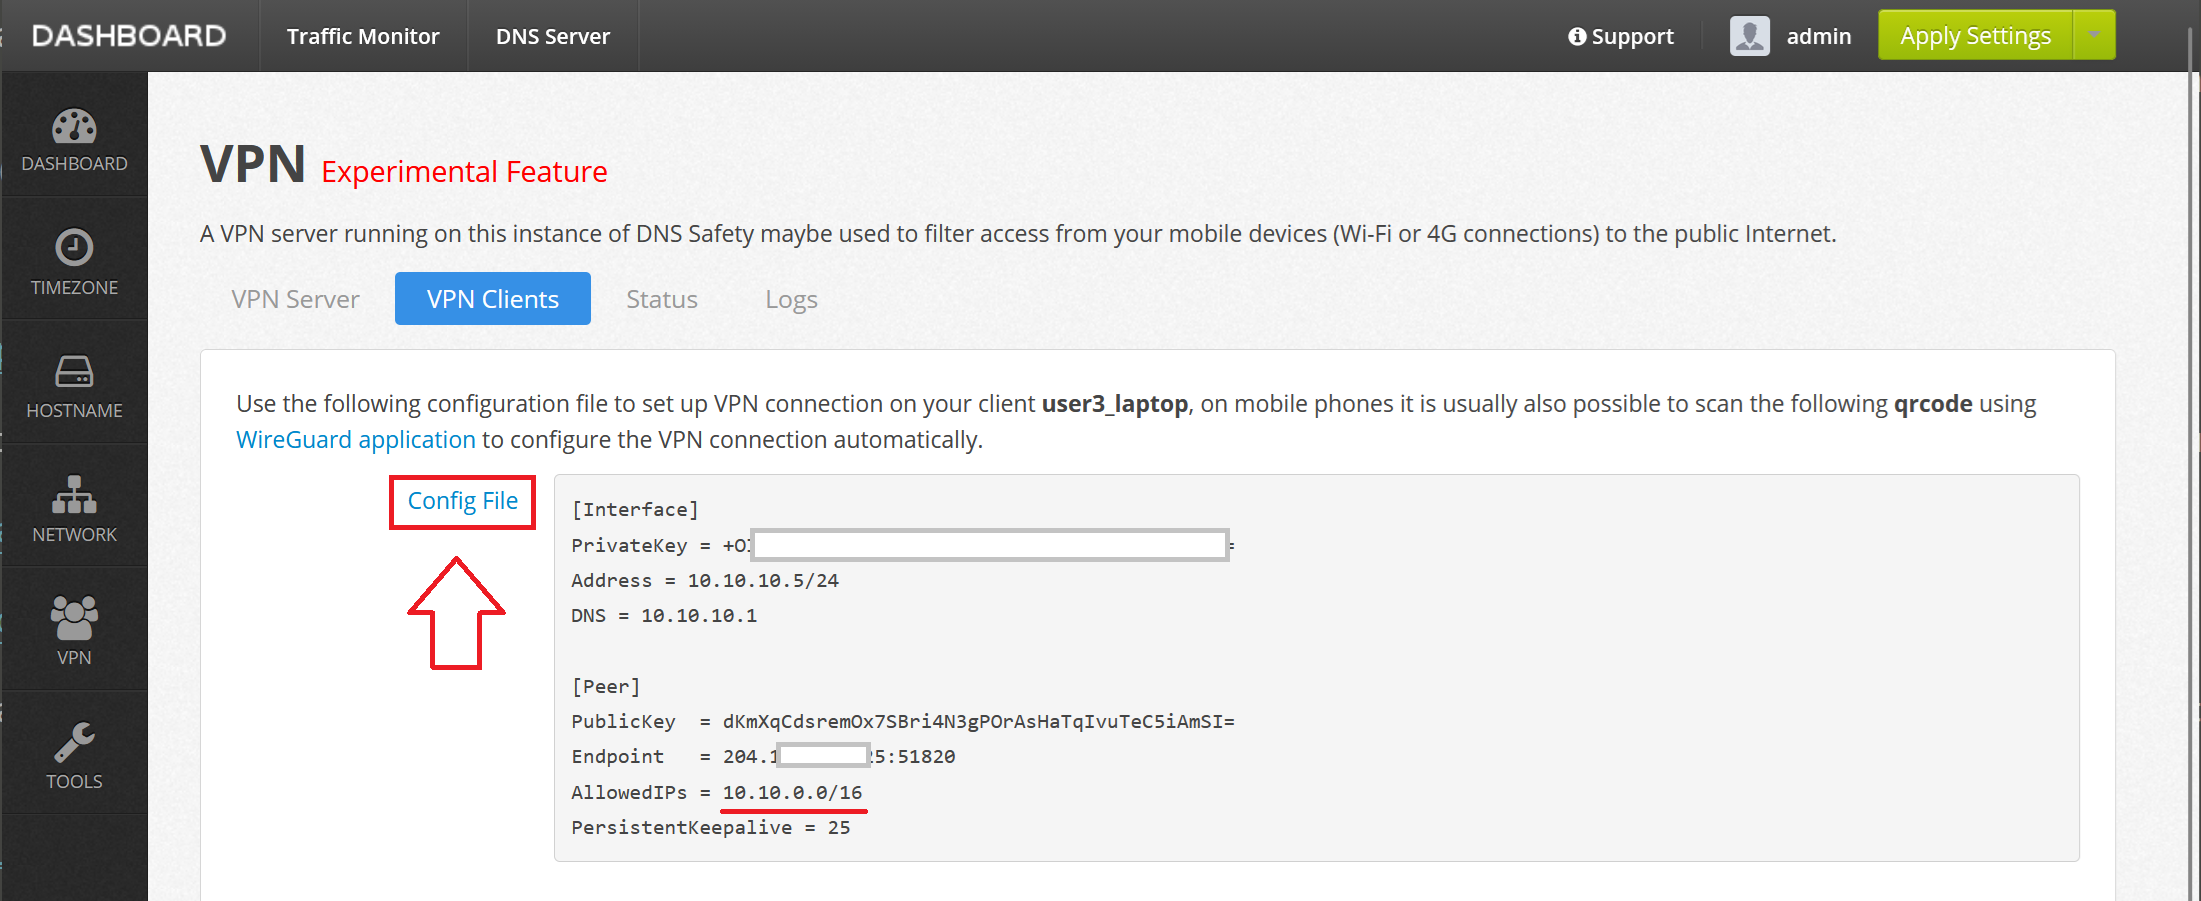
A config file will be shown for this given user profile. Copy it and save as user3_laptop.conf file on your desktop (or just click the download link).
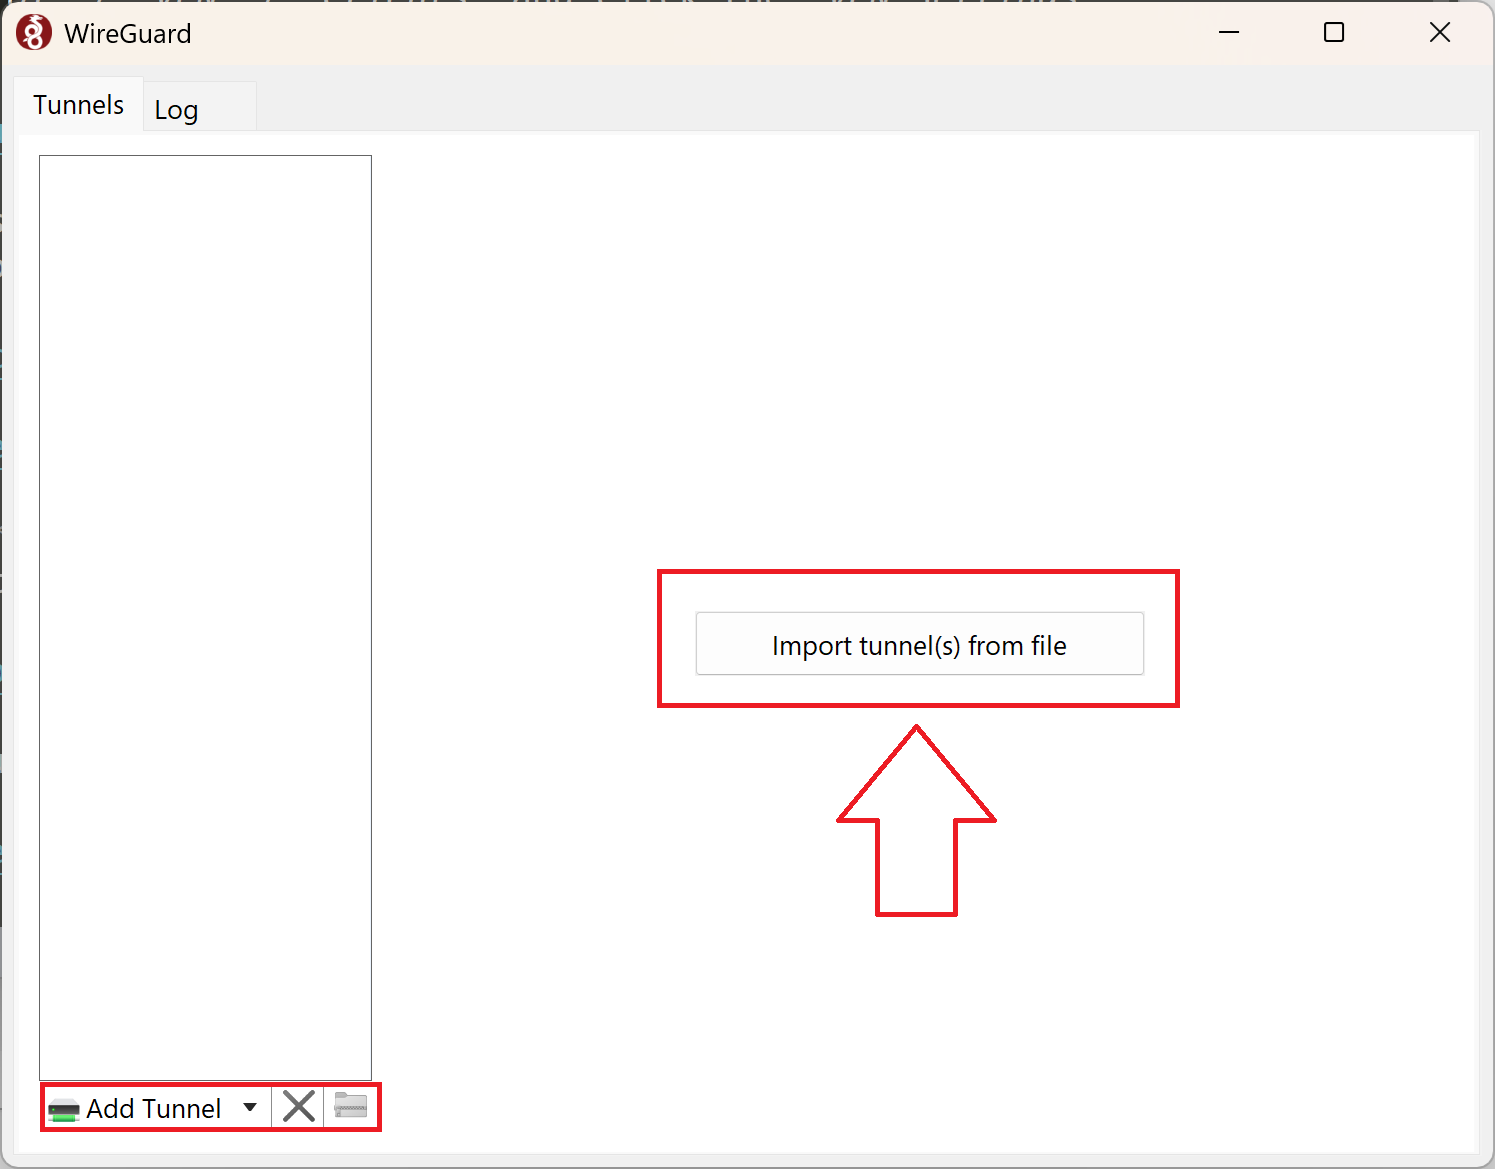
Open the Wireguard application, and click Add Tunnel button in the left bottom corner of the app (or click the Add Tunnel button in the center) and browse to the user3_laptop.conf file.
The user3_laptop.conf file will be loaded, parsed and shown on the WireGuard window. Click on the Activate button and your VPN tunnel should be activated.
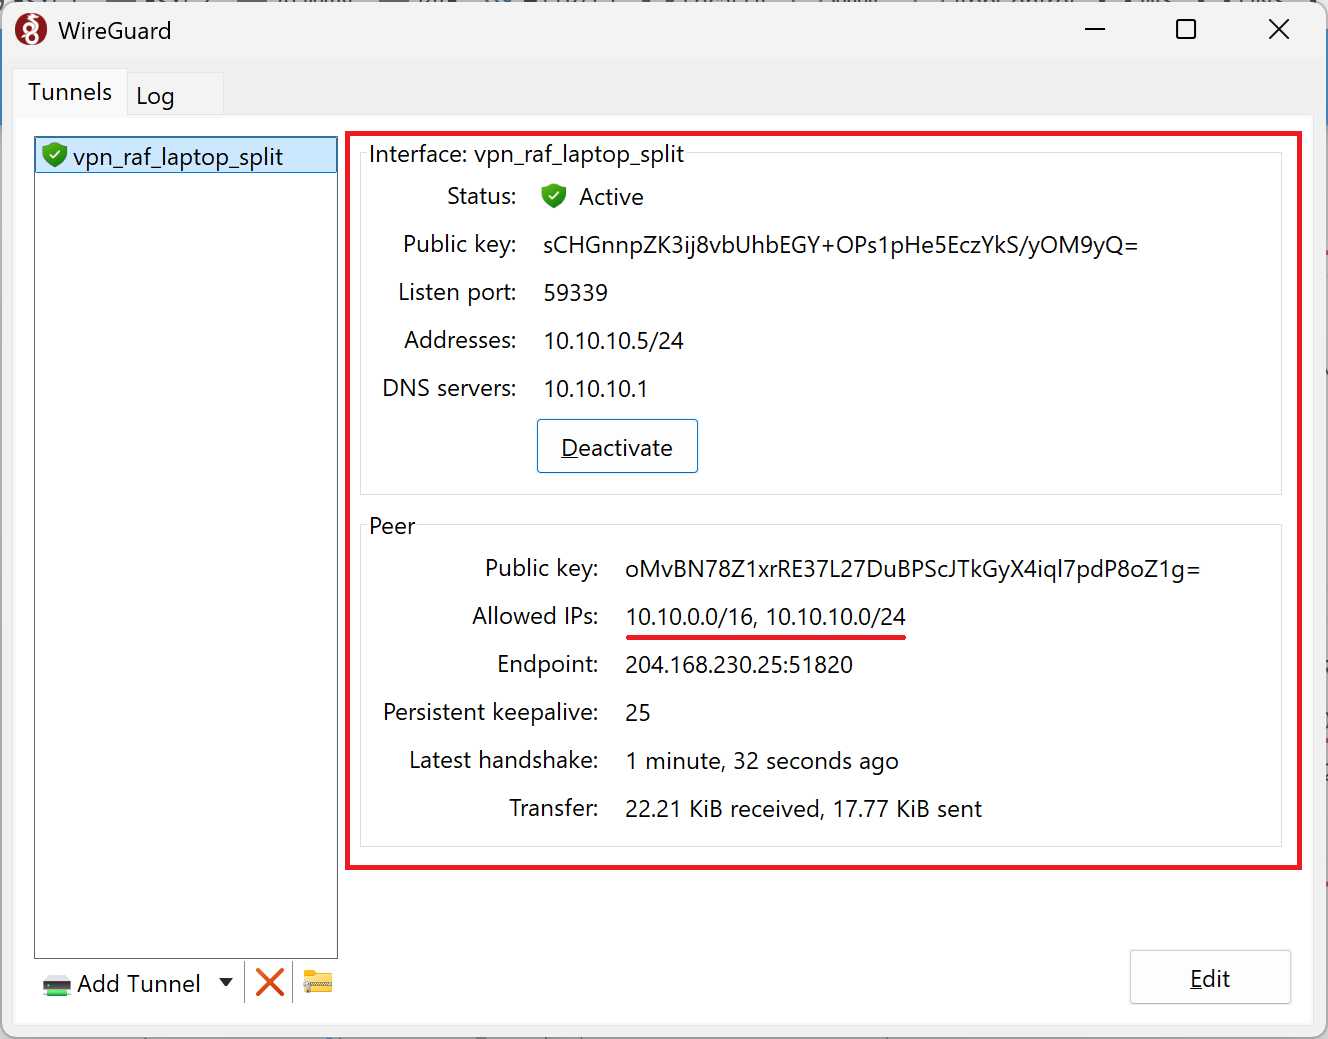
Note, that the IP addresses we are going to redirect into the tunnel are 10.10.0.0/16 (the address we added as server subnet when creating one devices split tunnel VPN profile for the laptop) and 10.10.10.0/24 (the address if wireguard subnet itself).
Check Connectivity
Lets now check the laptop machine can reach our DNS and Web Safety servers in our private_cloud. The following output shows ping to DNS Safety on 10.10.4.2 works correctly.
C:\Users\Builder>ping 10.10.4.2

Pinging 10.10.4.2 with 32 bytes of data:
Reply from 10.10.4.2: bytes=32 time=38ms TTL=64
Reply from 10.10.4.2: bytes=32 time=38ms TTL=64
Reply from 10.10.4.2: bytes=32 time=42ms TTL=64
Reply from 10.10.4.2: bytes=32 time=37ms TTL=64

Ping statistics for 10.10.4.2:
    Packets: Sent = 4, Received = 4, Lost = 0 (0% loss),
Approximate round trip times in milli-seconds:
    Minimum = 37ms, Maximum = 42ms, Average = 38ms
And also the ping to Web Safety on 10.10.4.3 works correctly too.
C:\Users\Builder>ping 10.10.4.3

Pinging 10.10.4.3 with 32 bytes of data:
Reply from 10.10.4.3: bytes=32 time=44ms TTL=62
Reply from 10.10.4.3: bytes=32 time=38ms TTL=62
Reply from 10.10.4.3: bytes=32 time=38ms TTL=62
Reply from 10.10.4.3: bytes=32 time=38ms TTL=62

Ping statistics for 10.10.4.3:
    Packets: Sent = 4, Received = 4, Lost = 0 (0% loss),
Approximate round trip times in milli-seconds:
    Minimum = 38ms, Maximum = 44ms, Average = 39ms
Check DNS Filtering
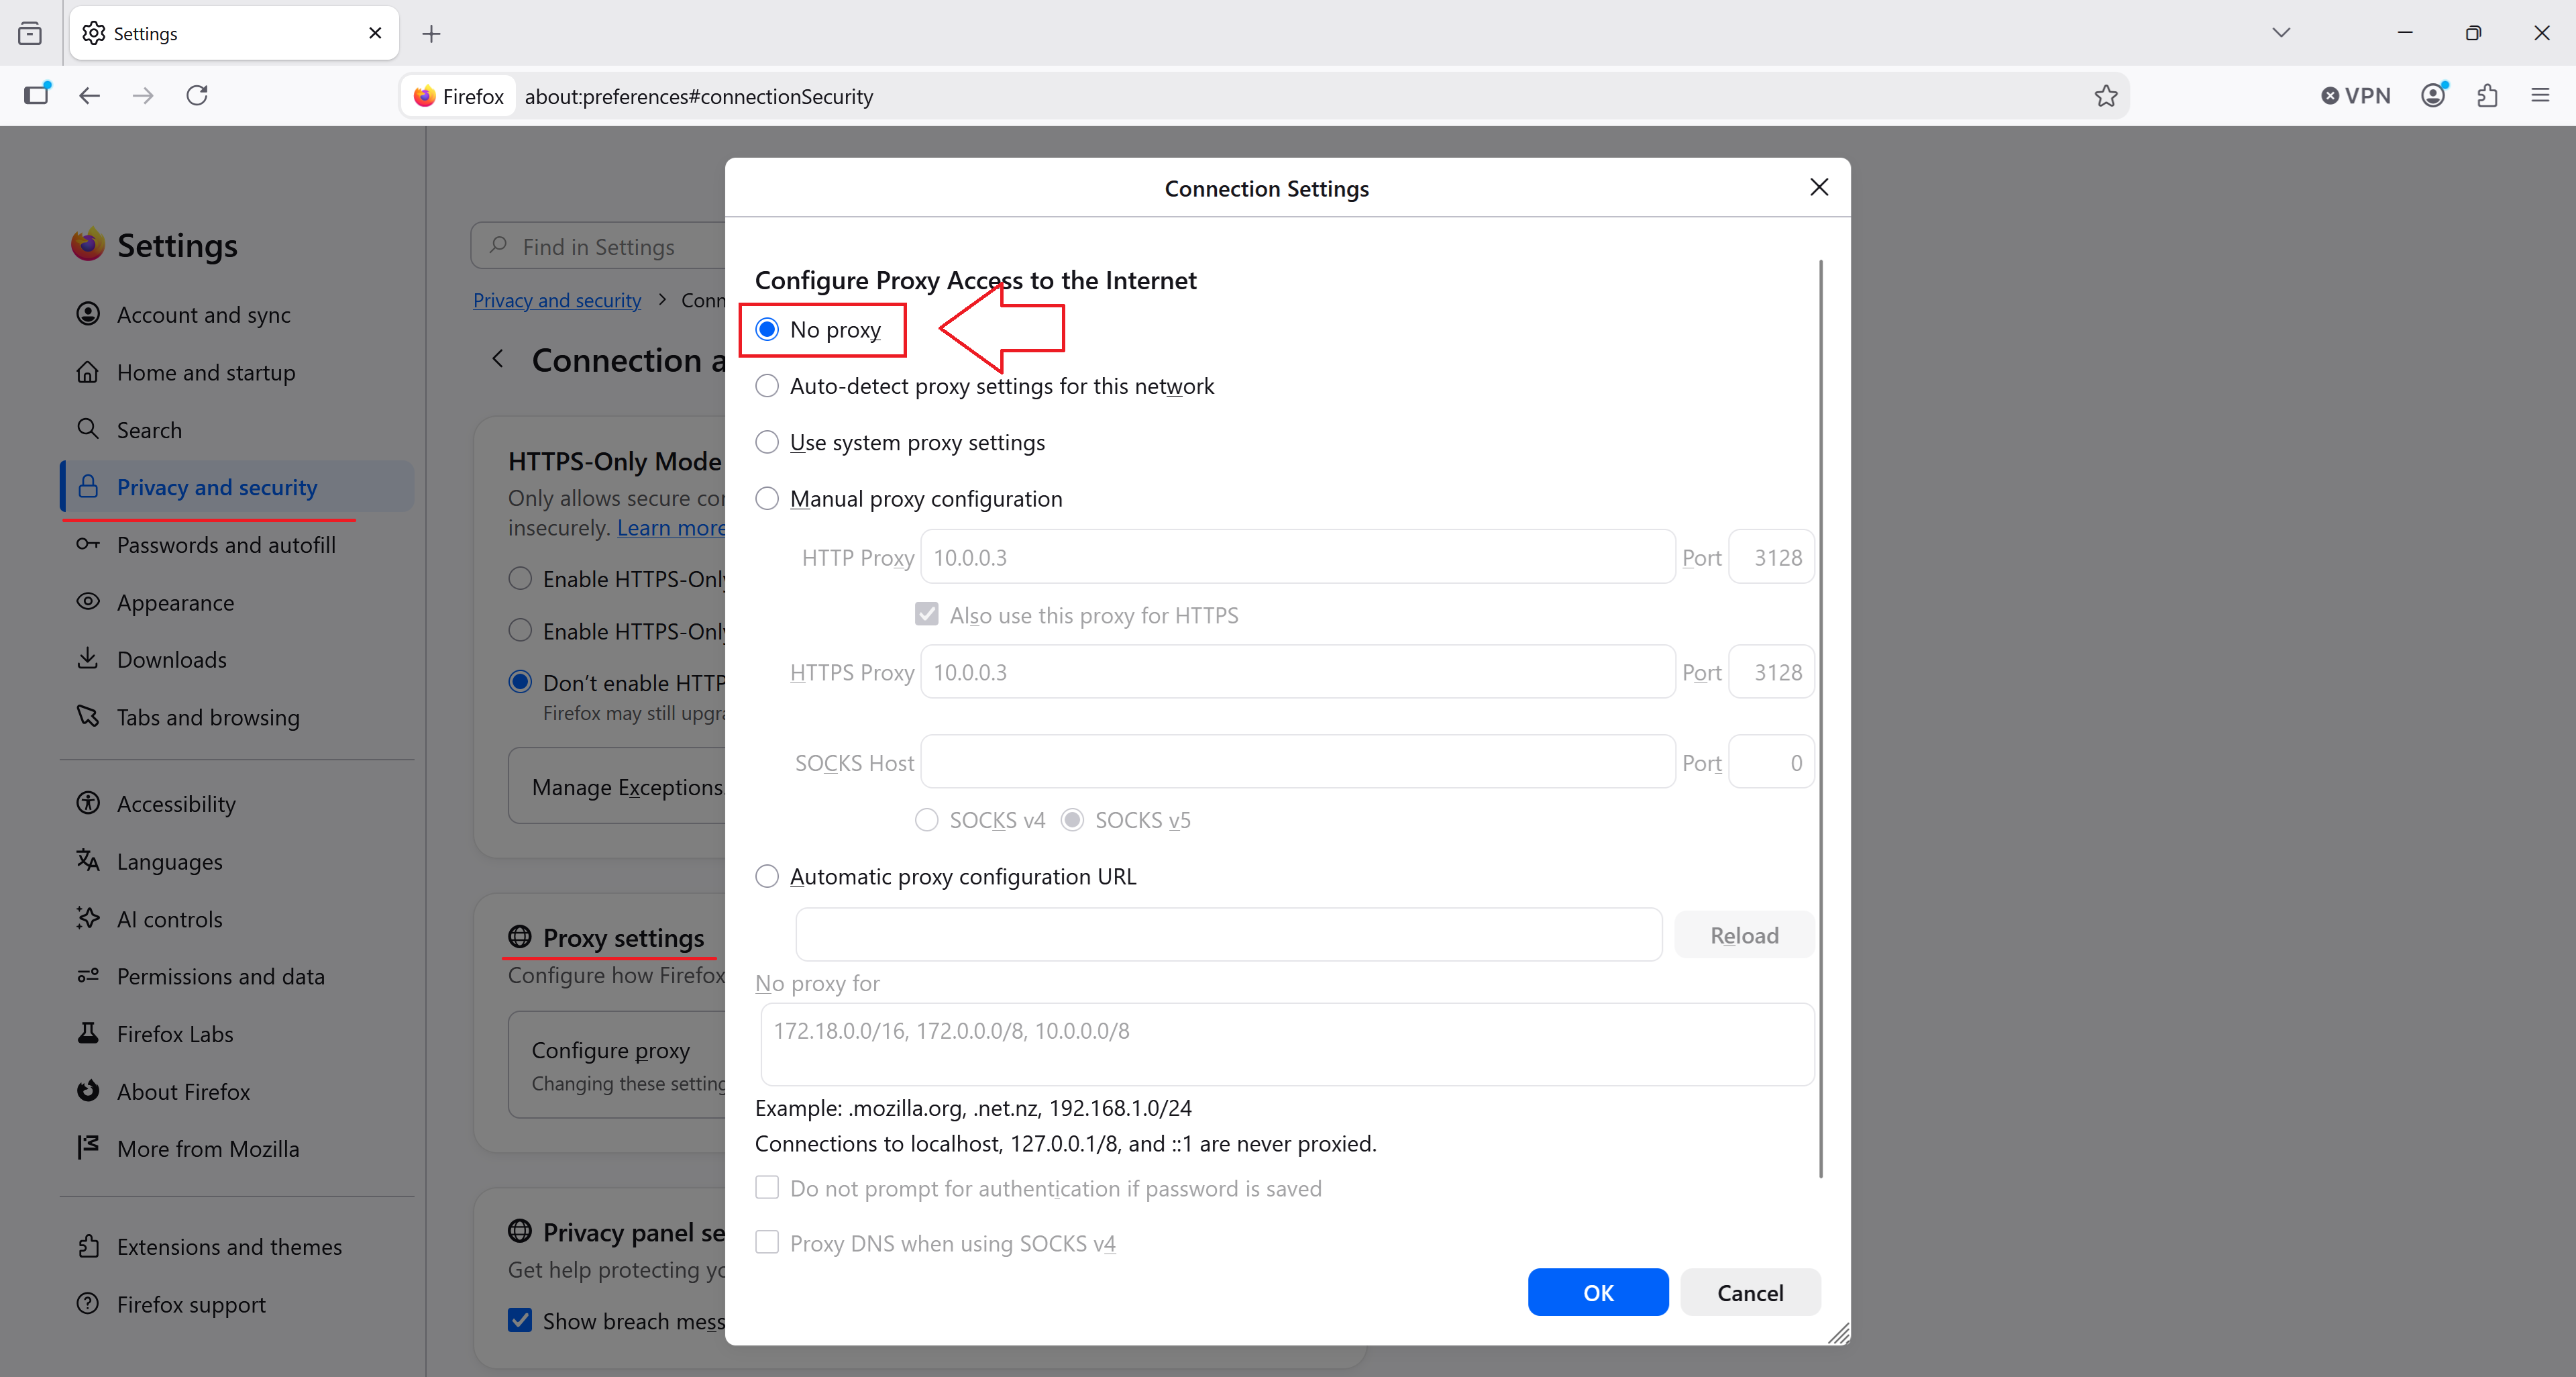
To verify the DNS Safety works correctly and can filter DNS requests from the browser, make sure your browser is NOT using the proxy in the network settings and navigate to to verify.diladele.com. Connection should fail.
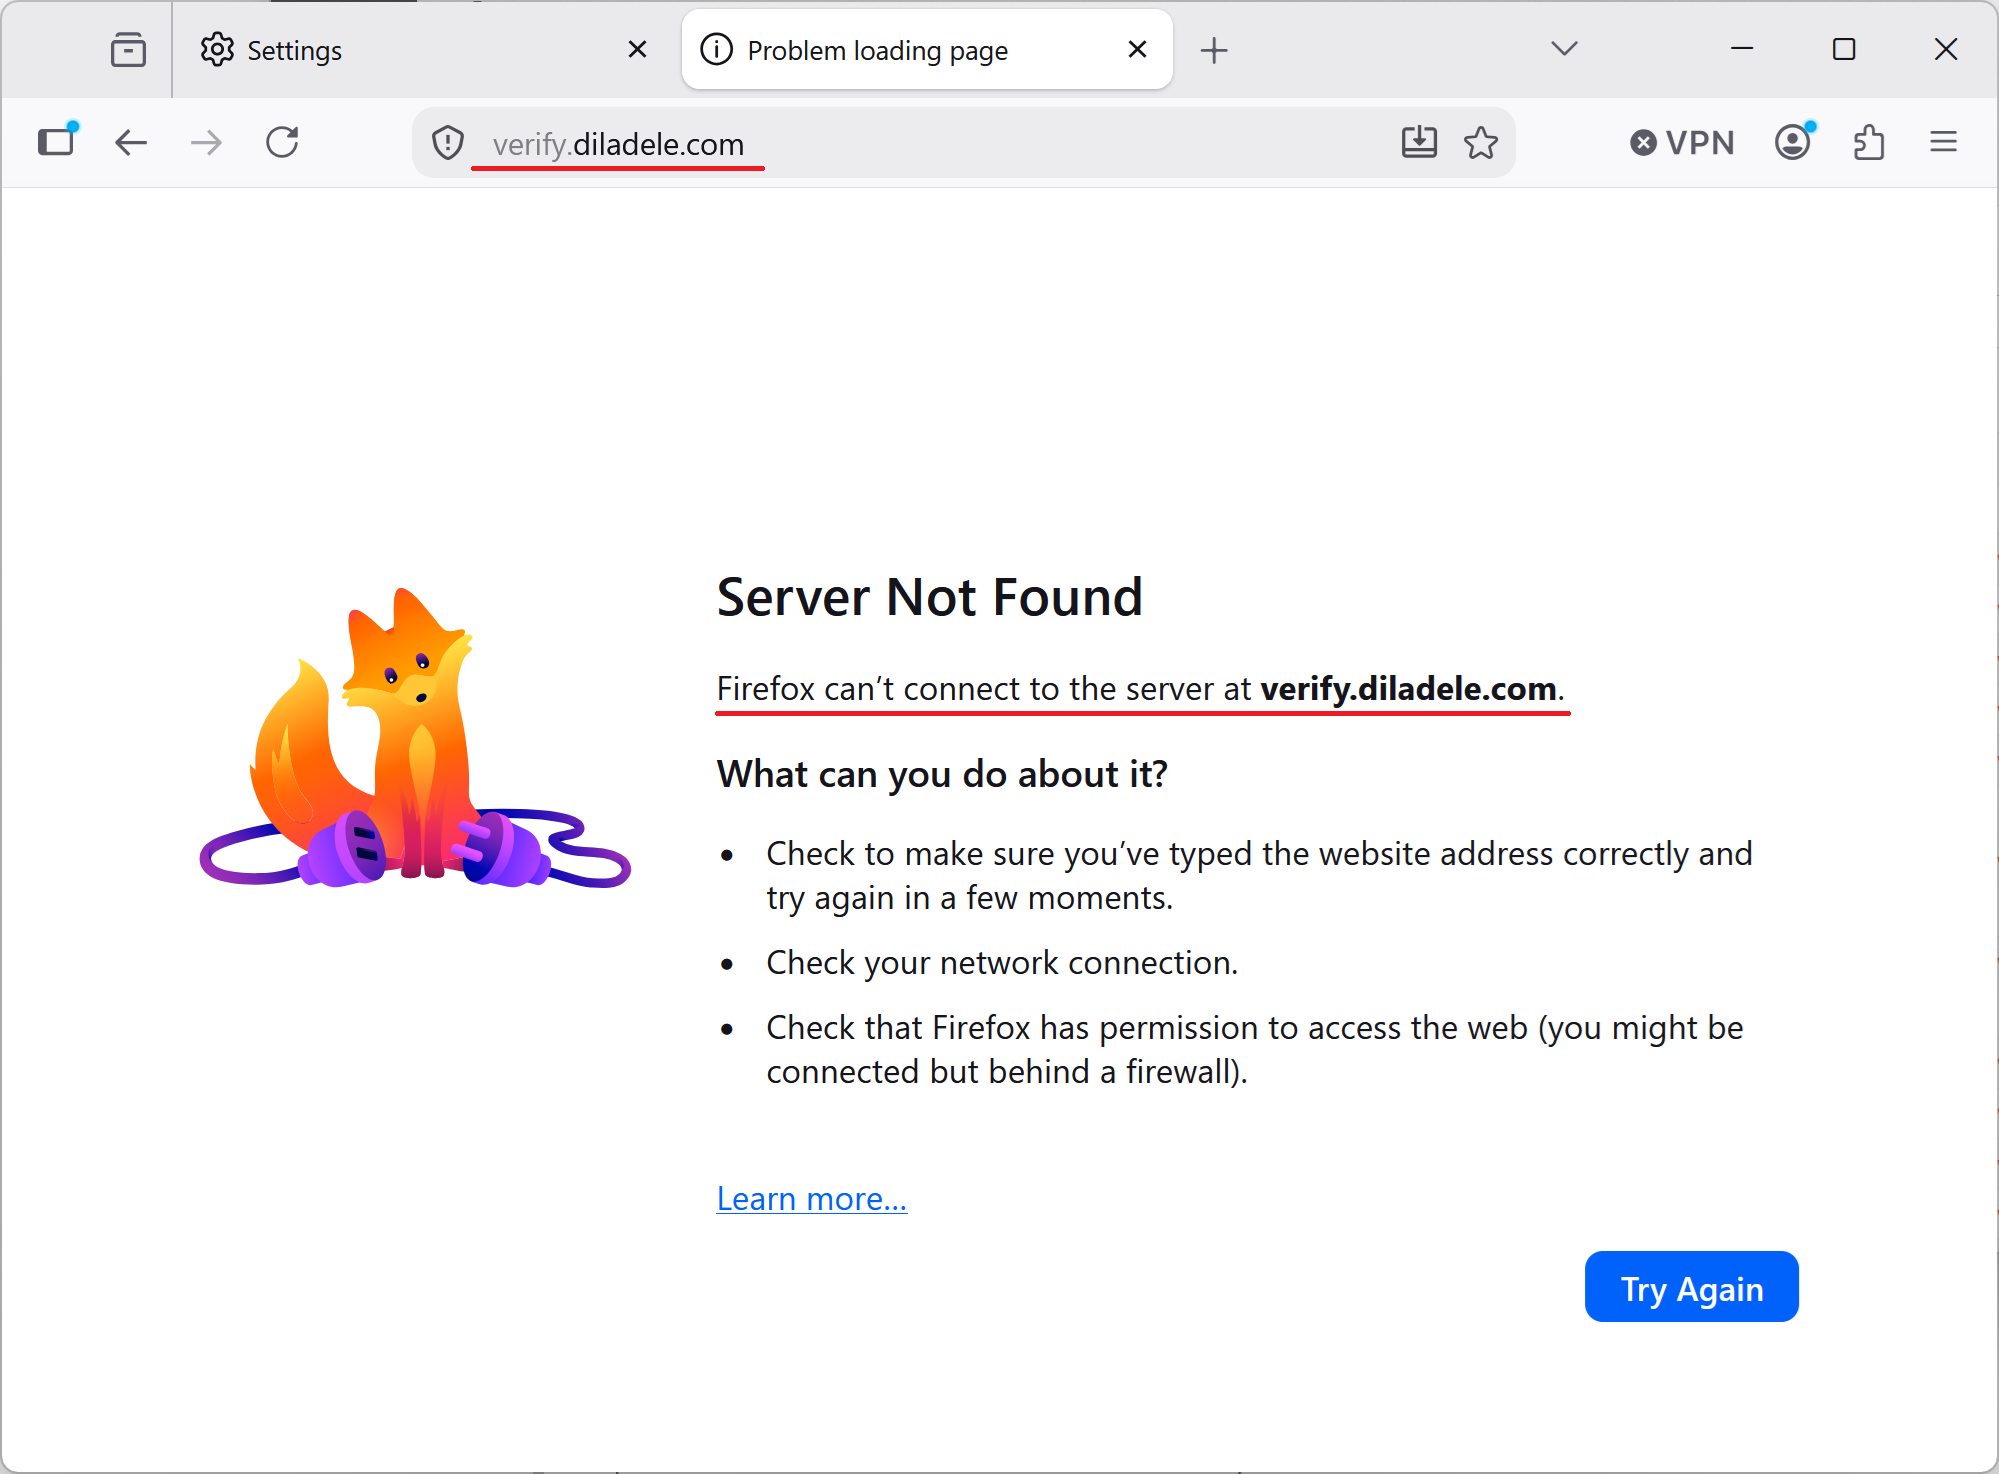
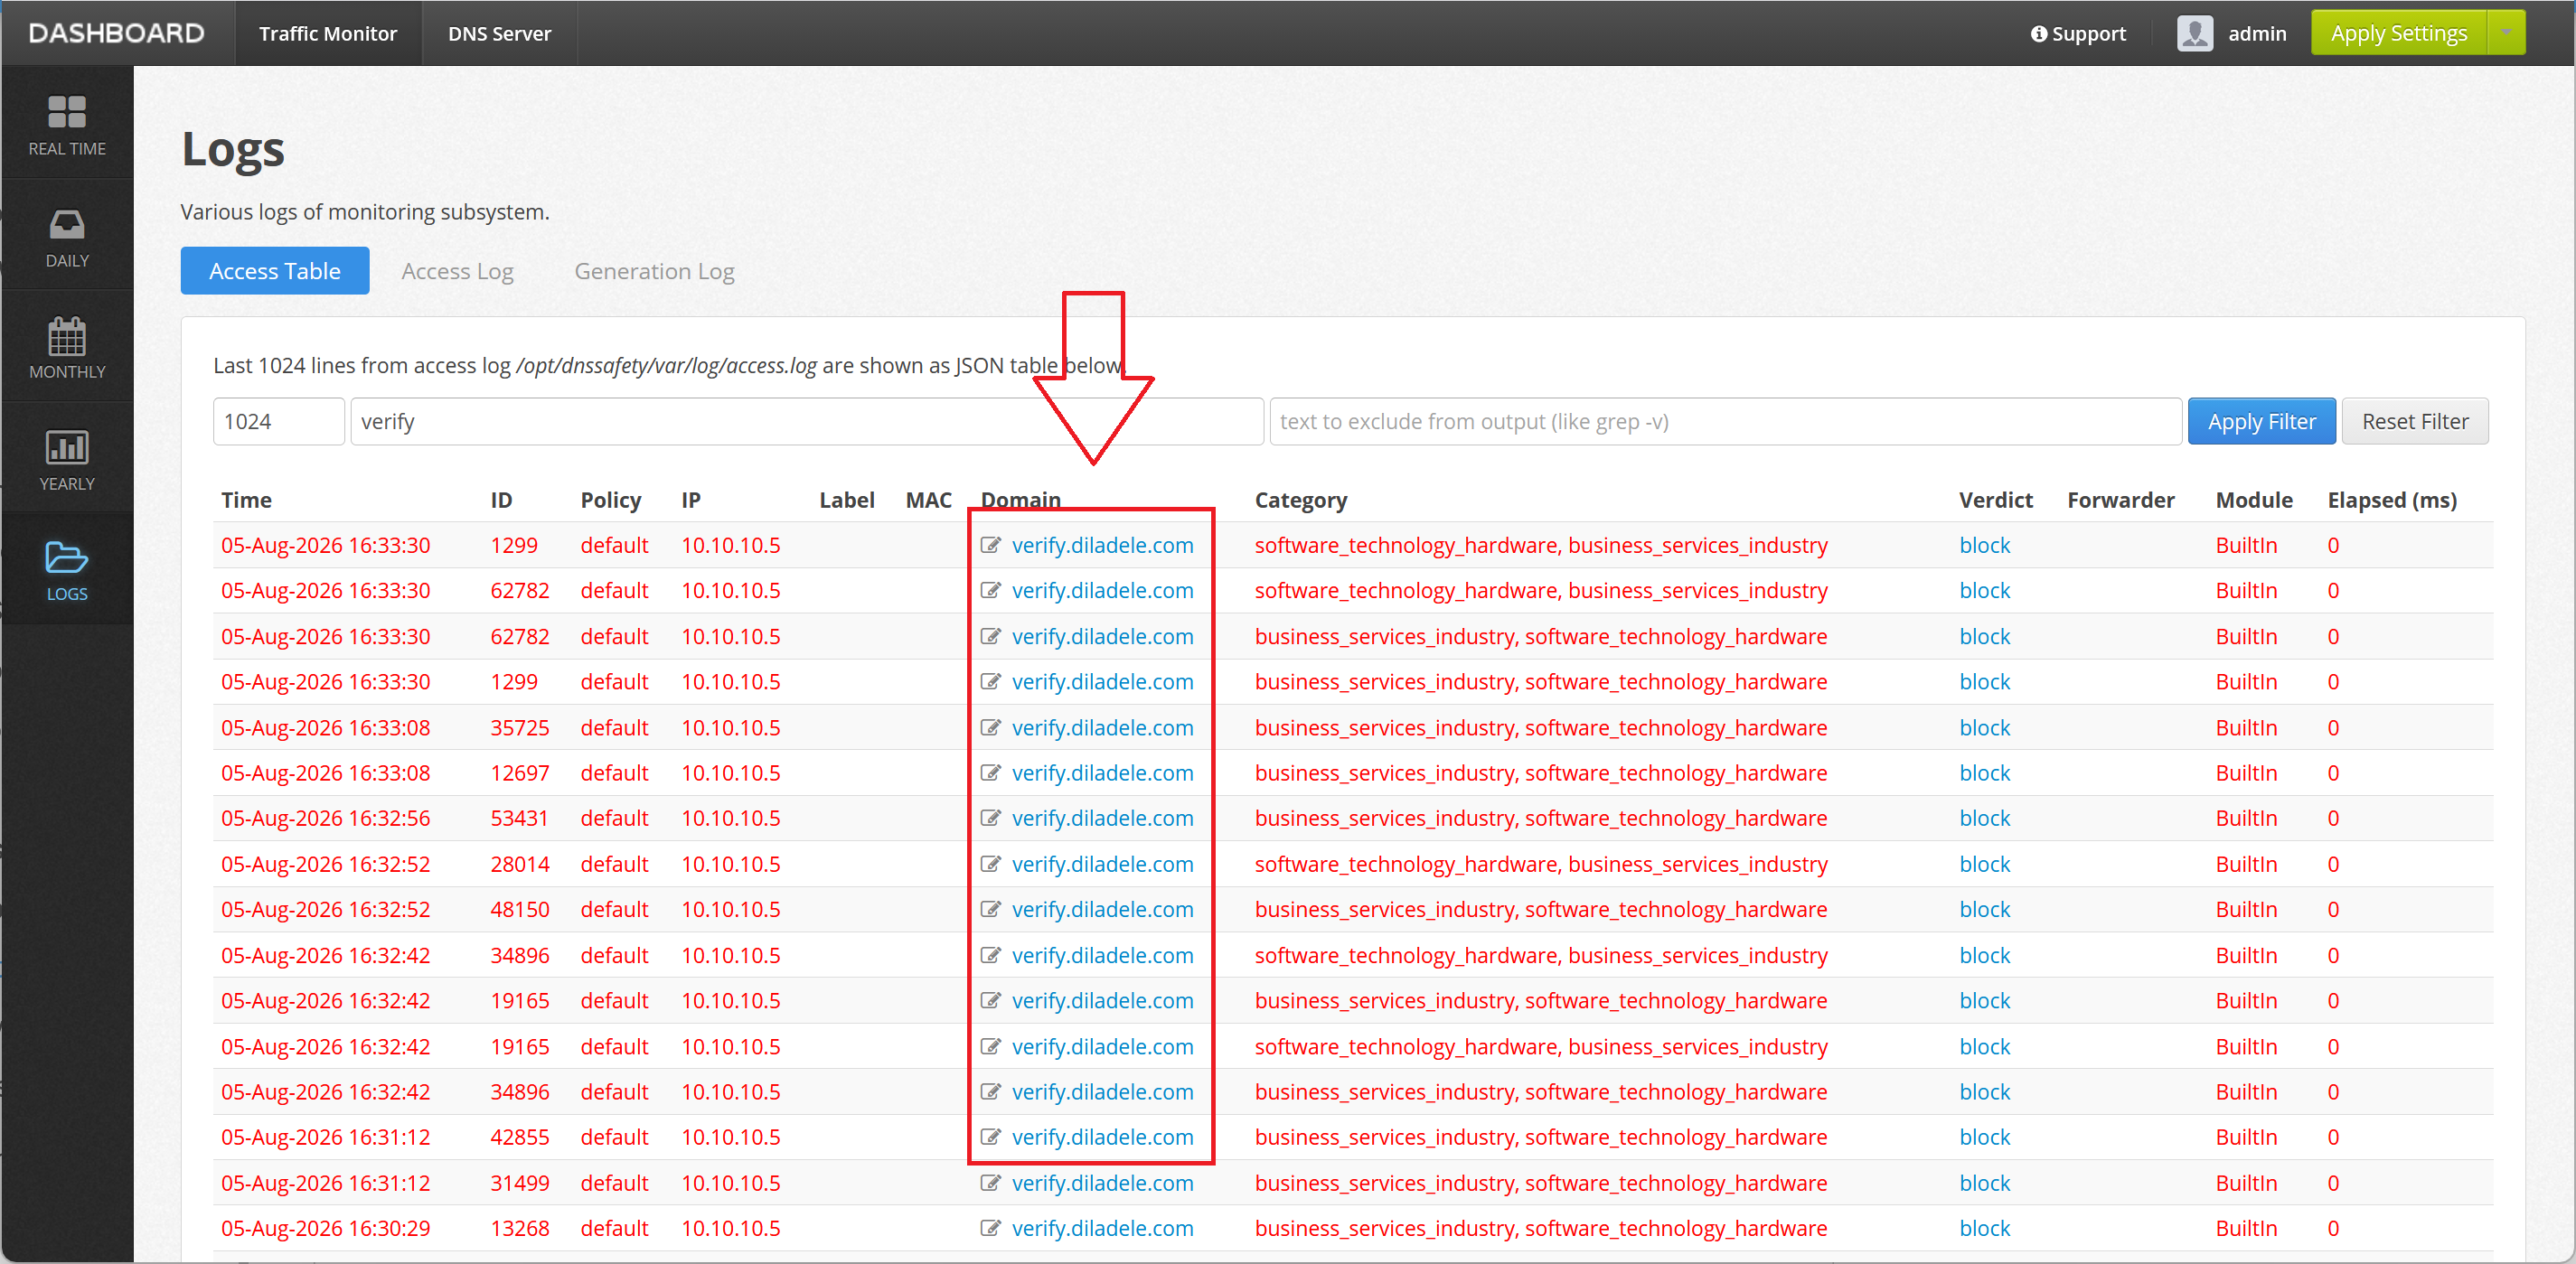
The Admin UI of DNS Safety should show a blocked DNS request to verify.diladele.com.
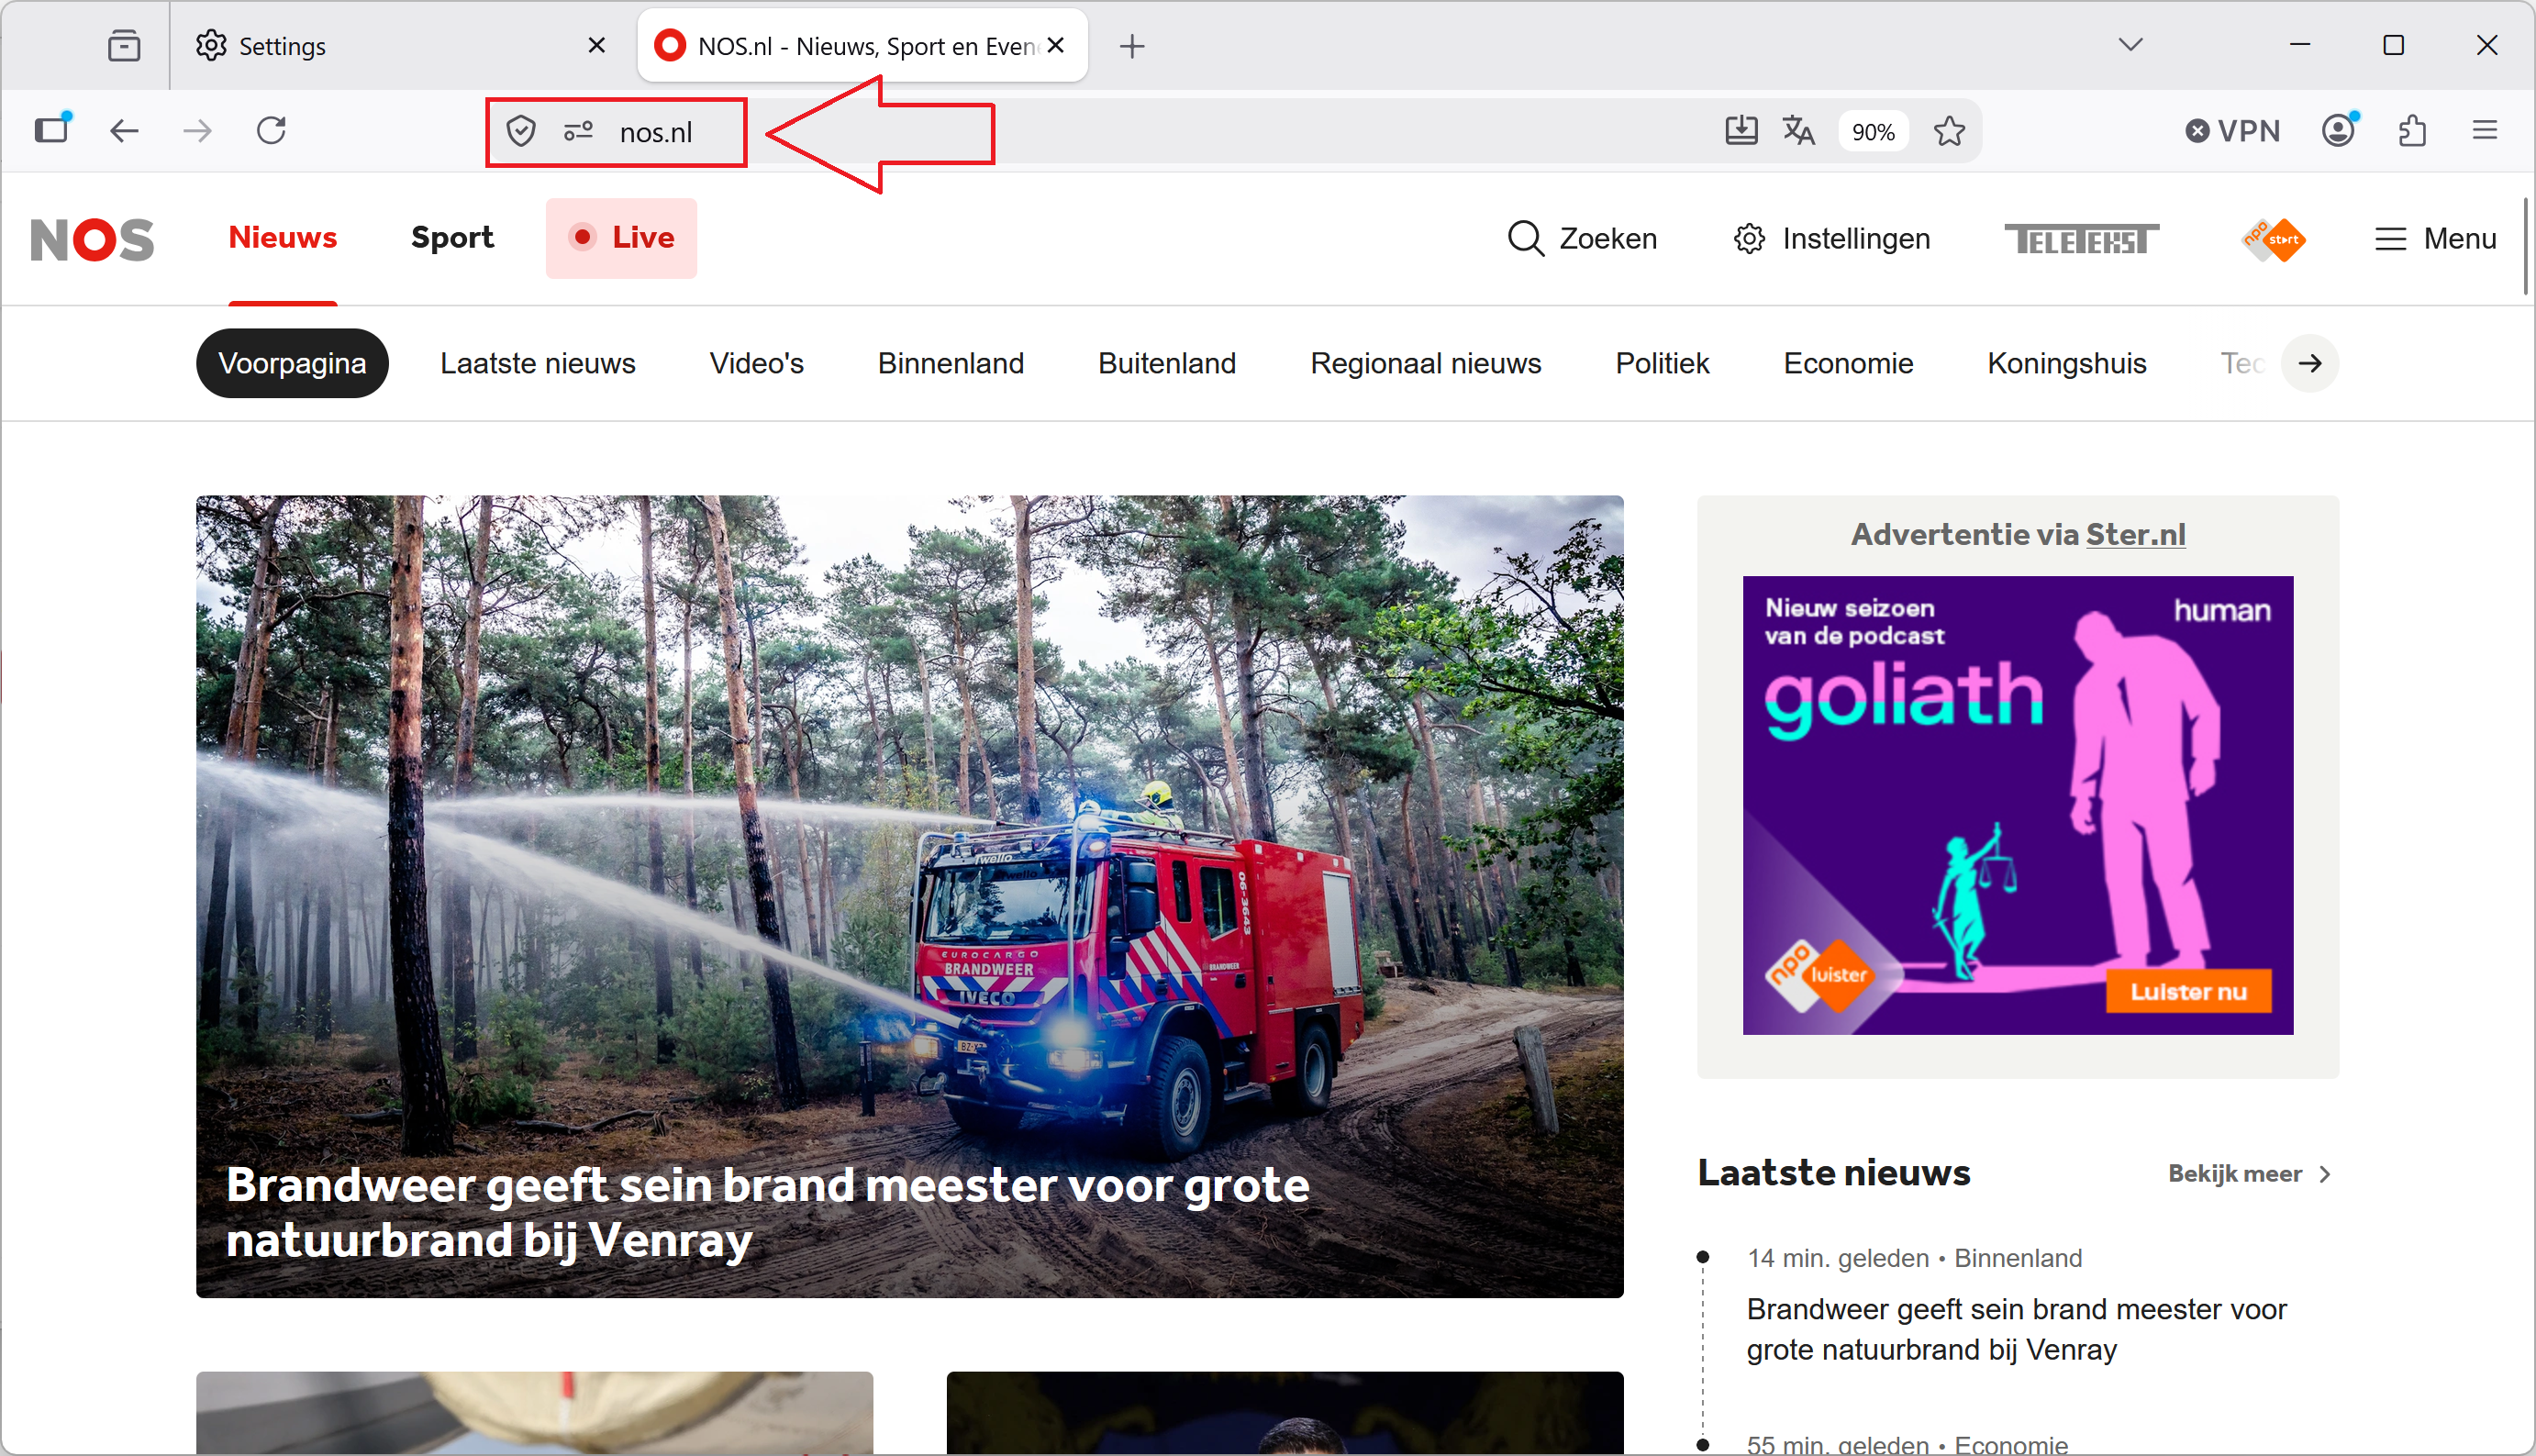
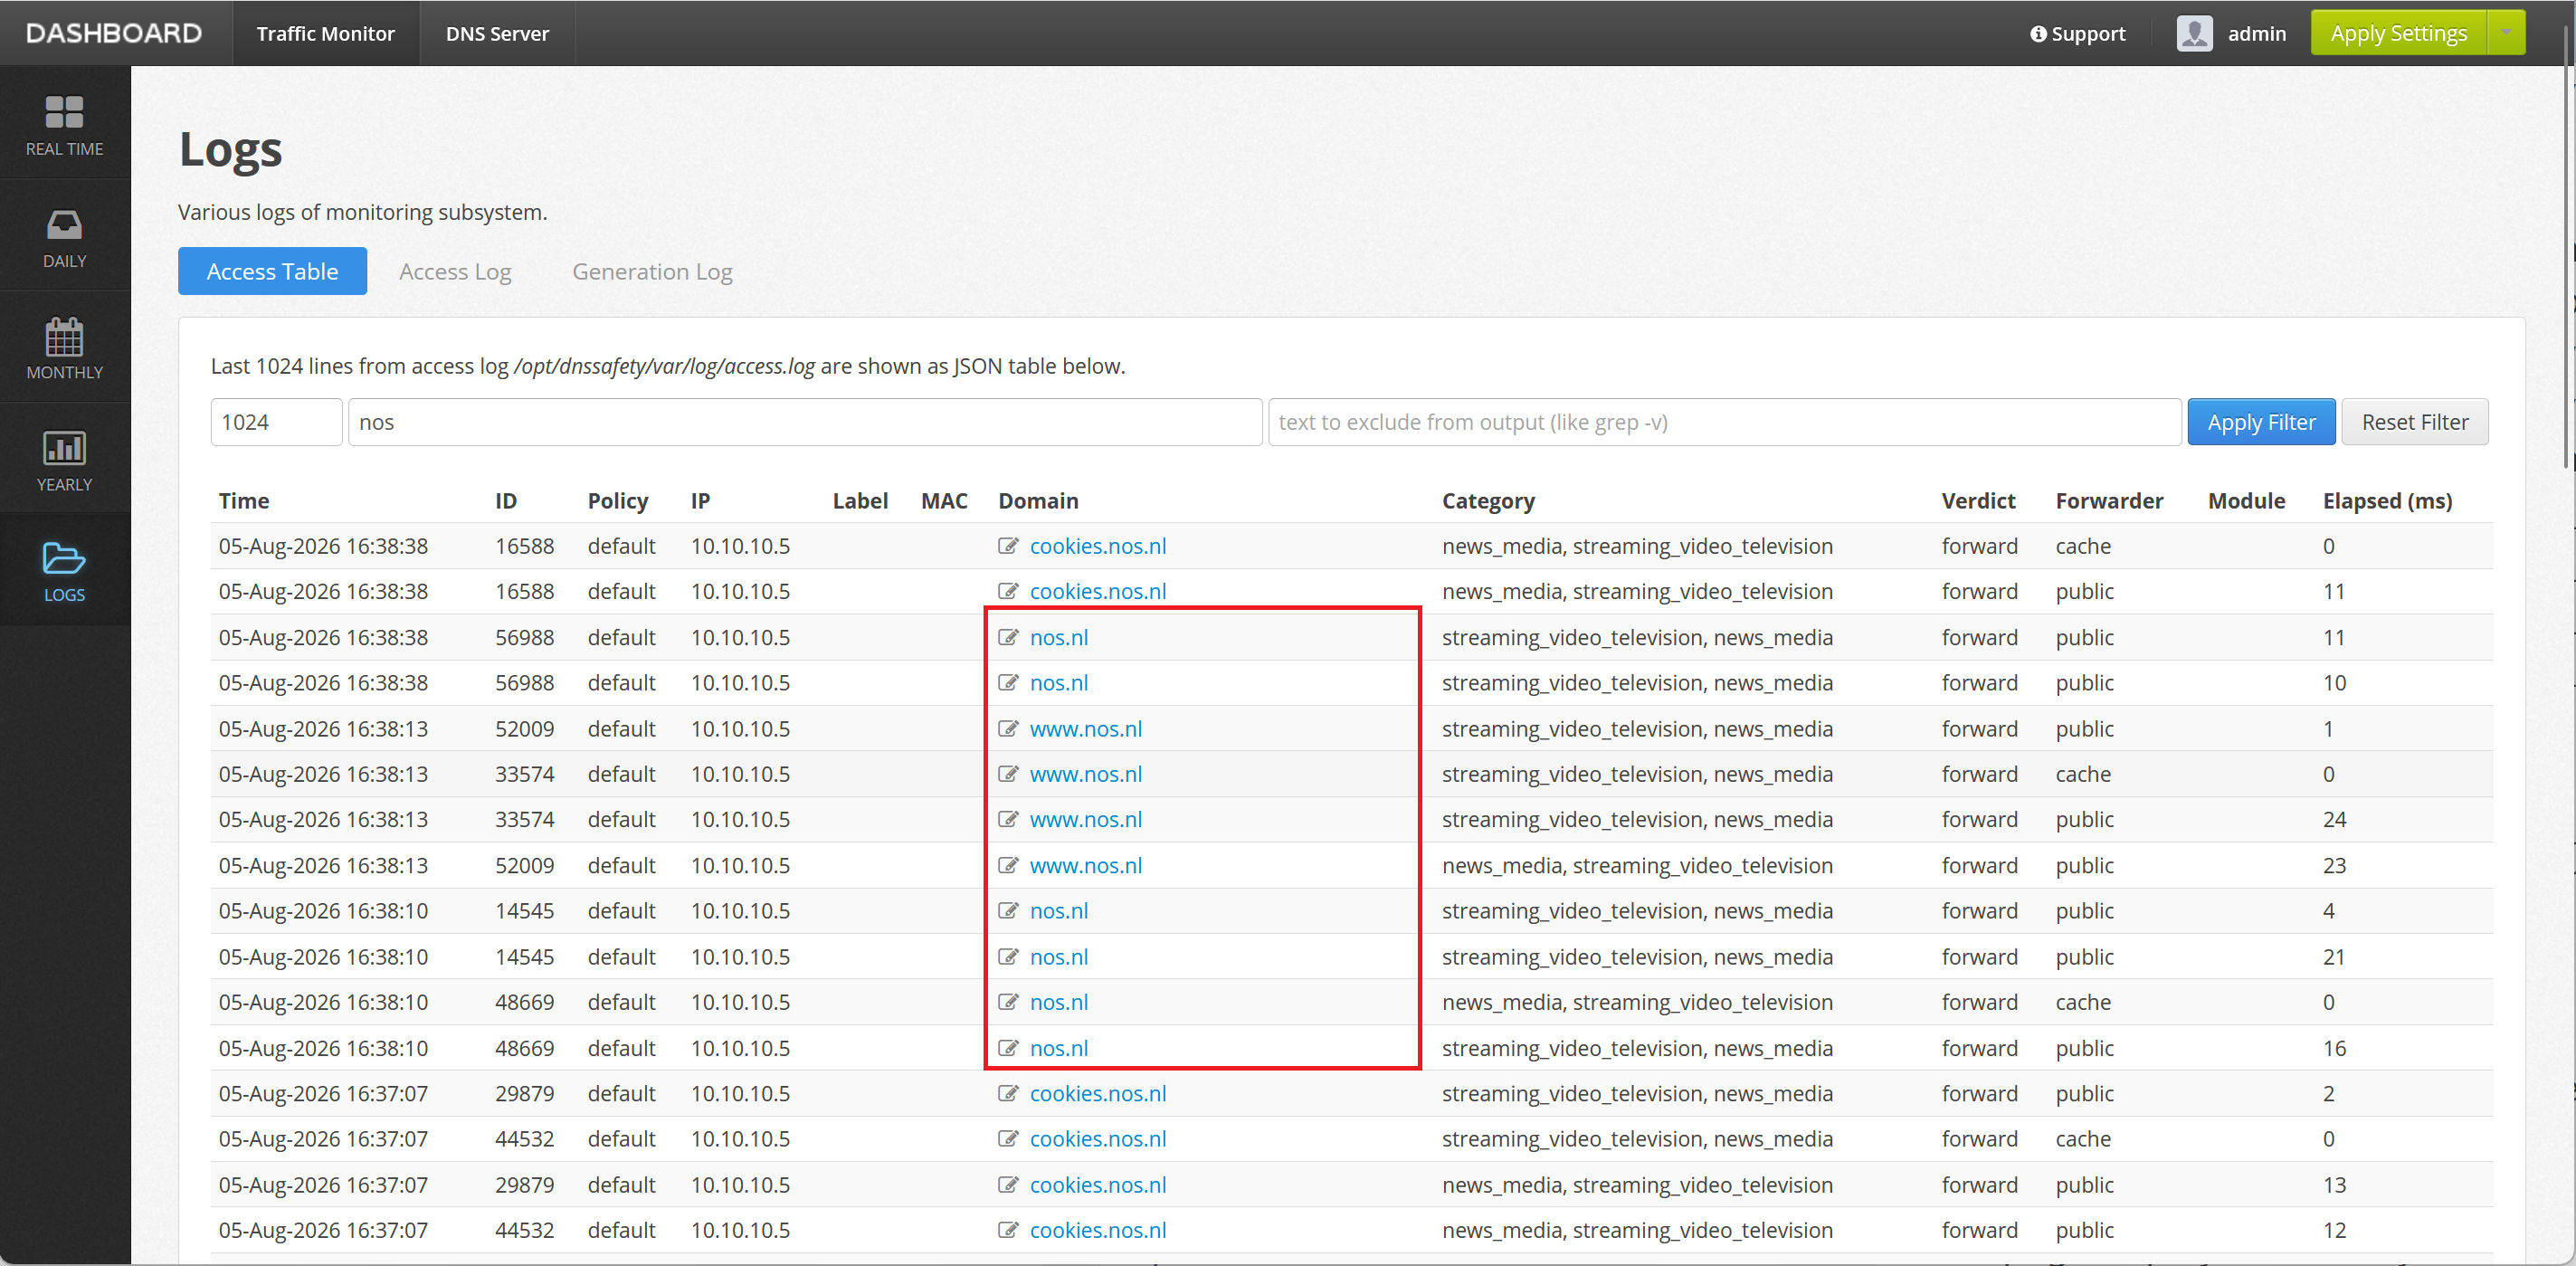
Now try to access a normal web site, like for example nos.nl and make sure you are able to normally browse.
Access to that site should also be visible in Admin UI / Traffic Monitor / Access Log.
Check Web Filtering
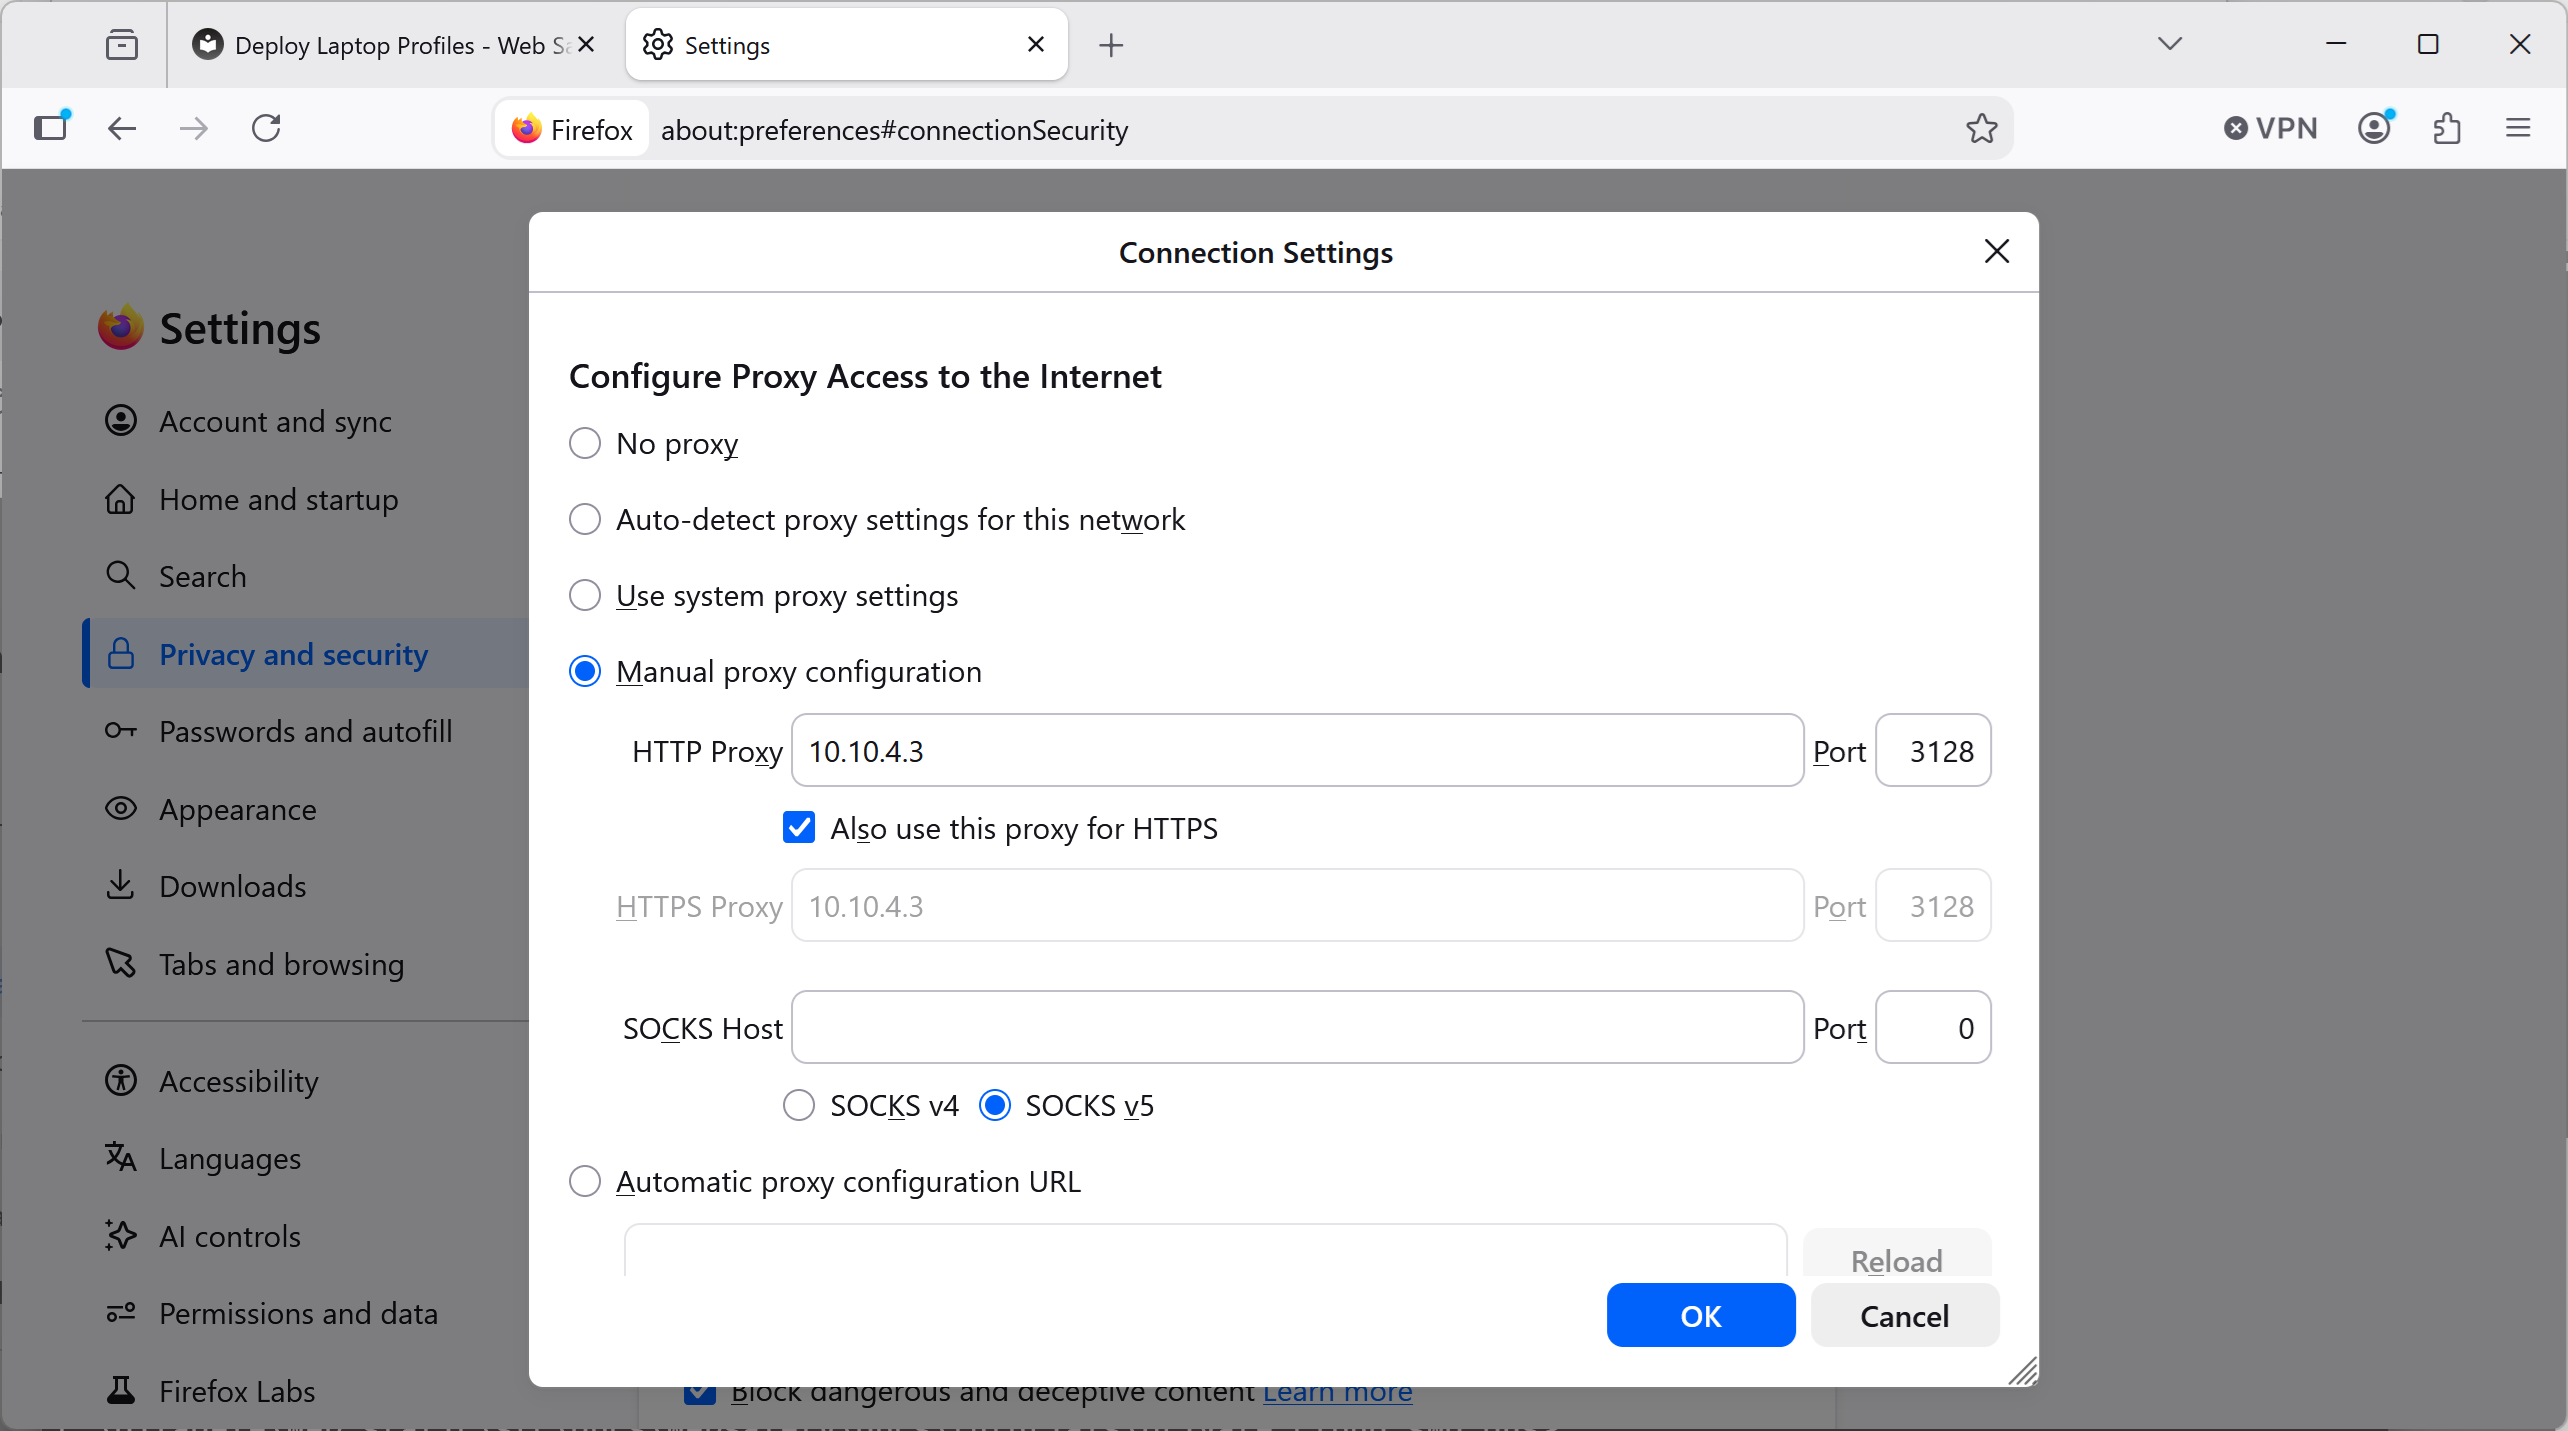
Now configure your browser to connect to Web Safety by its IP address 10.10.4.3, port 3128 (the address in private_cloud).
Try navigating to a known adult only site and the access should be blocked by Web Safety. The blocked page clearly identified the browser as connecting from the VPN profile of the laptop.
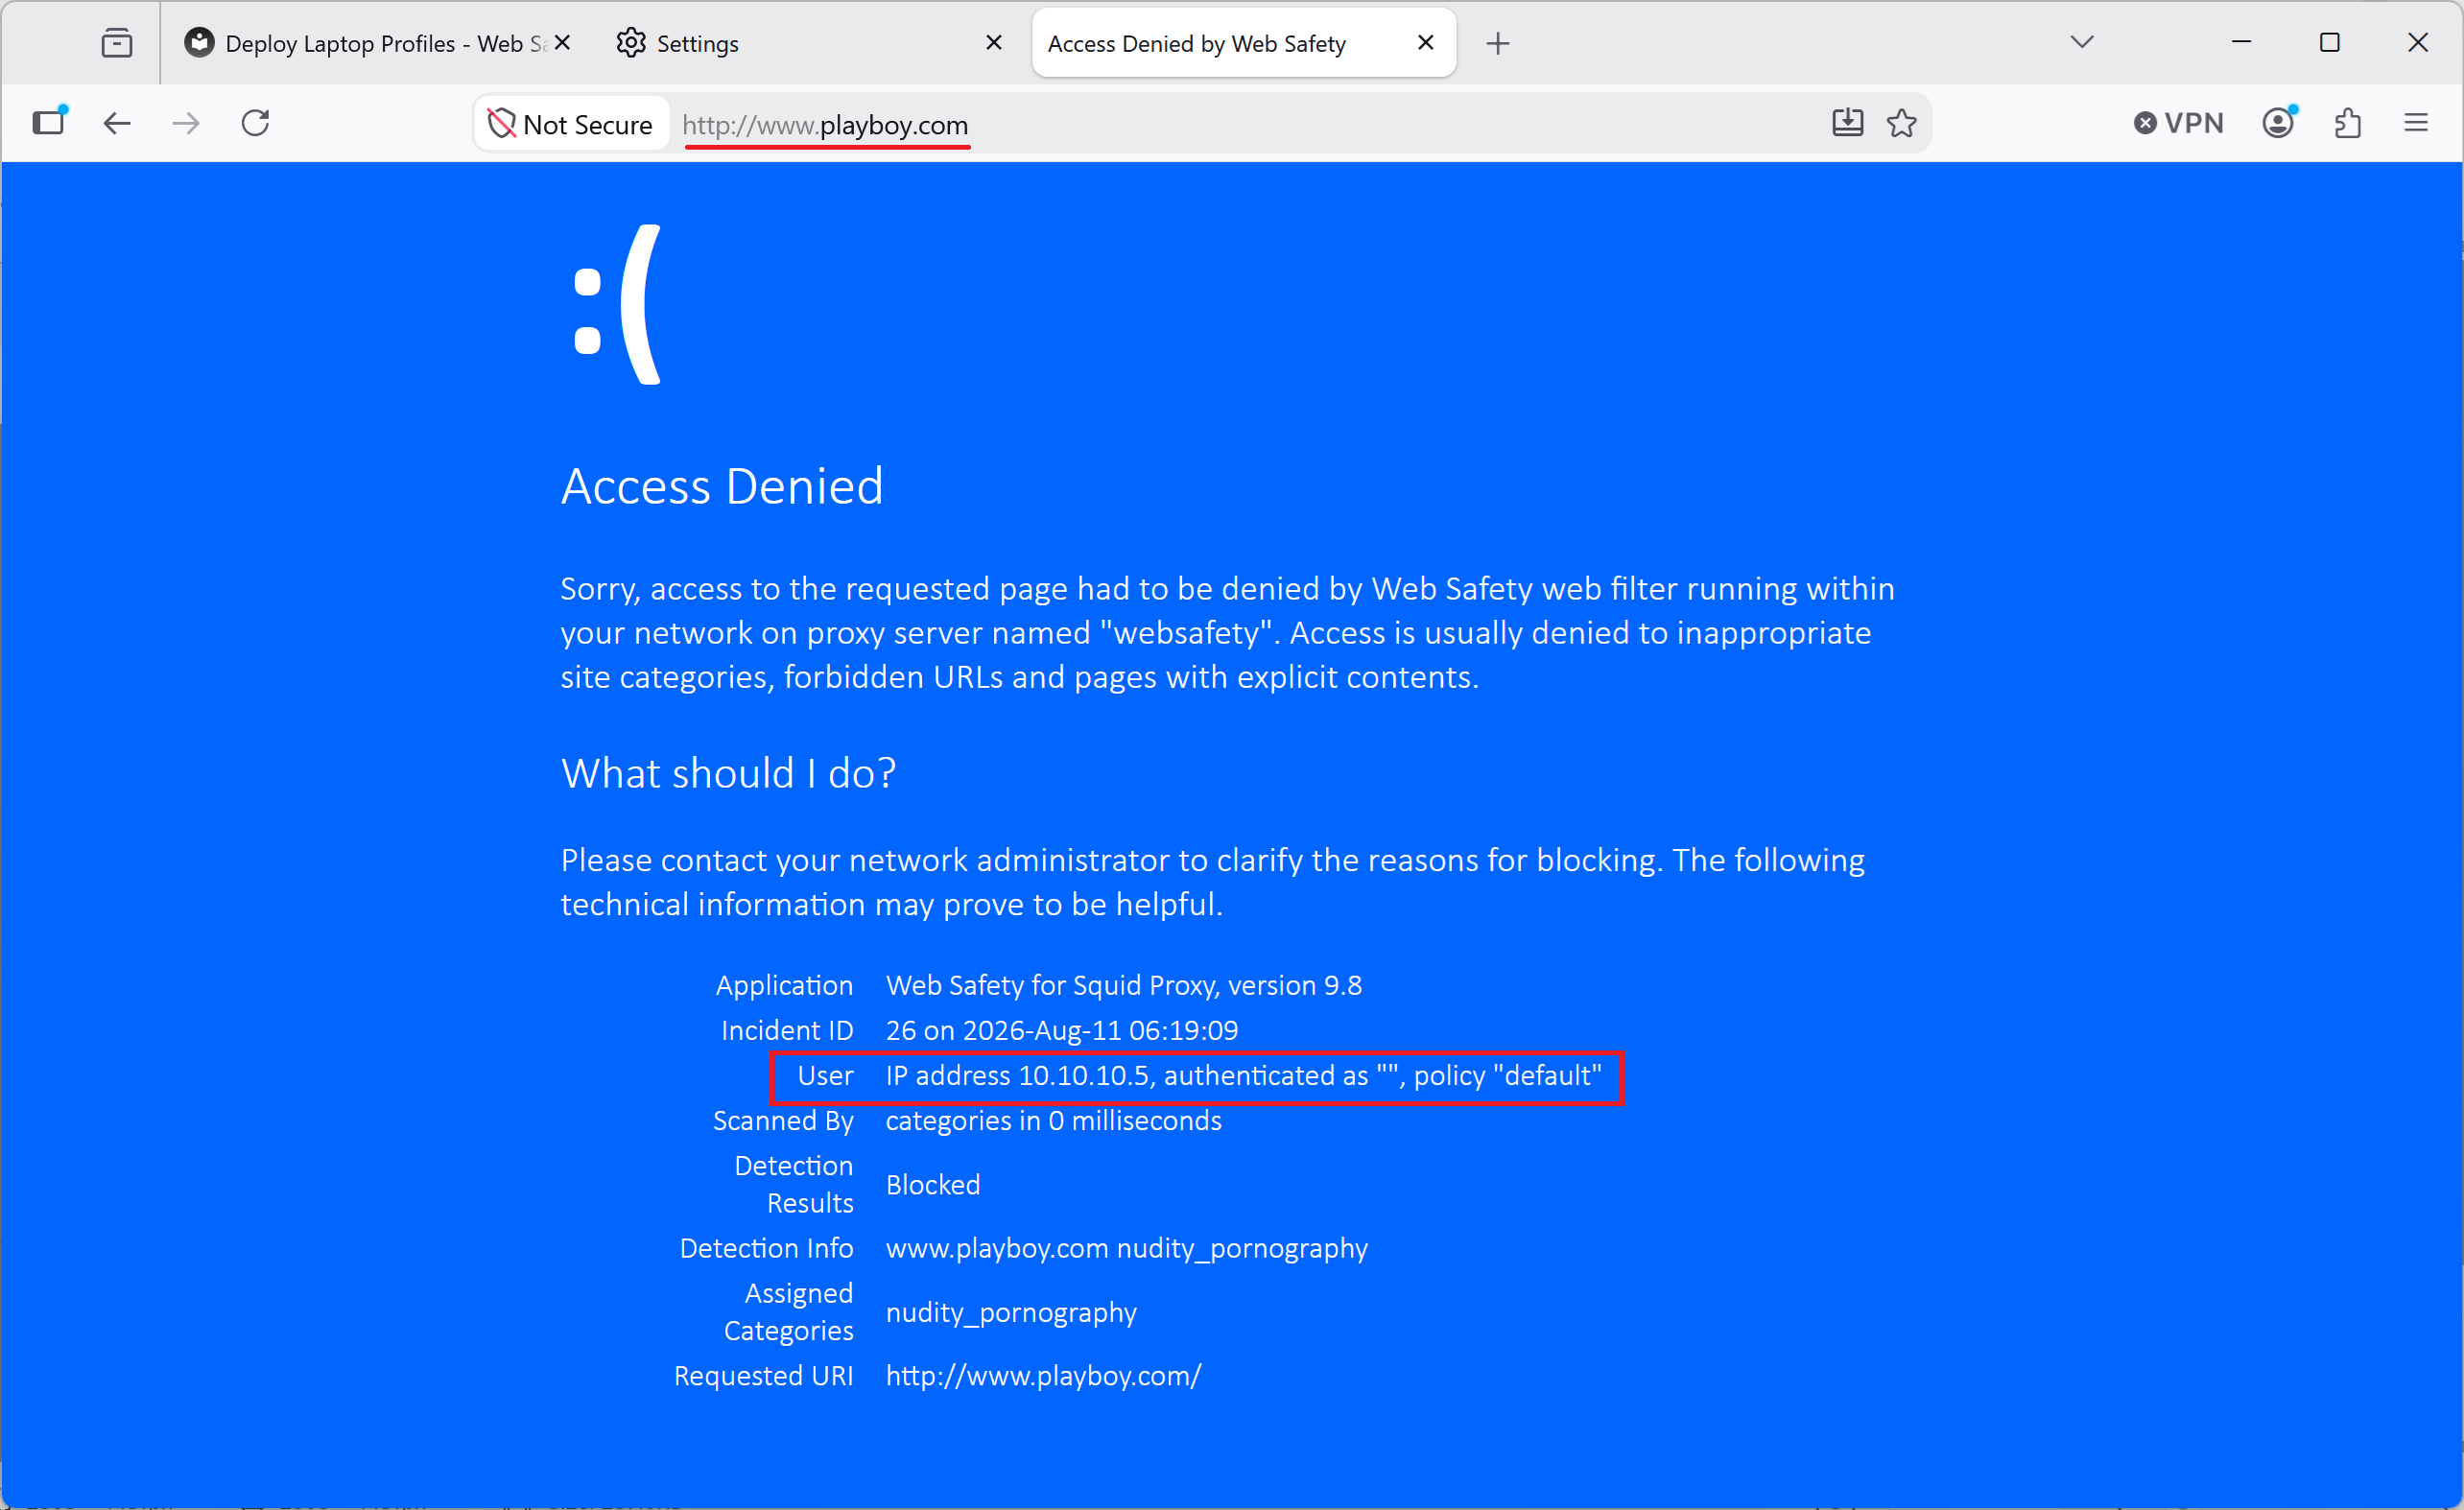
Record about the blocked will also be visible in the Admin UI of Web Safety.
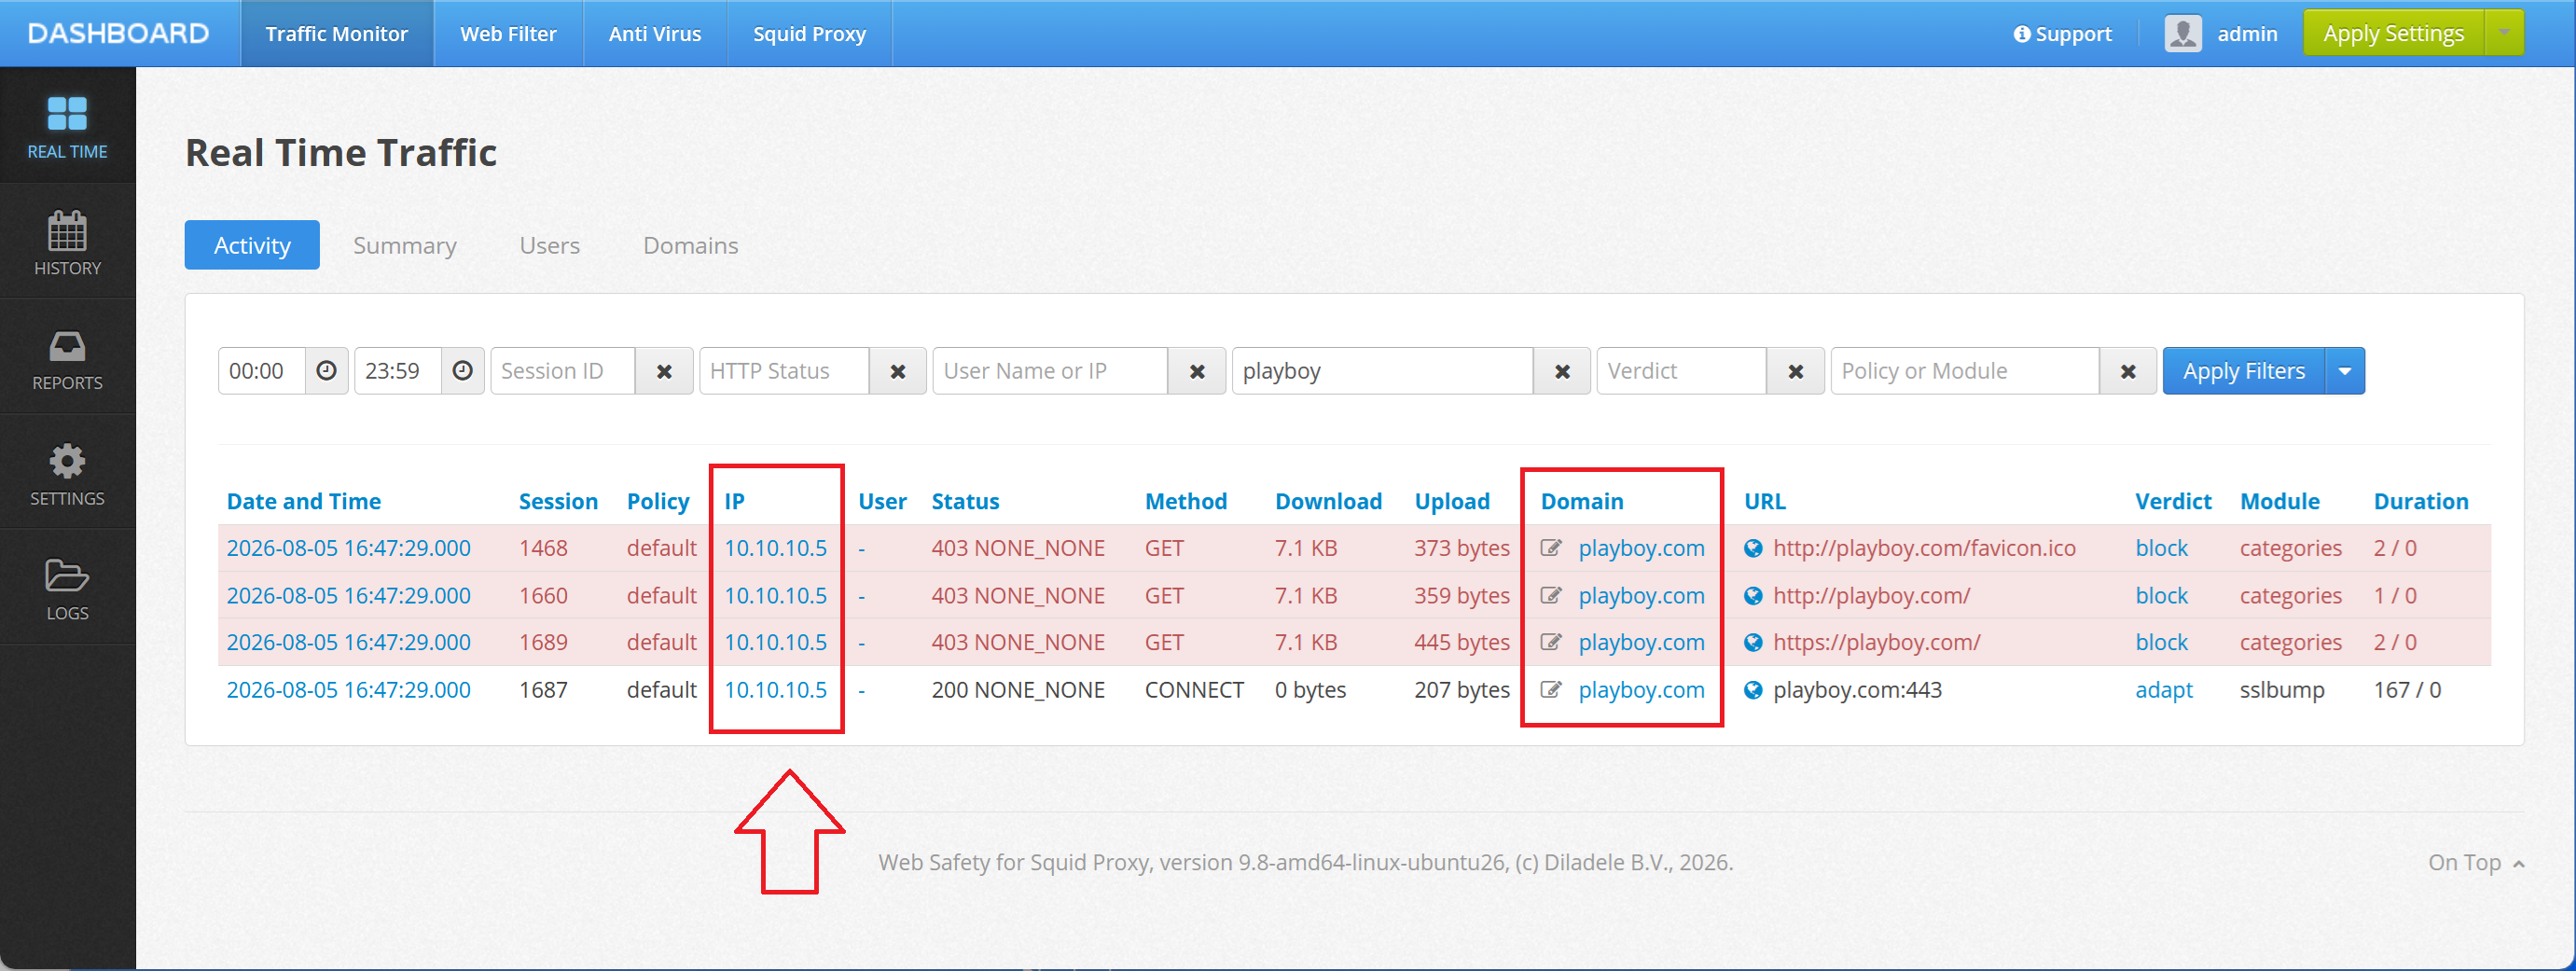
Good, it means our laptop is able to use our Web Safety secure web gateway to filter HTTPS traffic.