Deploy DNS Safety
Next step is to deploy a virtual server which we will eventually turn into an instance of DNS Safety.
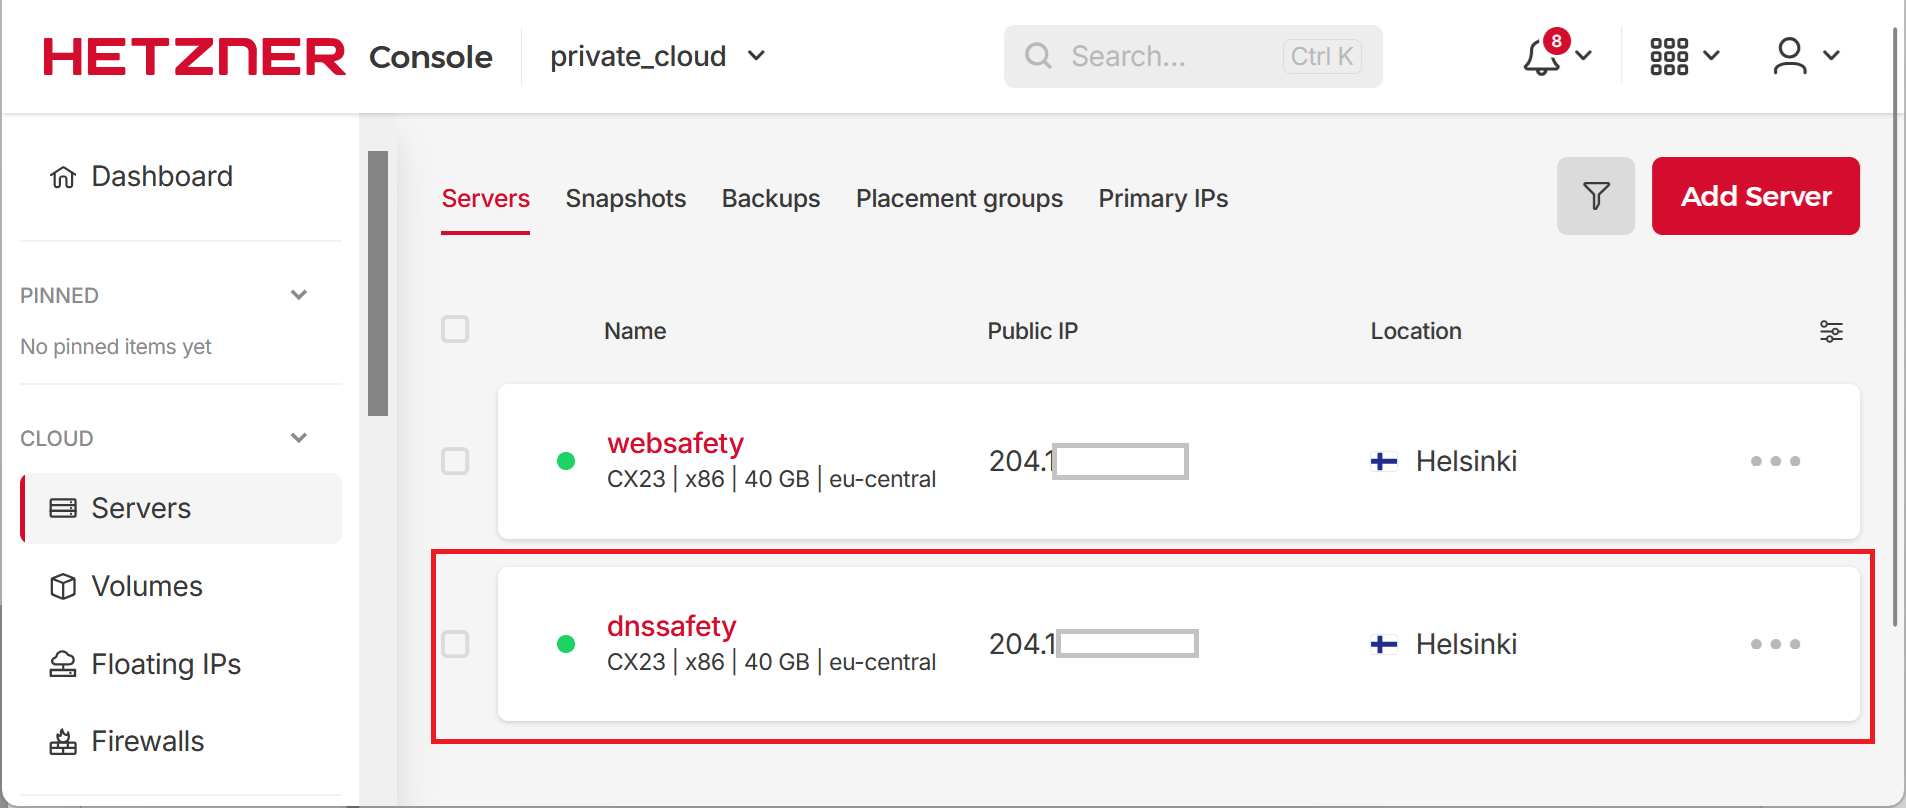
Deploy Server
Select, Servers, use Debian 13 as the operating system of that virtual server as DNS Safety is designed to run on Debian 13. Also select the cheapest server type to be cx23 for approximately 5 euros per month with 2 Intel CPUs and 4Gb RAM. This will be enough for normal functionality of DNS Safety.
Note, when deploying the server, DO NOT ATTACH it to the private_network for now and DO NOT APPLY the cloud_firewall to that server. We need to perform some additional steps first.
Attach Server to Subnet
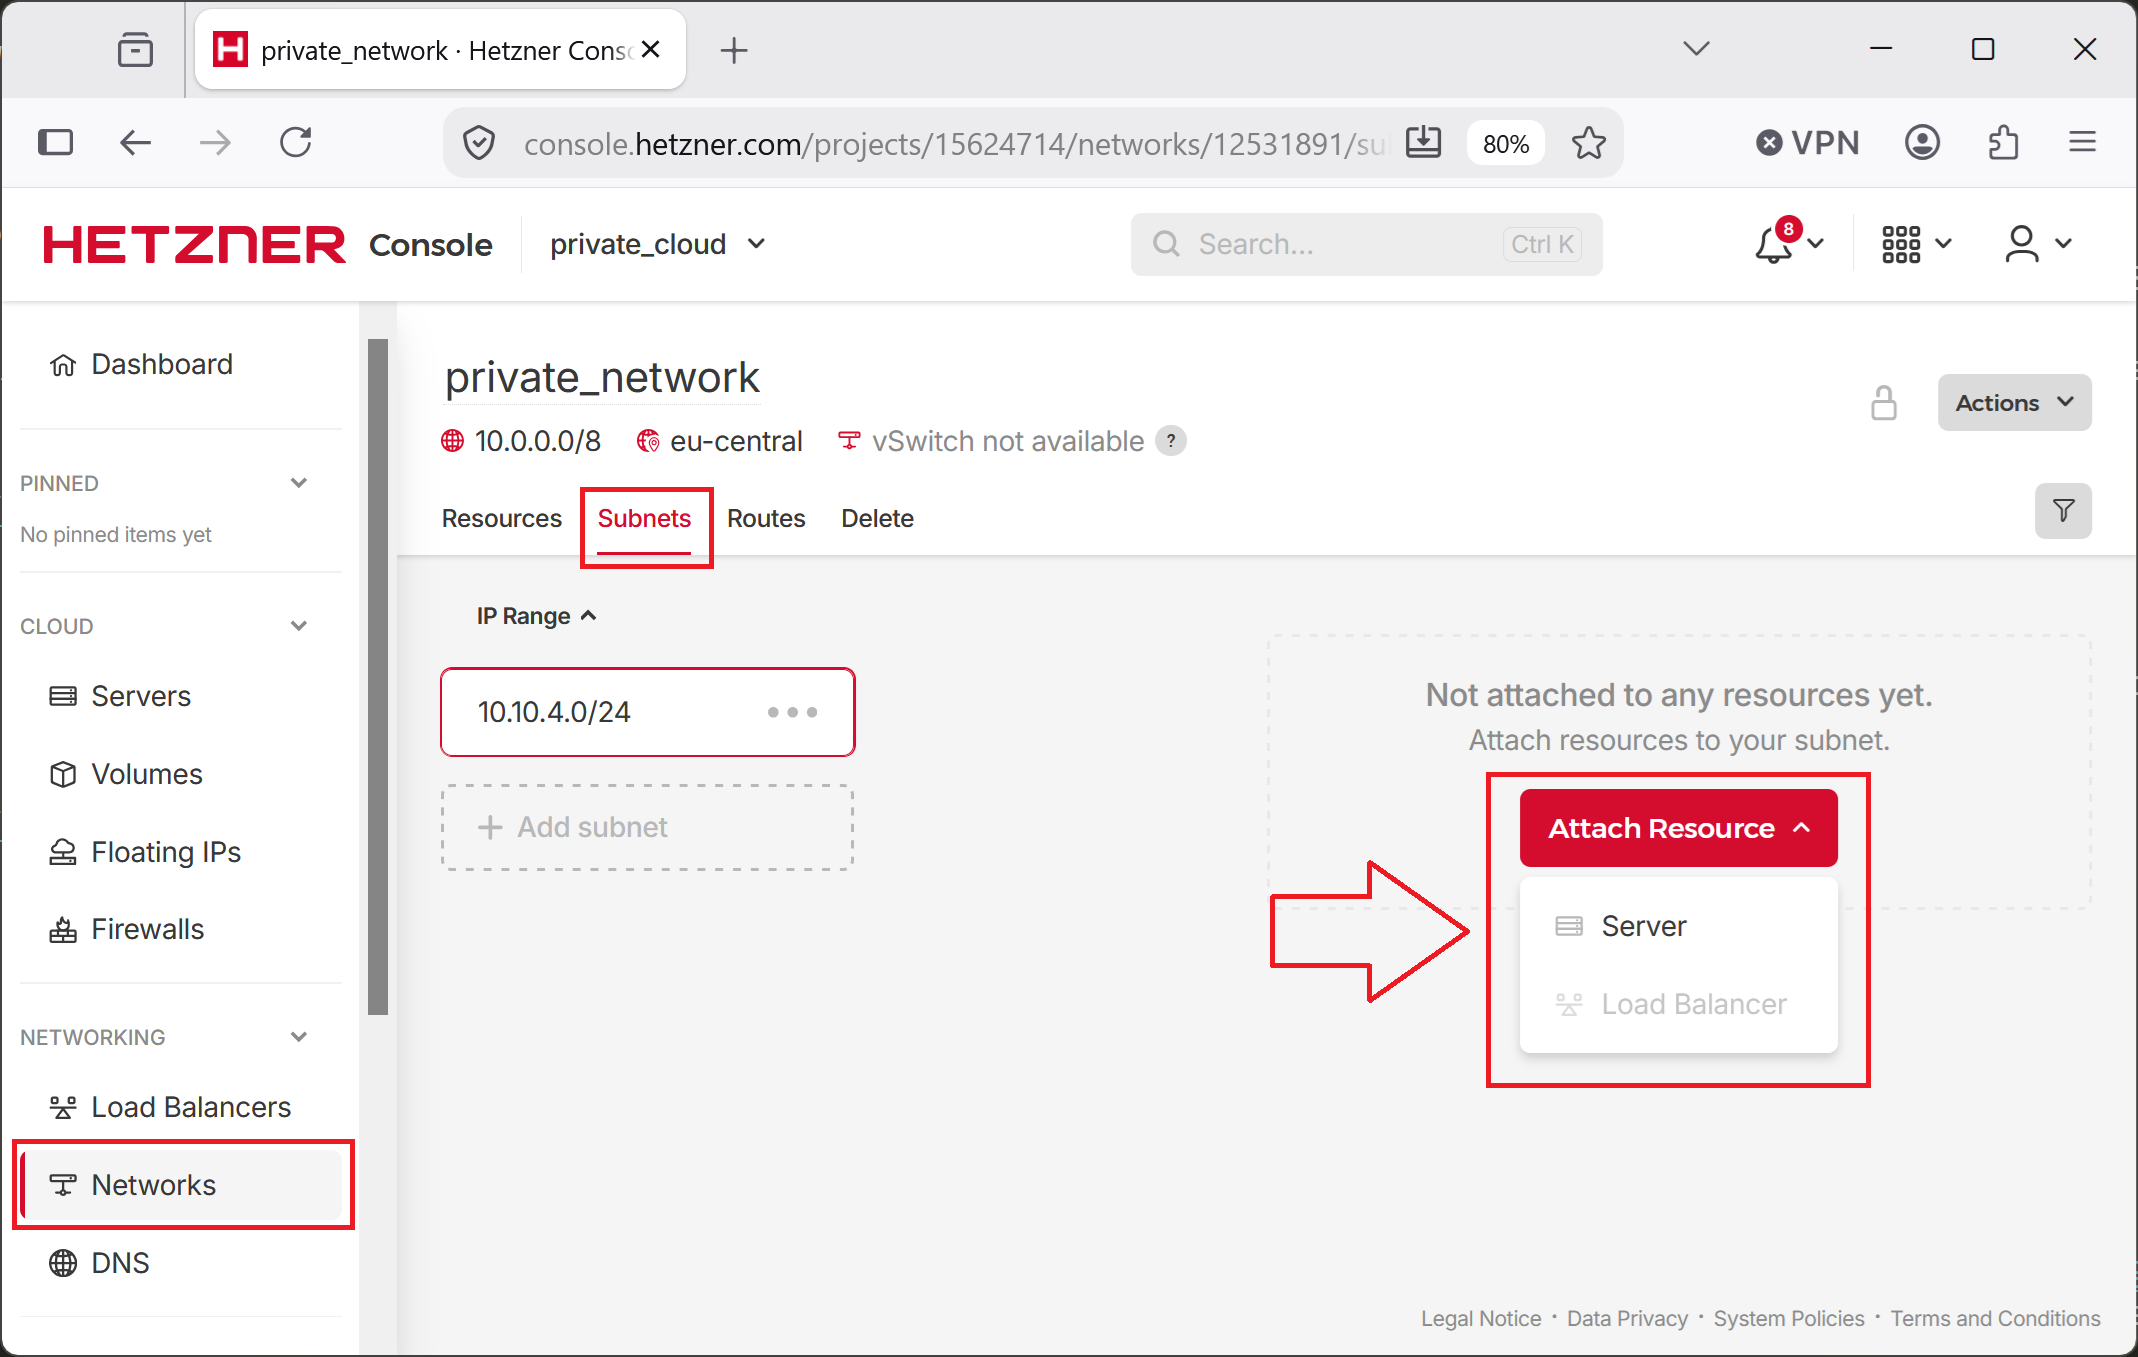
Now we need to attach this server to our subnet we created earlier. Open Networks, select the Subnets tab, click on the Attach Resource page and select Server.
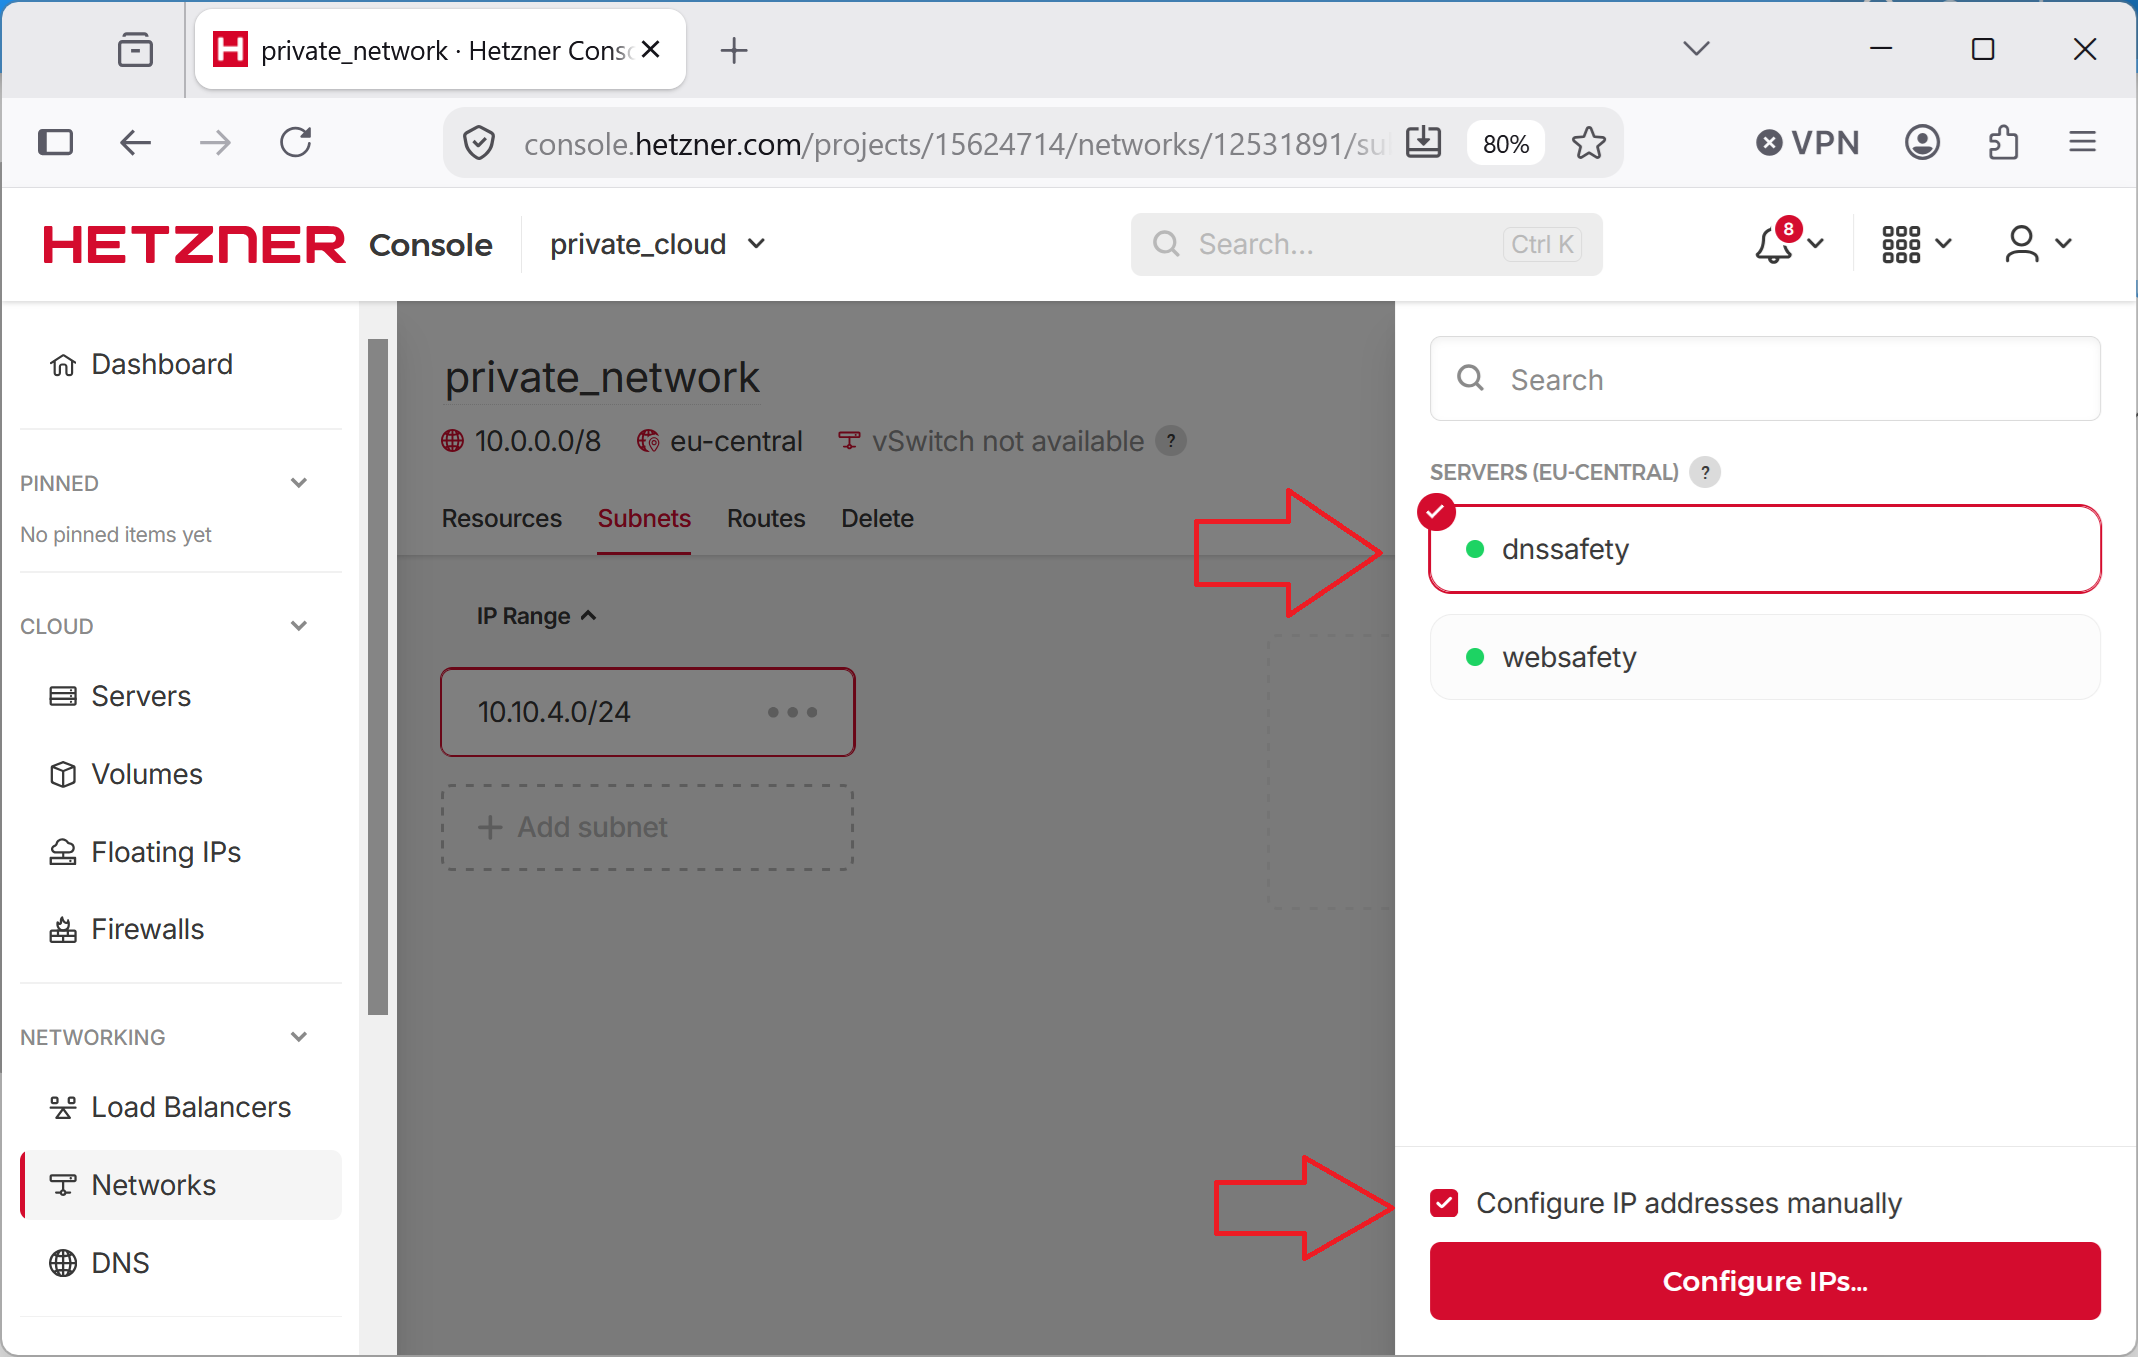
Select the DNS Safety server, and set the Configure IP addresses manually checkbox as we need to specify the IP address for it. Click the Configure IPs button at the bottom.
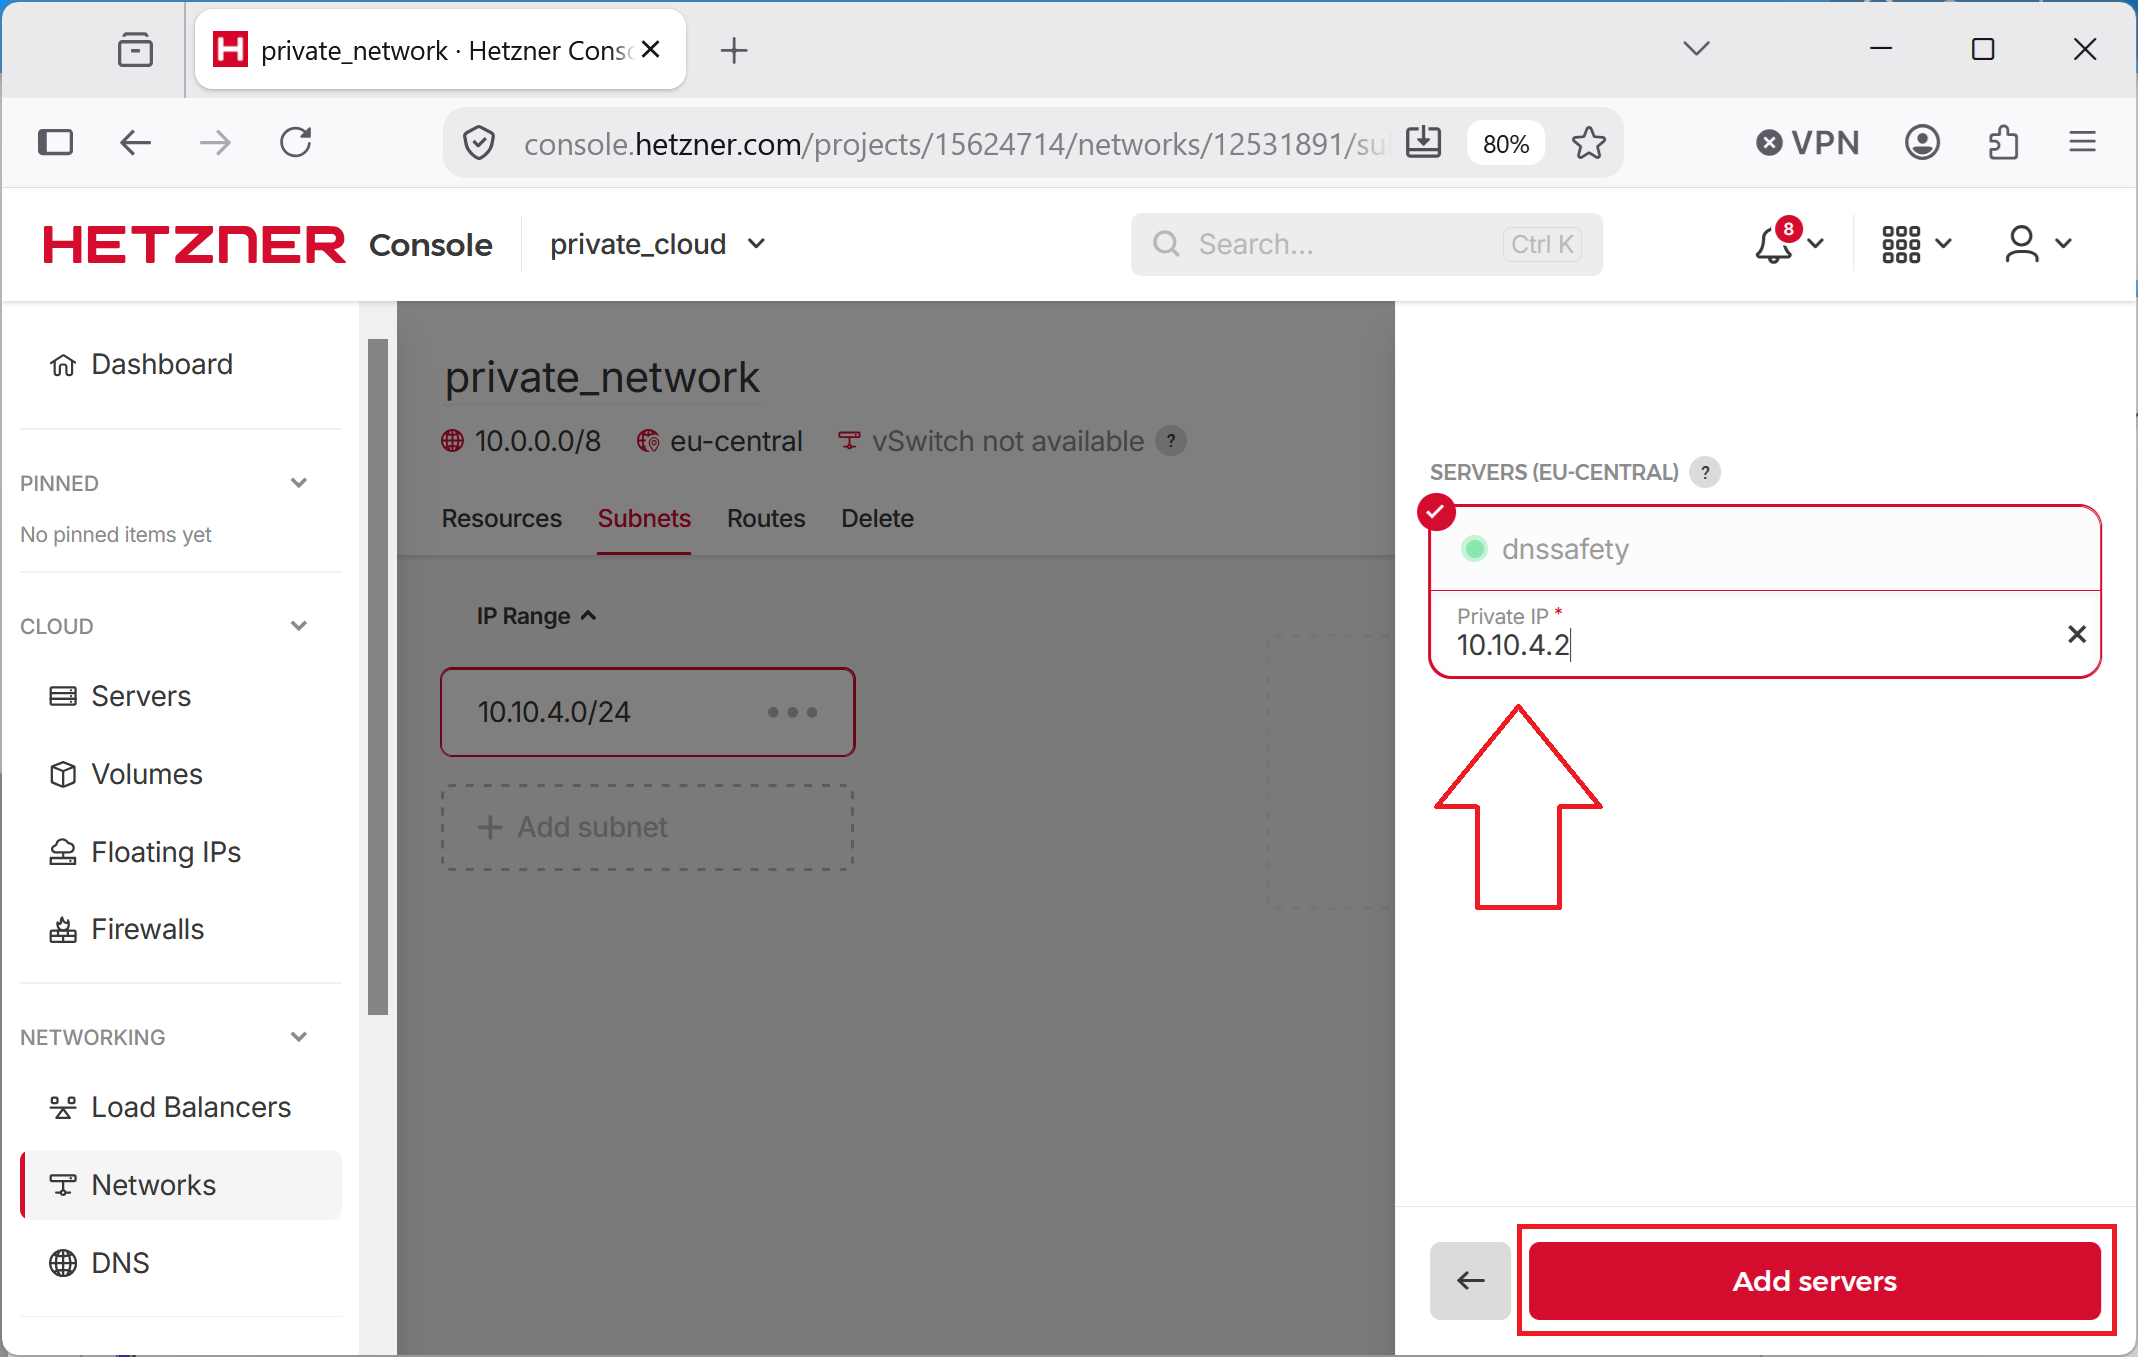
Configure private IP address as 10.10.4.2 and click Add Server.
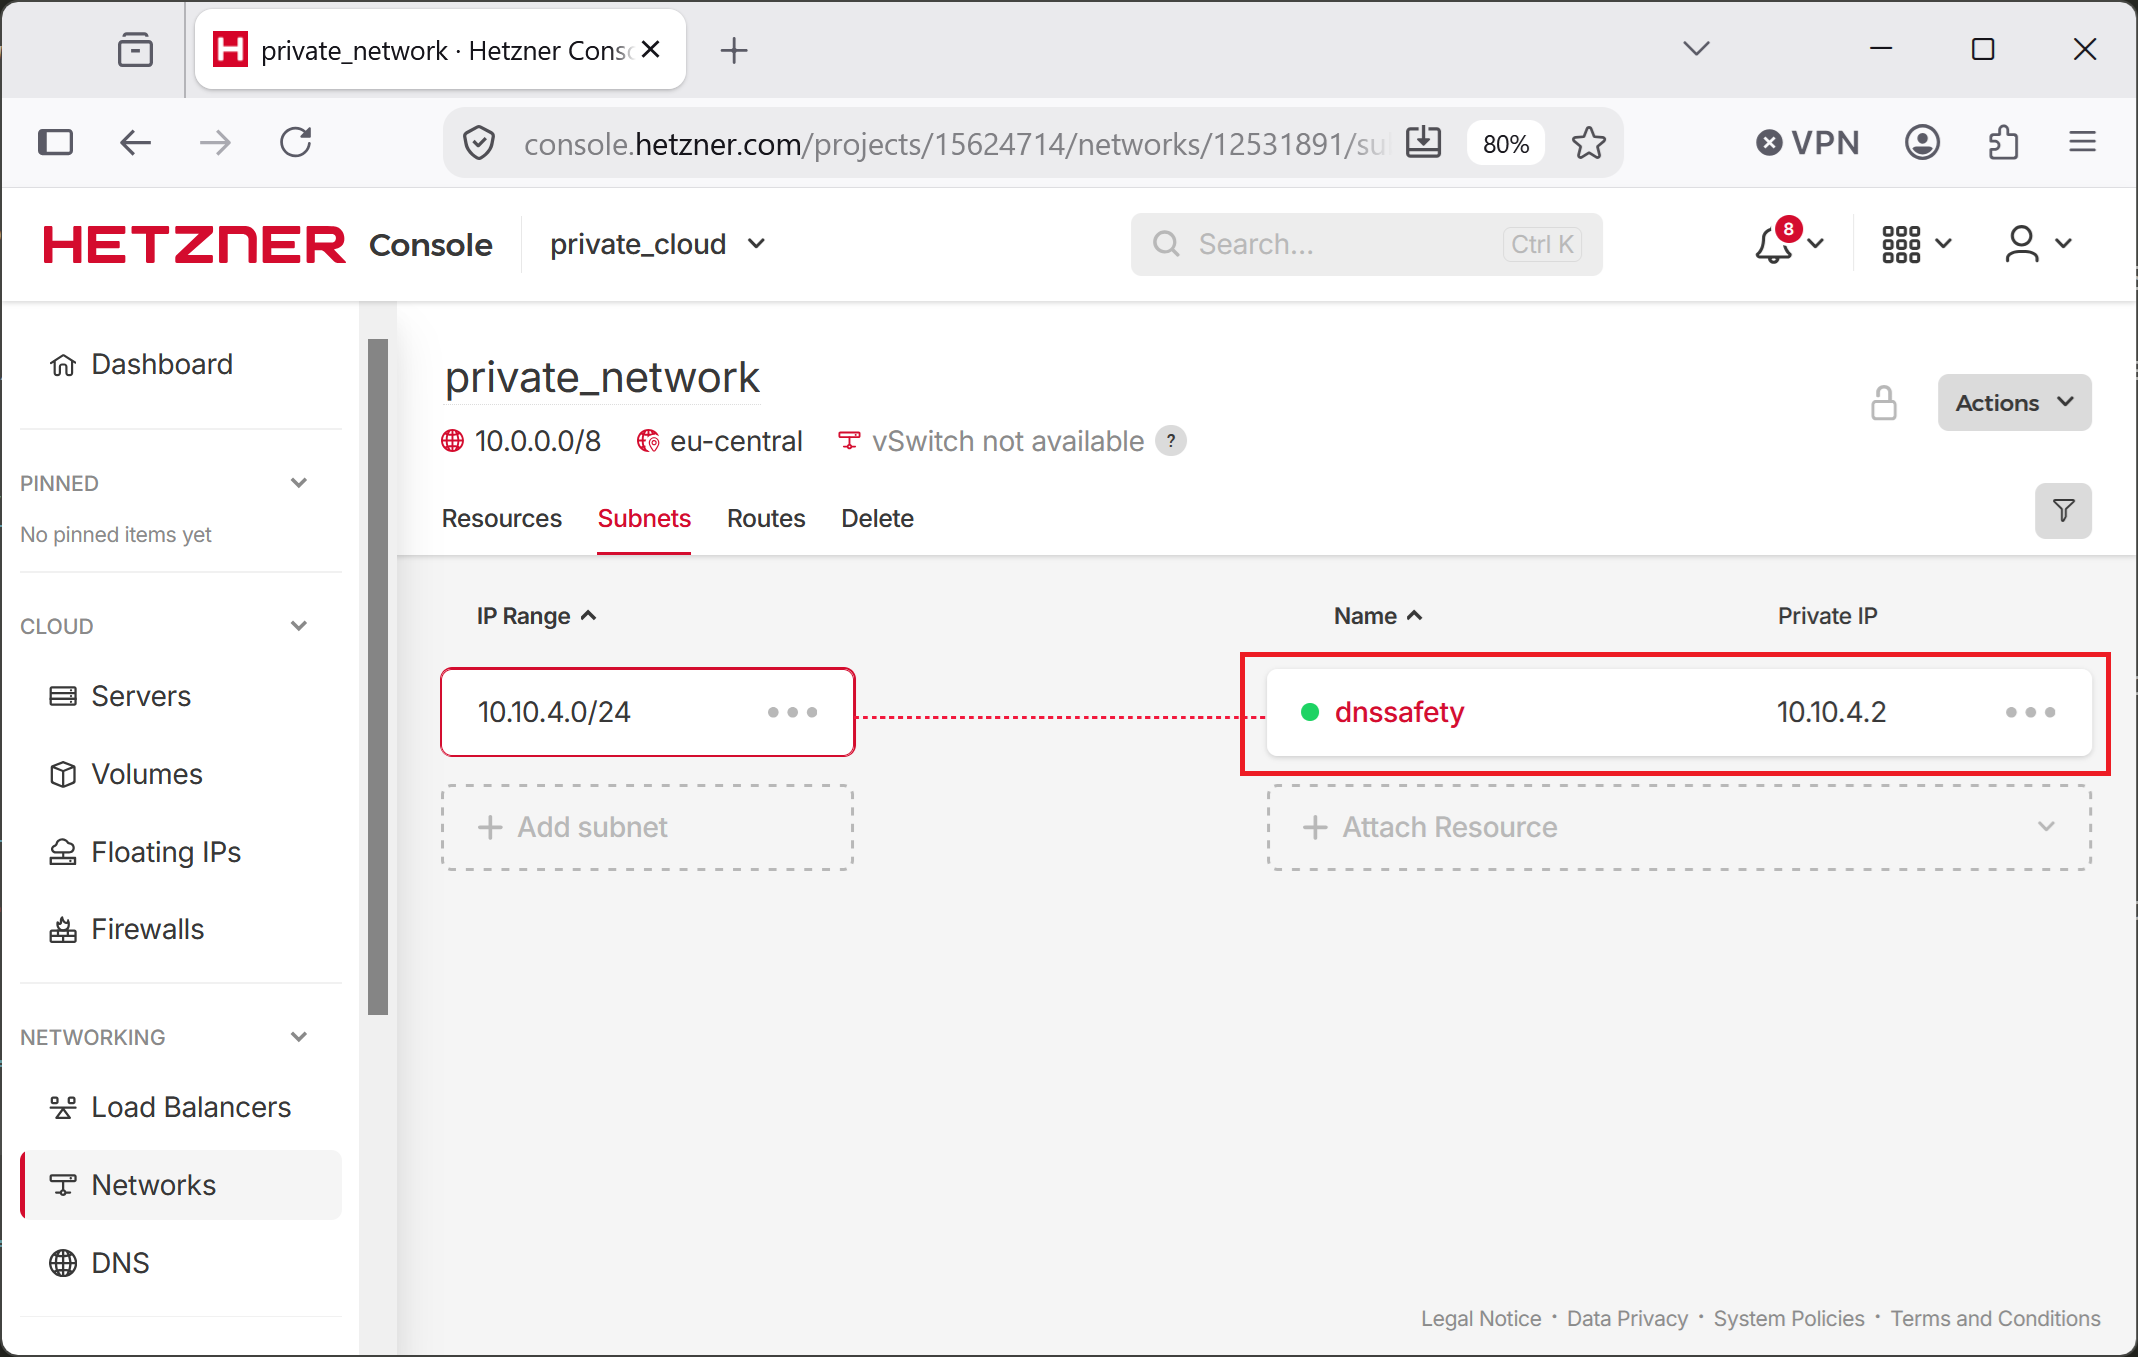
Refresh the page and you should now have DNS Safety connected to 10.10.4.0/24 subnet with IP address 10.10.4.2.
Install DNS Safety
Next, download the archive with installation scripts for DNS Safety 3.2 from https://github.com/diladele/dnssafety/tree/release-3.2 (in future, adjust the link for newer versions of DNS Safety). Upload the archive into the virtual machine and unpack it into the home folder.
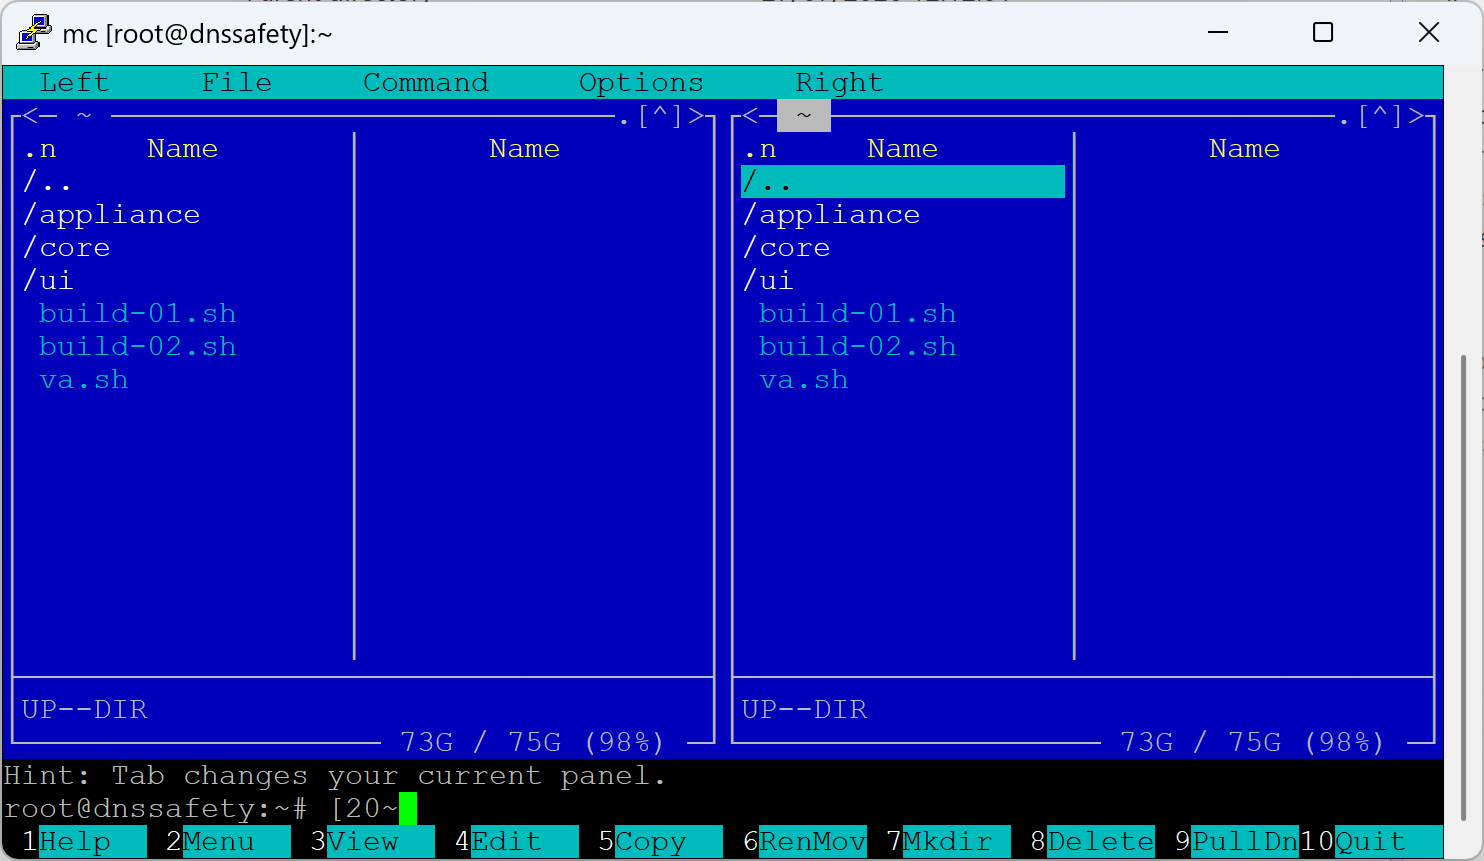
Run as root the following commands, note the virtual server will reboot after the first command. You can read more about the installation steps with explanations at DNS Safety Admin Guide.
Attach to Cloud Firewall
After DNS Safety is installed, temporary add the following rules to the cloud_firewall we configured earlier. These rules will allow you to login to the Admin UI from your public IP address only. You can remove these rules after tutorial is completed.
| Protocol | Port | Description |
|---|---|---|
| TCP | 8000 | Temporary allow HTTP connections from your IP only to Admin UI of DNS Safety. |
| TCP | 443 | Temporary allow HTTPS connections from your IP only to blocked page server of DNS Safety and Admin UI of Web Safety. |
| TCP | 80 | Temporary allow HTTP connections from your IP only to blocked page server of DNS Safety and Admin UI of Web Safety. |
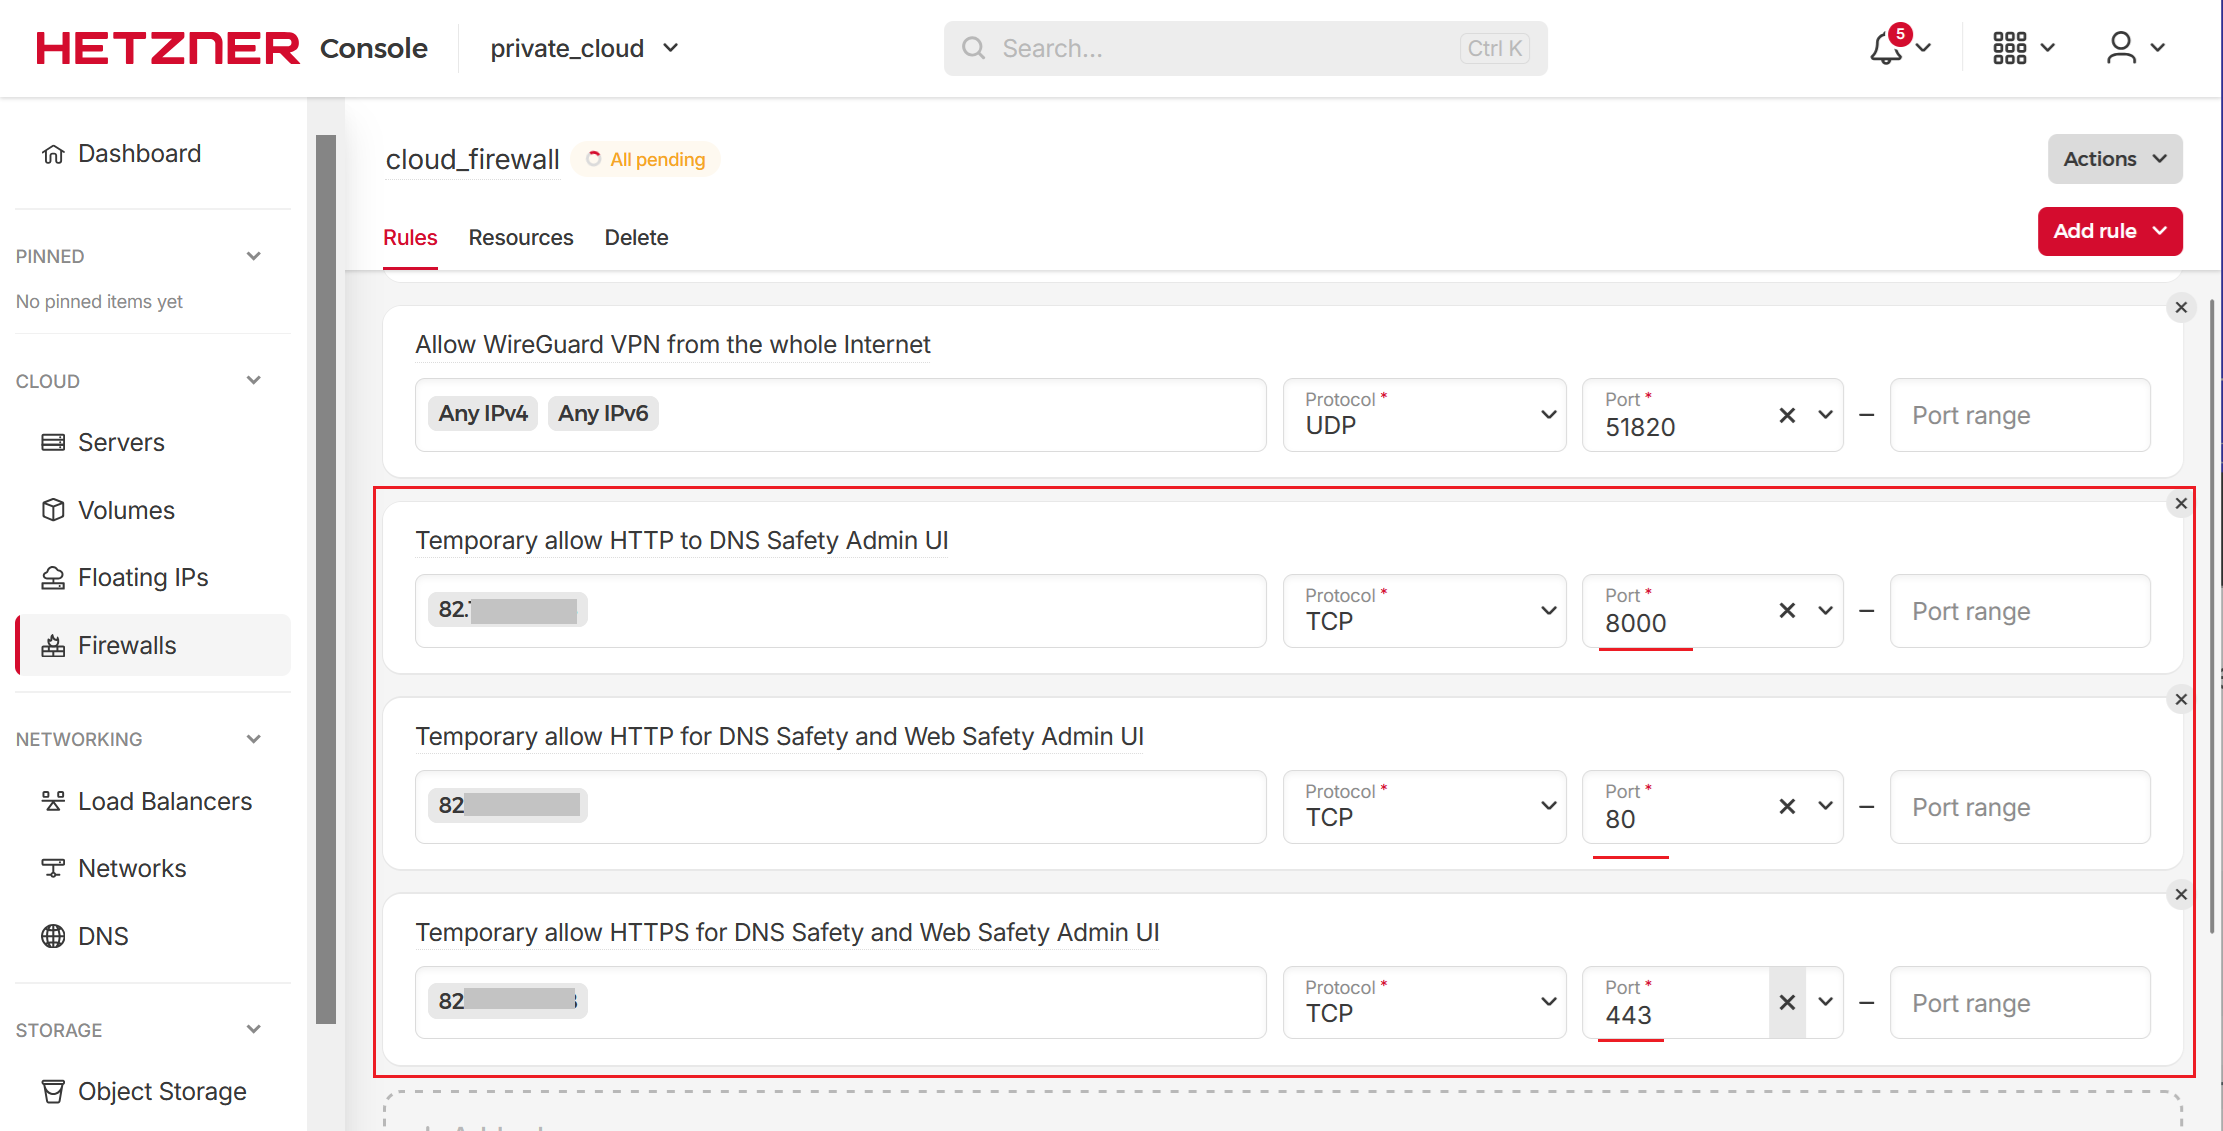
Attach DNS Safety server to the cloud_firewall to actually apply these rules.
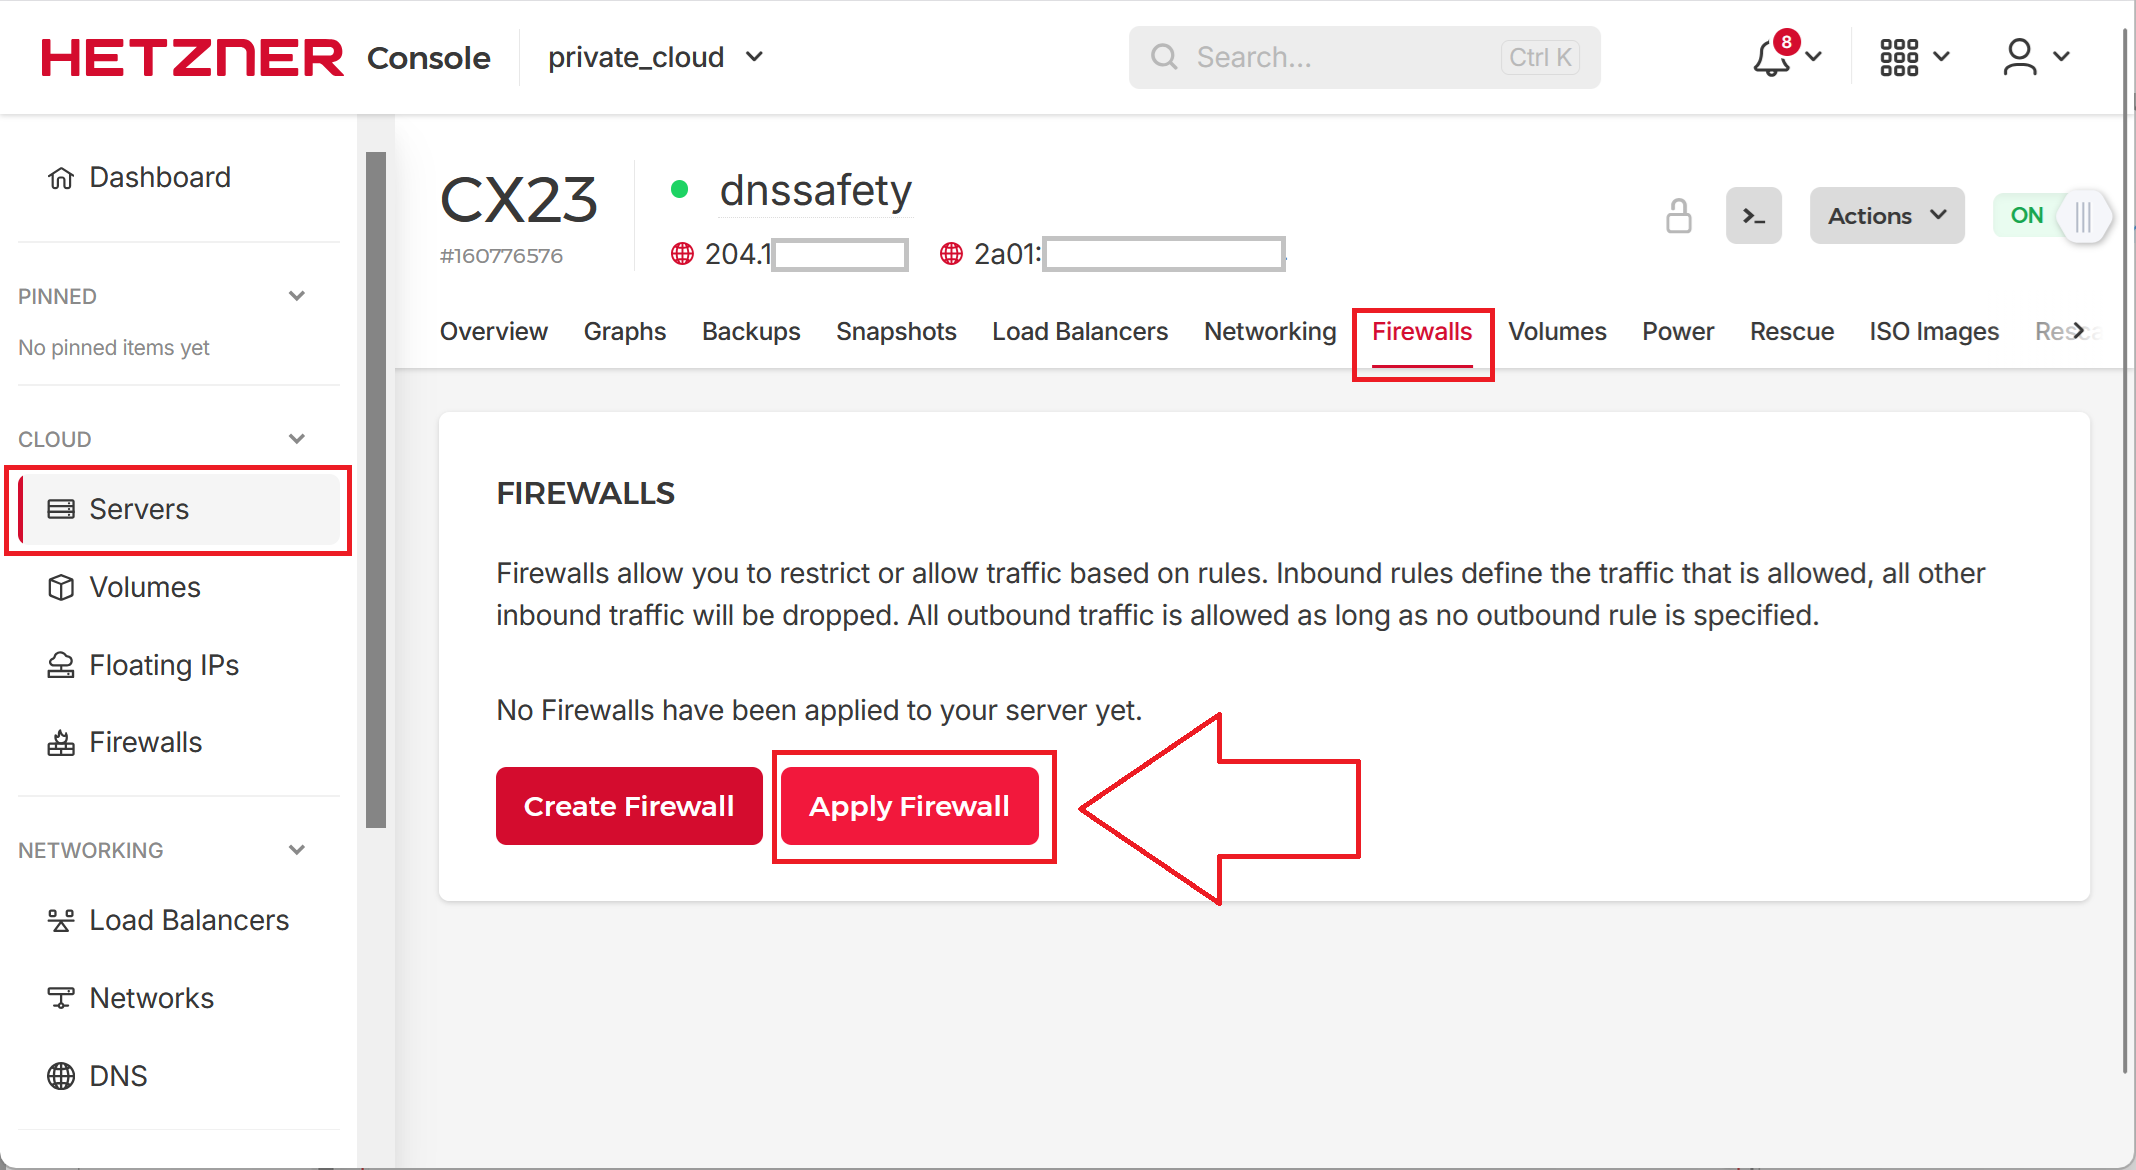
Check the firewall is applied correctly.
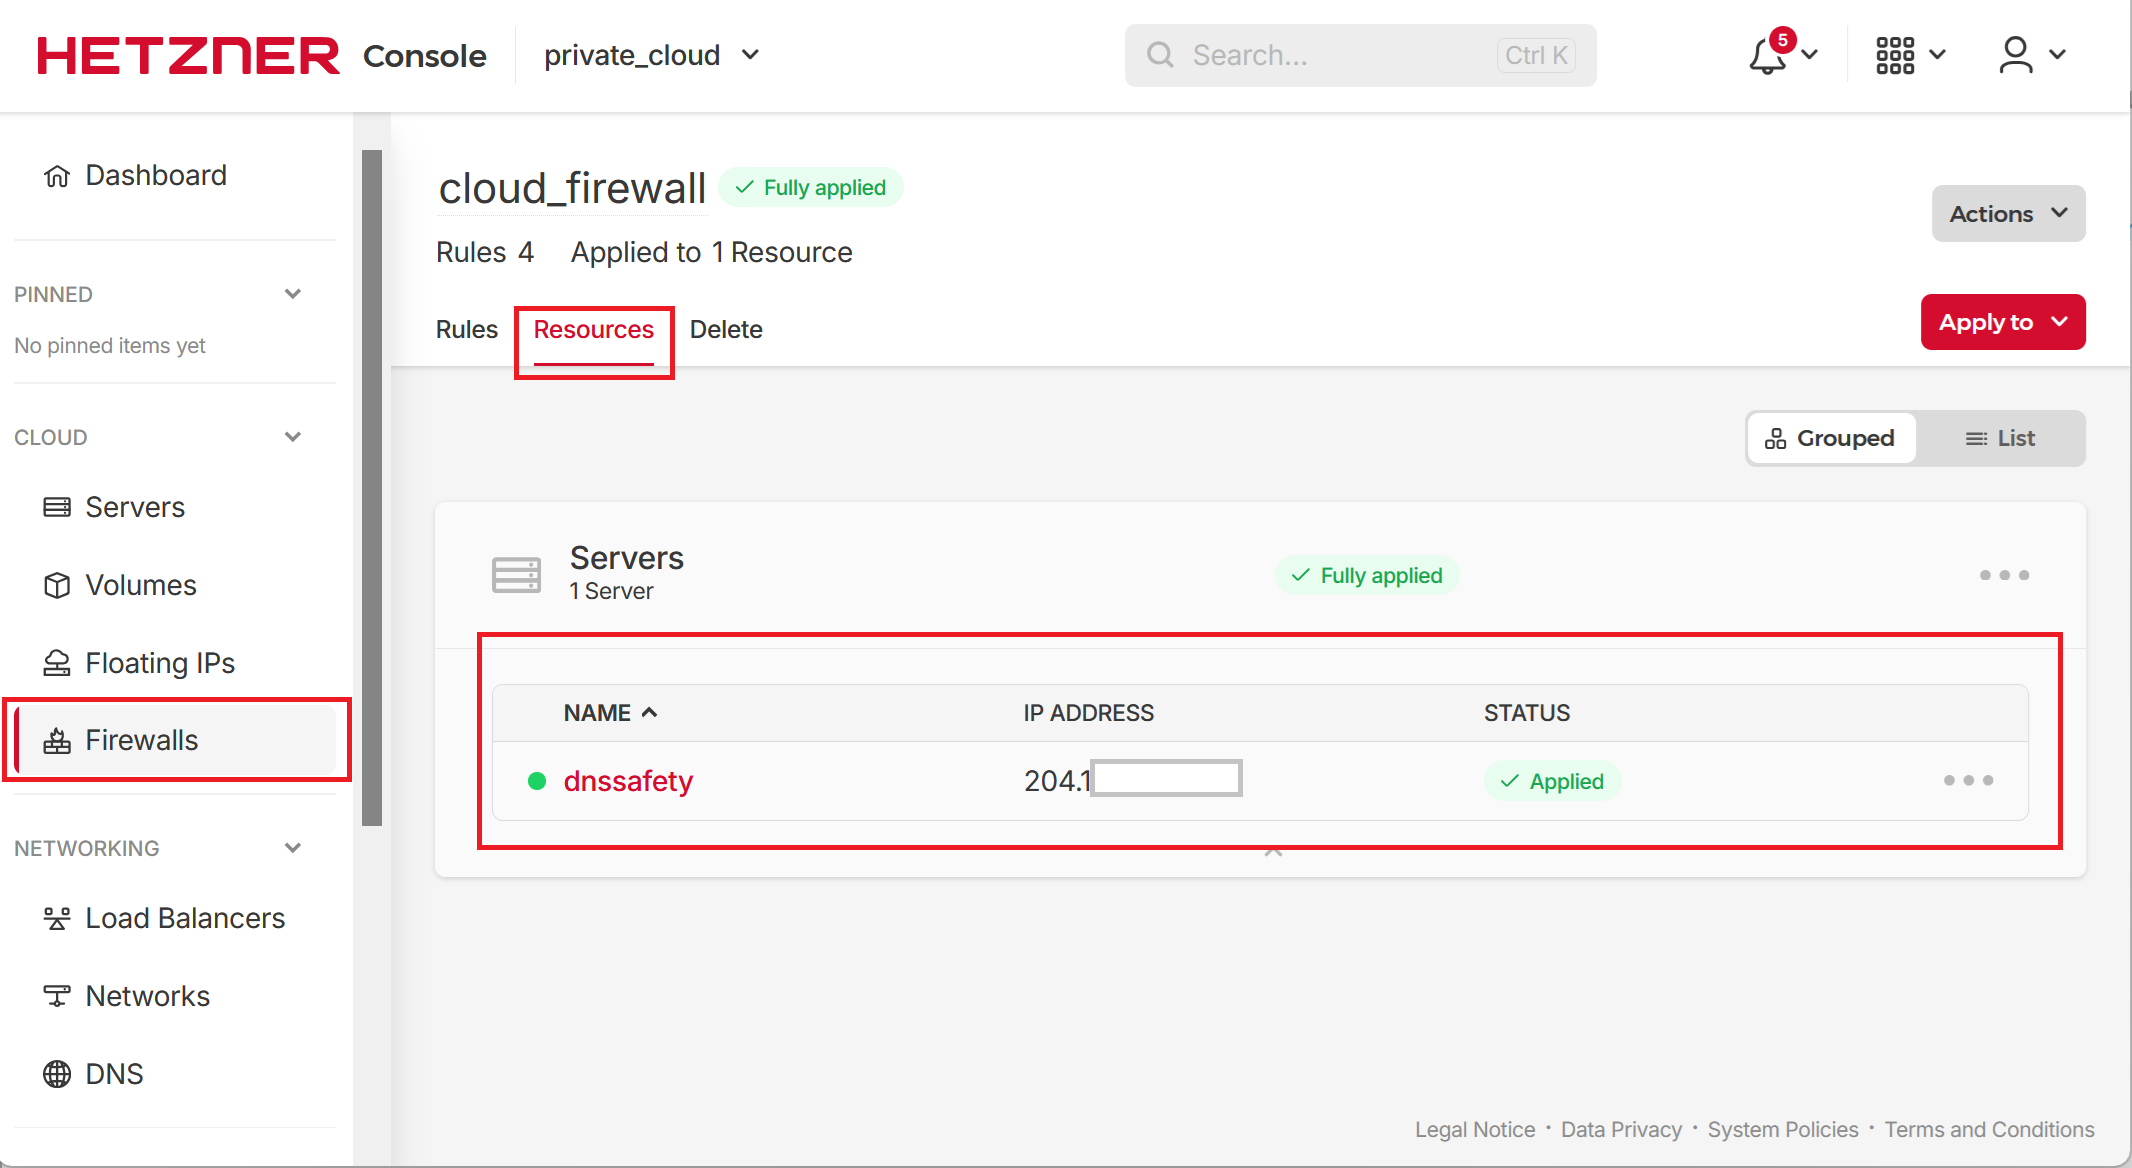
Access Admin UI
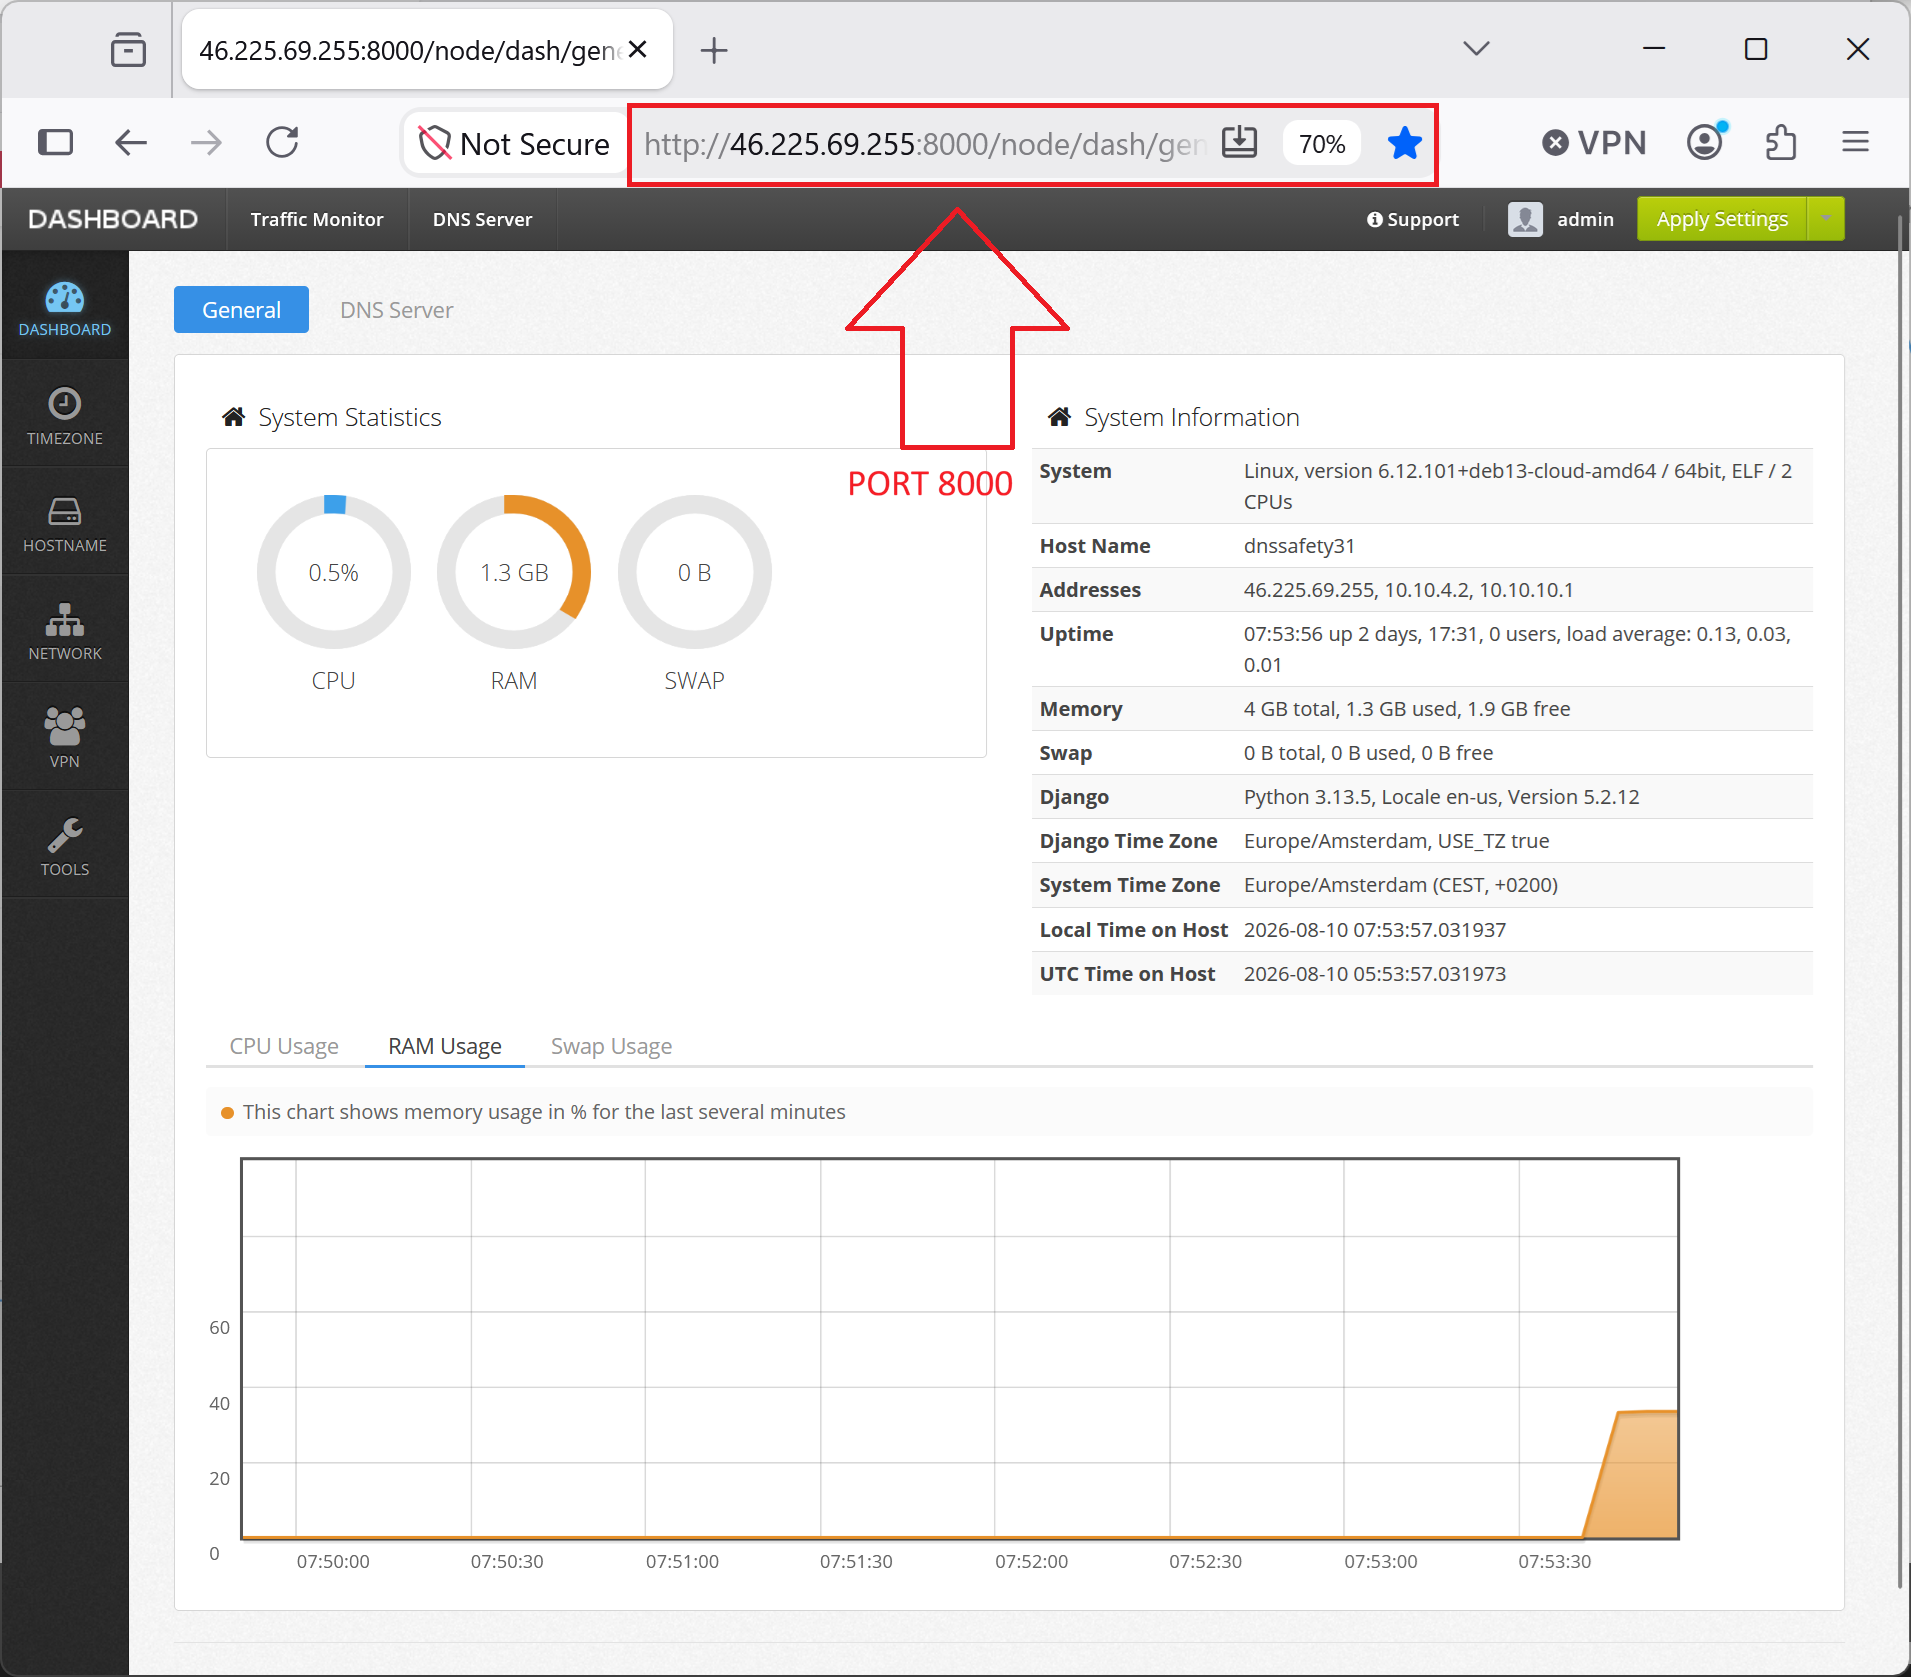
To login into Admin UI, navigate to public IP address of the DNS Safety, like http://46.225.69.255:8000/node/dash/general/ and make sure you can browse the dashboard and filtering rules.
Important
Please note the port of Admin UI is 8000, not 80 or 443 and protocol is HTTP not HTTPS. You can add HTTPS later if needed.