Configure VPN Clients in DNS Safety
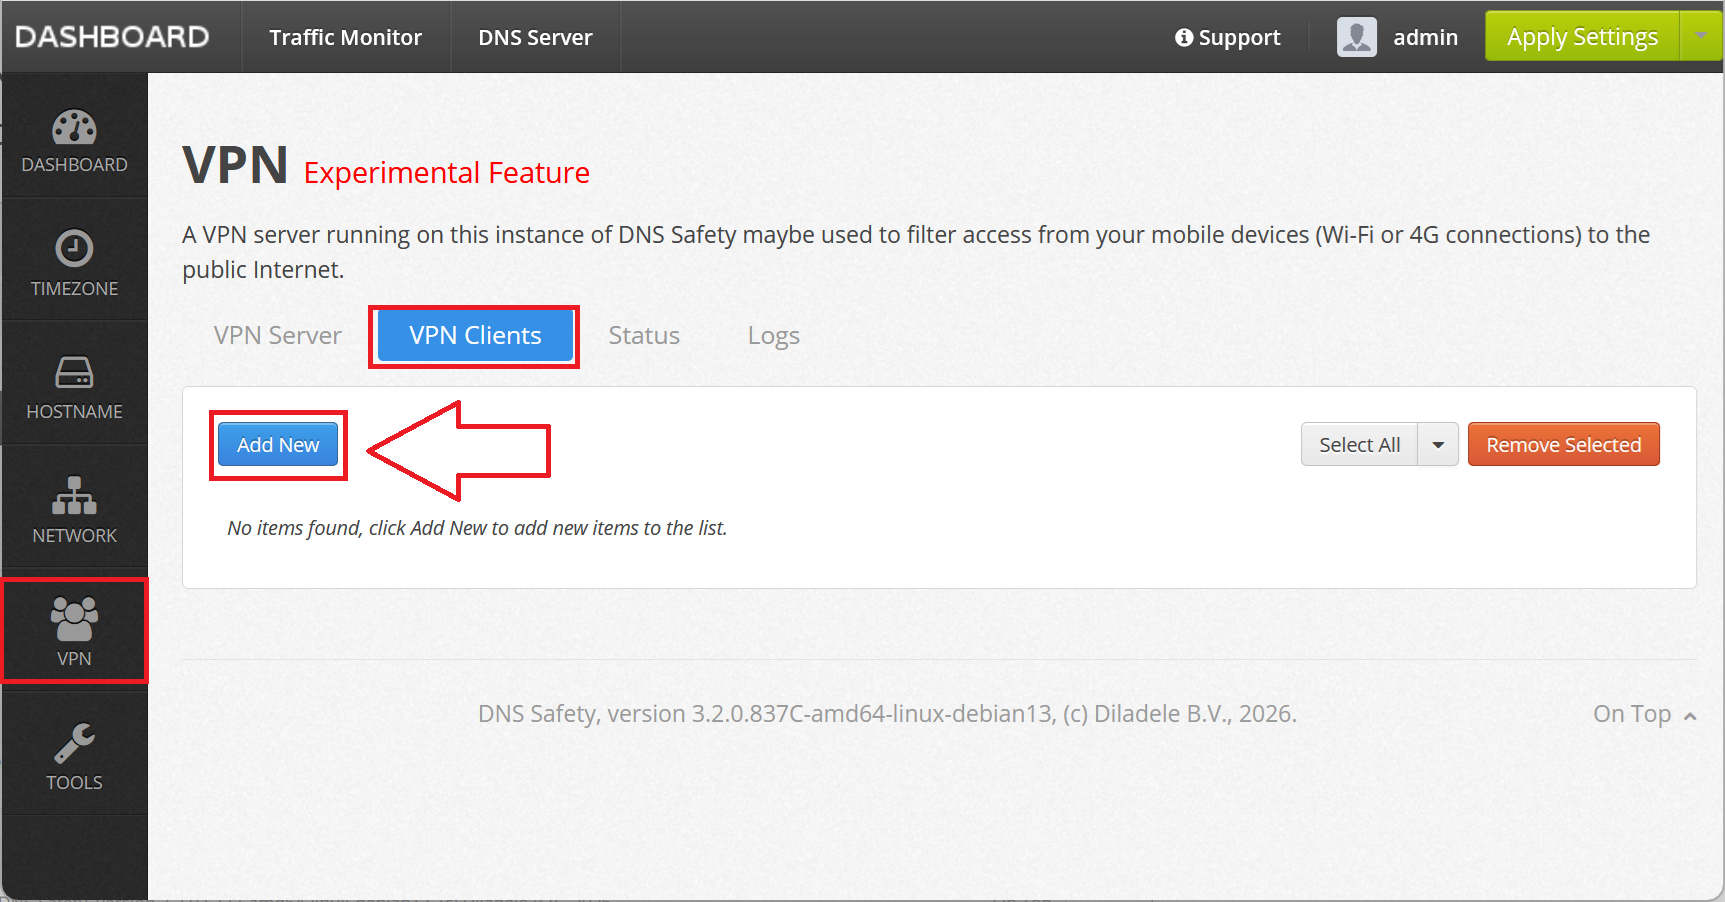
Now we need to configure VPN client profile for each client we intend to connect to our private_cloud. So, navigate to Admin UI / VPN / Clients and click the Add New button.
Add the name of the VPN profile, for example user1_iphone, click on the IP address button to automatically configure the IP address, like 10.0.0.3, select the Full VPN tunnel mode and type some comment for your own reference.
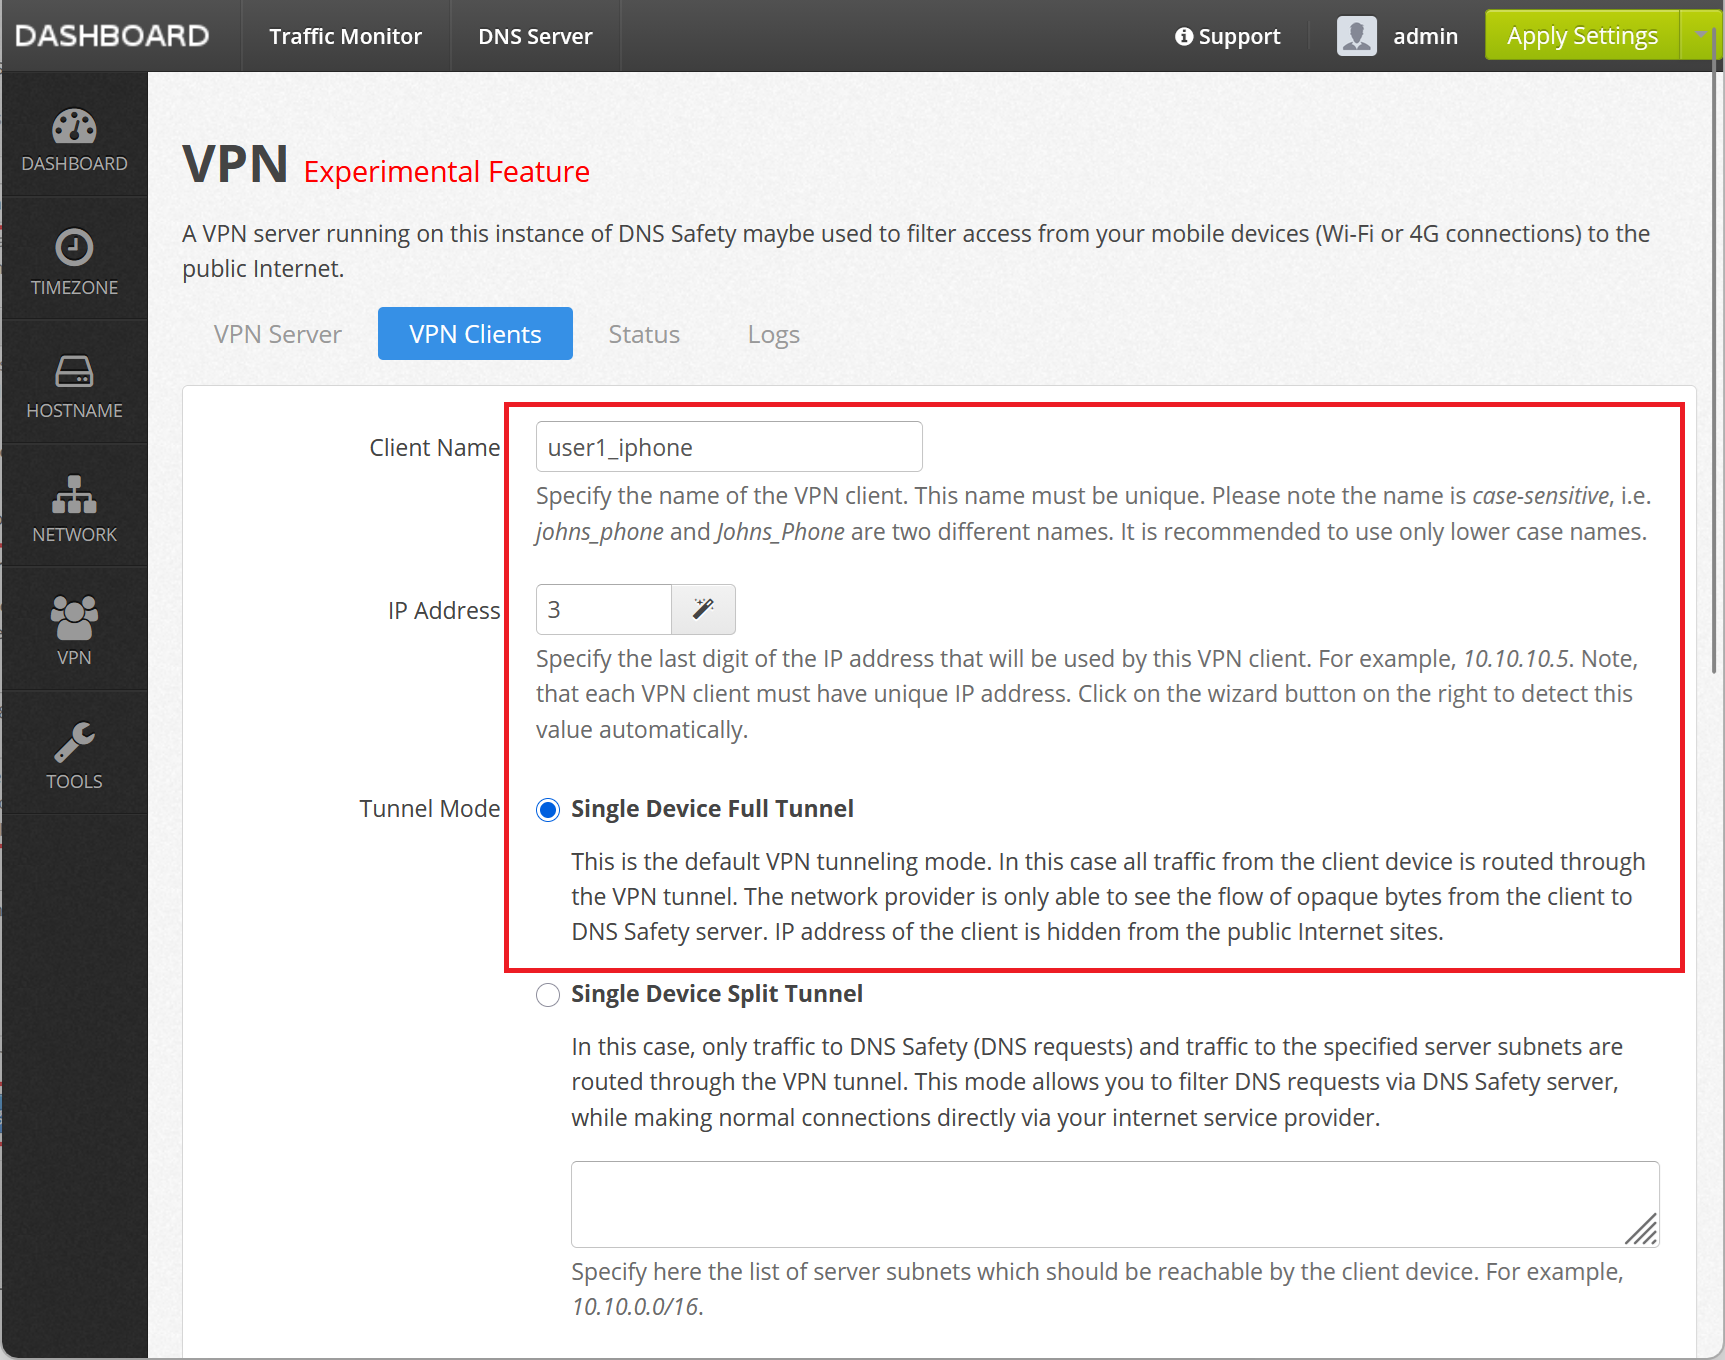
The VPN server is able to support three types of VPN connections. Two of these are described in the following table.
| VPN Tunnel Type | Description |
|---|---|
| Single Device Full VPN Tunnel | This is the default VPN tunnelling mode. In this case all traffic from the client device is routed through the VPN tunnel. The network provider is only able to see the flow of opaque bytes from the client to DNS Safety server. IP address of the client is hidden from the public Internet sites. |
| Single Device Split Tunnel | In this case, only traffic to DNS Safety (DNS requests) and traffic to the specified server subnets are routed through the VPN tunnel. This mode allows you to filter DNS requests via DNS Safety server, while making normal connections directly via your internet service provider. This mode can also be used to provide client access to private servers subnet. |
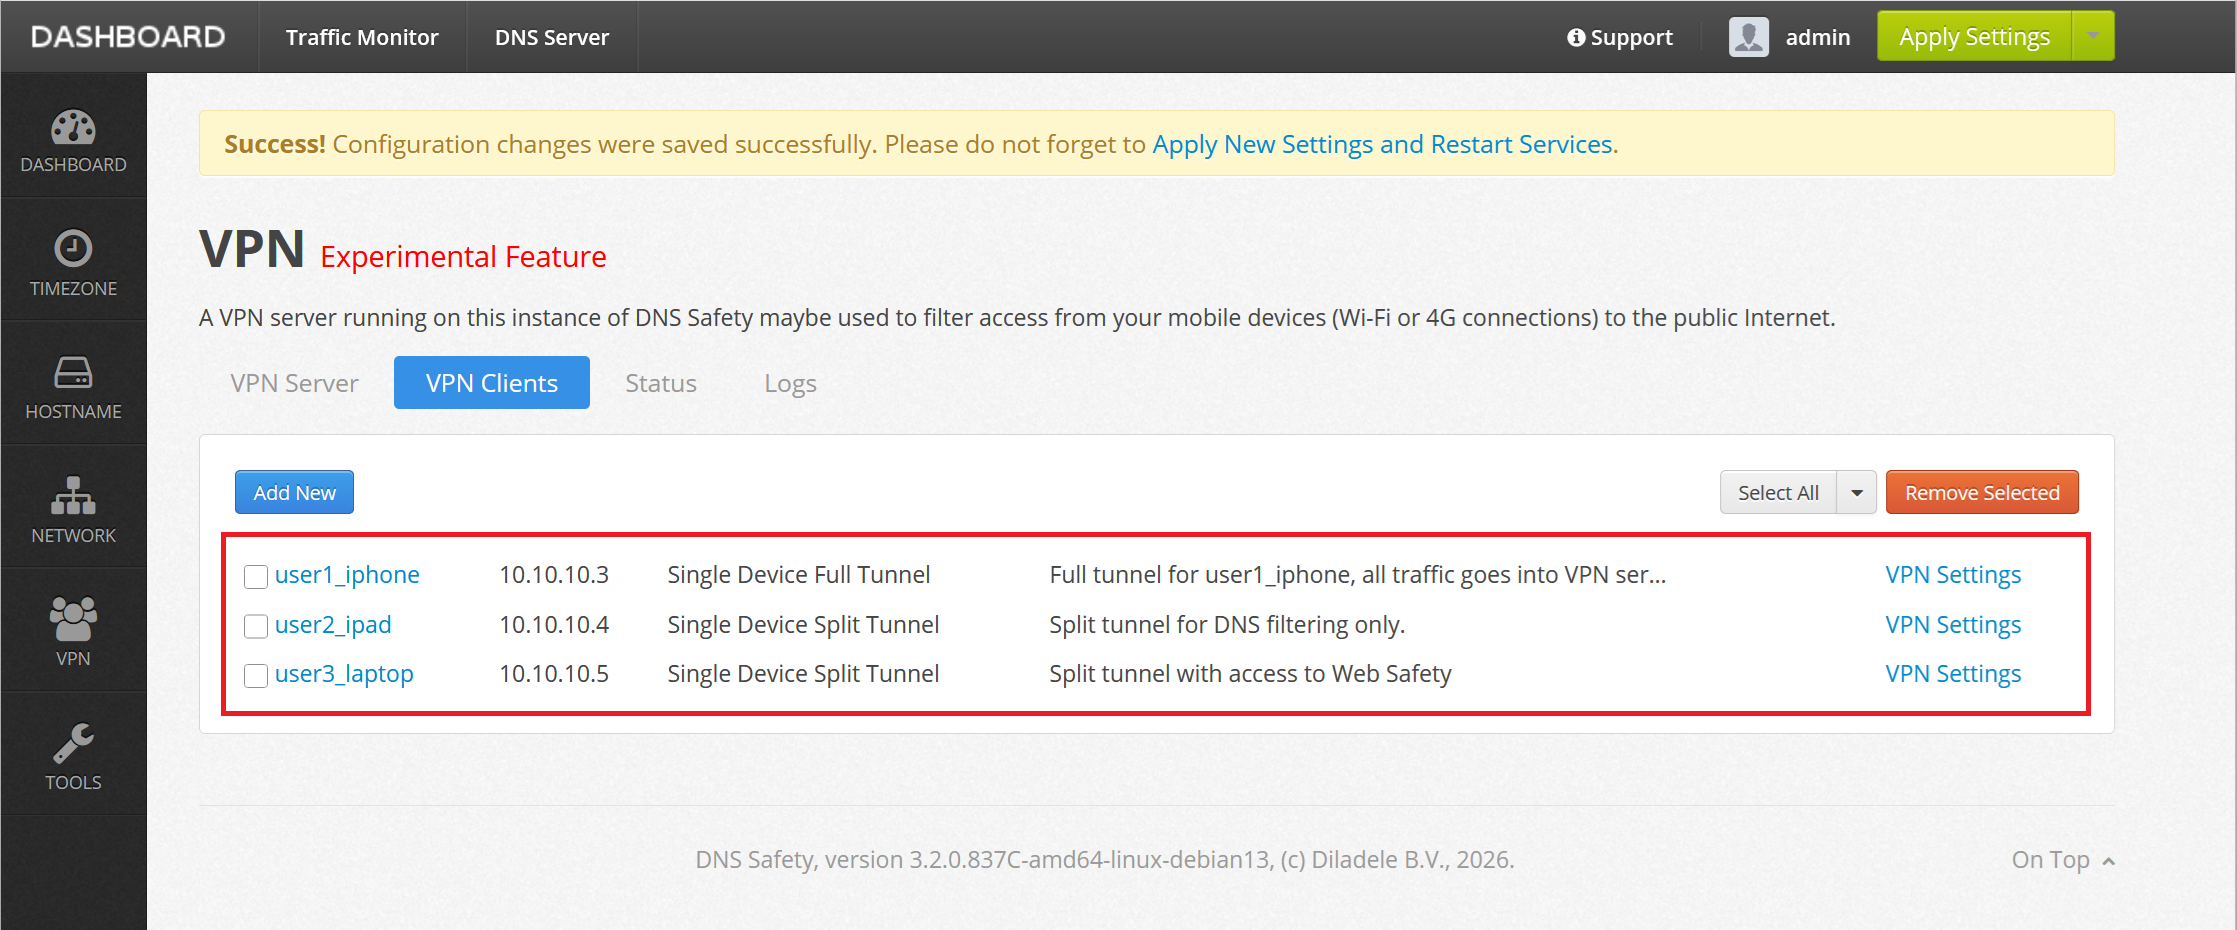
In this tutorial, we will configure the user1_iphone profile as Single Device Full VPN Tunnel mode when all traffic is redirected into the VPN tunnel. A second user2_ipad profile will be configured with the Single Device Split Tunnel to only redirect DNS traffic into the tunnel. And finally user3_laptop will be configured as Single Device Split Tunnel with specified server subnet to let the browser on the user3 laptop use the Web Safety hosted in private cloud.
Click Save Changes and verify the new profiles are visible in the list of profiles.
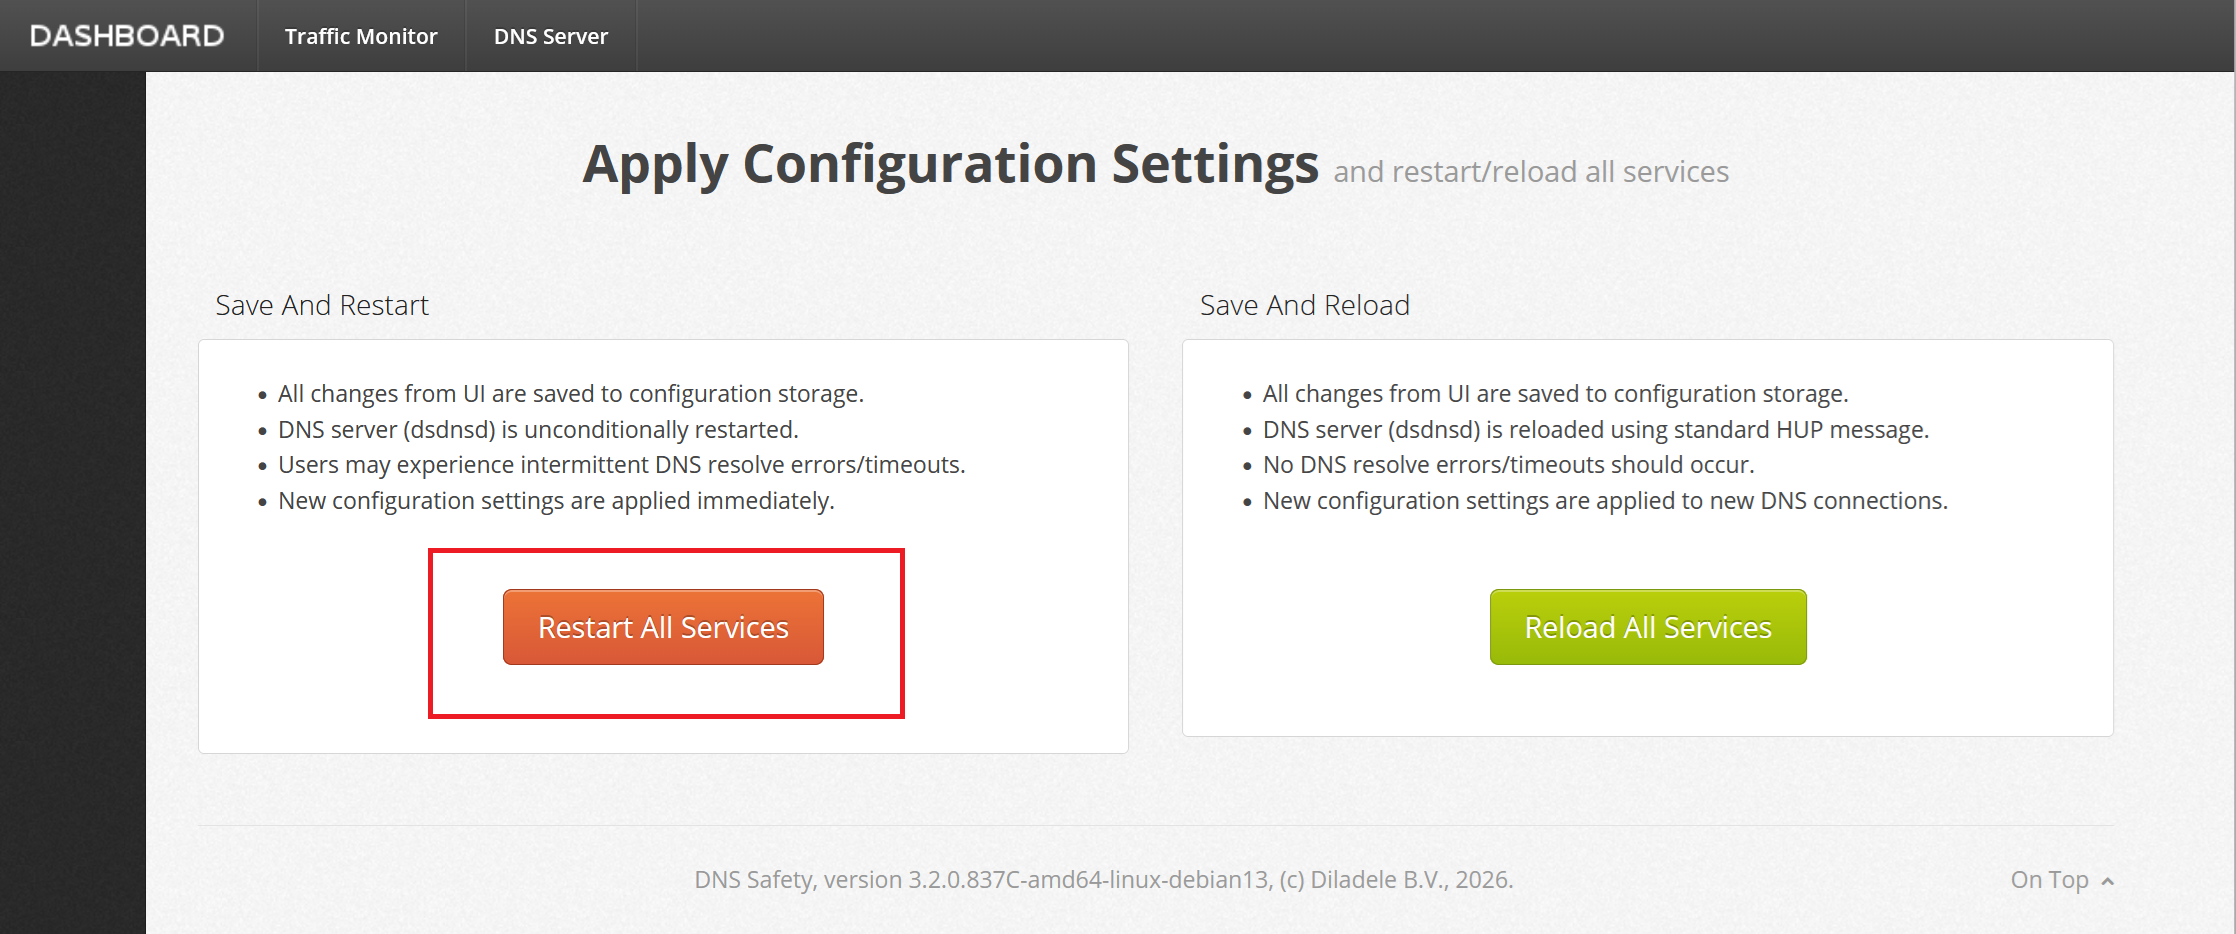
Do not forget to actually apply the changes to the system by clicking Save and Restart.
We are now ready to deploy generated client VPN profiles to actual devices.